


Settings
Settings
<Parking Assist Position>
Select where information about obstacles is displayed
on the screen.
•
Left
/
Right
(Initial)
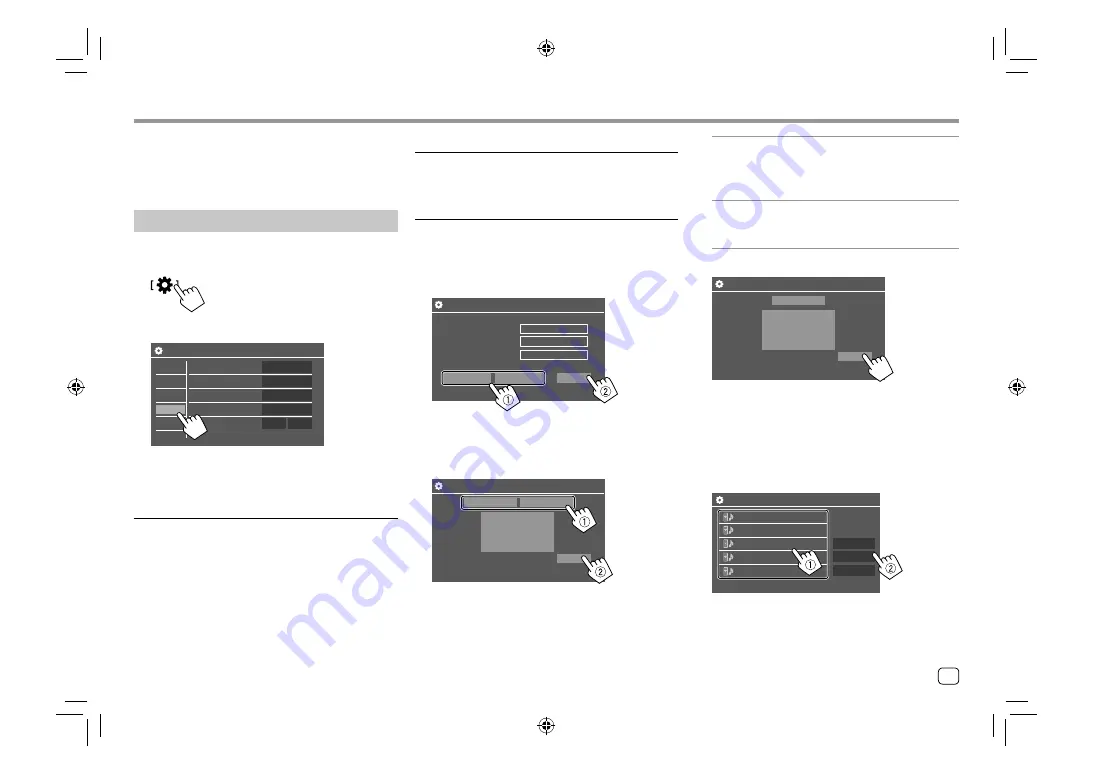
System settings
Display the <System> screen.
On the Home screen, touch as follows:
Then, on the
<Settings>
screen, touch
[System]
.
Settings
Language
Clock
Smartphone Setup
Bluetooth Setup
Enter
English
Enter
Enter
Audio
Display
Input
System
Key
ON
OFF
Beep
E.g. System settings screen for
KW-V250BT
/
KW-V25BT
<Language>
Select the text language used for on-screen
information. For details, see “Initial settings” on
page 5.
“Please Power Off” appears when the setting is
changed. Turn off the power, then turn on to enable
the change.
<Clock>
Set the clock. For details, see “Clock settings” on
page 5.
<Smartphone Setup>
Specify the connection method of Android/iPod/
iPhone.
1
Select the device type (
1
), then touch
[Change] (
2
).
Smartphone Setup
Initial Information
Device Type Select
Device Type
Device Name
iPod / iPhone
Android / Other
Change
Connection Type
iPod / iPhone
Device Name
Bluetooth
2
Select the connection method (
1
), then
confirm the selection ([OK] or [Next]) (
2
).
If
[iPod/iPhone]
is selected in step 1:
Smartphone Setup
USB 1 Wire
Bluetooth
OK
[USB 1 Wire]
Select this when the device is
connected via the USB input
terminal (on the monitor panel or
cable from the rear panel).
[Bluetooth]
Select this when the device is
connected via Bluetooth. (Go to
step 3.)
If
[Android/Other]
is selected in step 1:
Smartphone Setup
Bluetooth
Next
The
<Paired Device List>
screen appears. Go to
step 3.
3
When selecting [Bluetooth] as the
connection method: Select the device (
1
),
then press [OK] (
2
) to connect.
• If the device is already connected, skip step
1
.
Device Name 1
Device Name 5
Device Name 4
Device Name 3
Device Name 2
Remove
Connection
OK
Paired Device List
47
ENGLISH
00_KWV_2019ST_KR.indb 47
00_KWV_2019ST_KR.indb 47
1/6/2018 8:19:21 AM
1/6/2018 8:19:21 AM


