70
Other
s
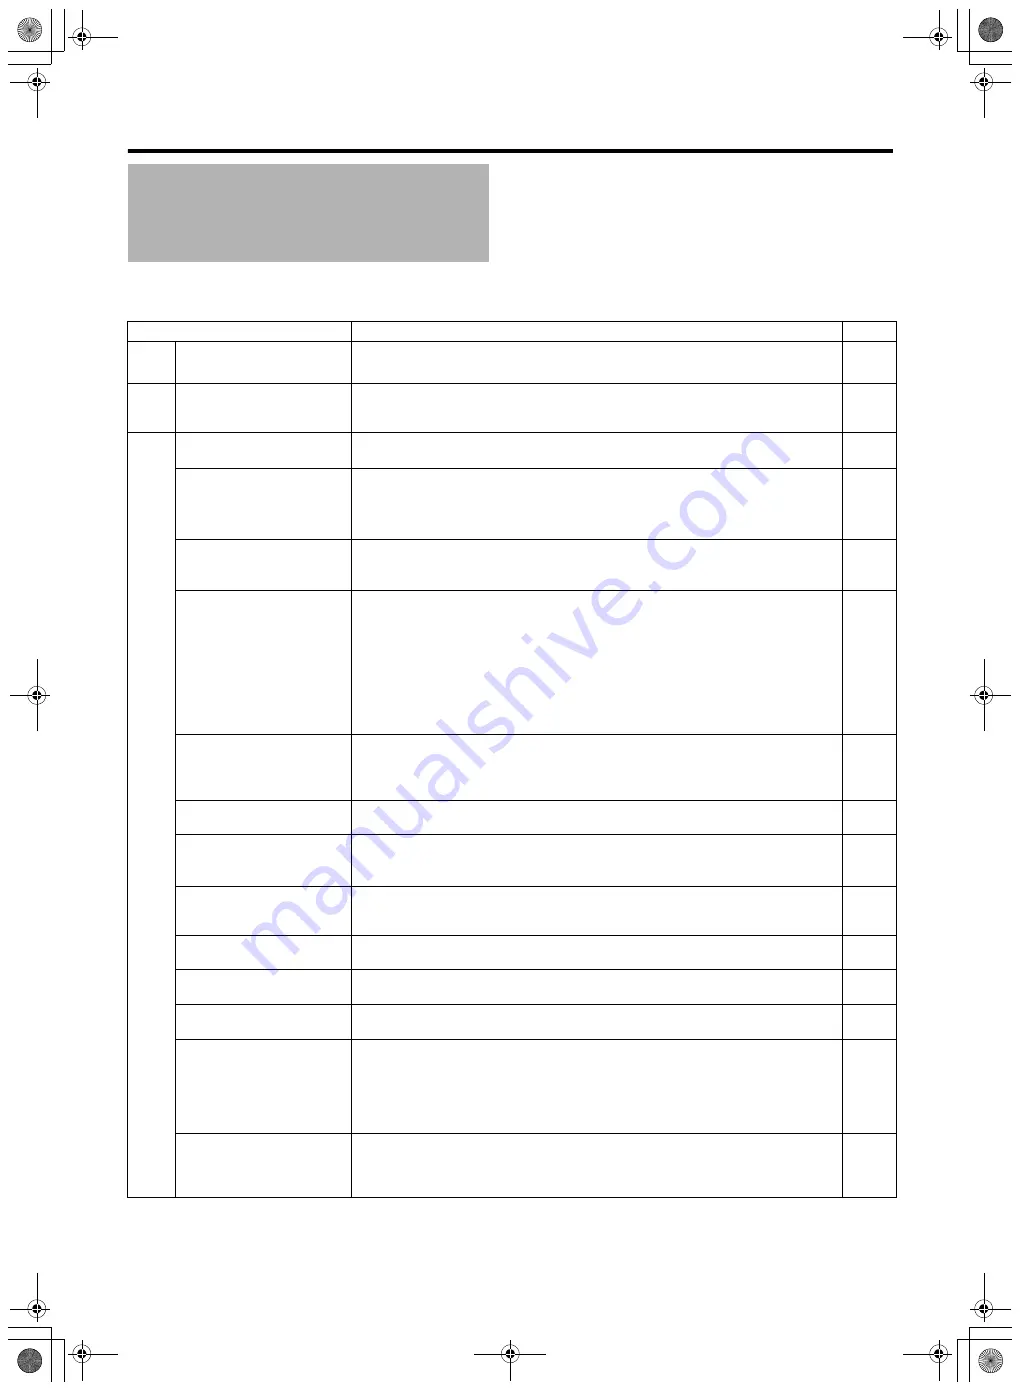
Before sending for repair, check the camcorder
’
s pro
b
lem according to the ta
b
le
b
elow.
If the pro
b
lem persists, consult our authorized dealers or JVC service center.
Trouble
s
hooting
S
ymptom
Action
Page
Ca
rd
S
D card cannot
b
e
inserted.
●
Check that the
S
D card is facing the right direction.
Po
w
e
r
Power cannot
b
e switched
on.
●
Connect the AC adapter correctly.
●
Charge the
b
attery.
S
hootin
g
S
hooting cannot
b
e
performed.
●
Use the CAM/MEDIA
b
utton to set to the camera shooting mode.
●
Check the shooting mode with the video and still picture indicating lamps.
S
hooting stops
b
y itself.
●
S
hooting stops automatically after 12 hours of continuous recording.
●
S
hooting may stop halfway due to the nature of the card.
Check whether the card is a recommended
S
D card (Class 6 or higher)
Erase the contents of the
S
D card (DELETE, FORMAT)
-
Focus is not adjusted
automatically.
●
Clean any dirt or water droplets from the lens.
●
If you are shooting at a dark place or shooting a su
b
ject that has no contrast
b
etween
dark and light, adjust the focus manually.
-
The recorded su
b
ject is too
dark.
●
Use [Lolux].
●
S
et exposure to the [+] side.
●
For videos, set to the manual shooting mode and increase the sensitivity using the
GAIN switch.
●
S
et the GAIN switch to [AGC].
●
For still pictures, set [GAIN UP] to [AUTO].
●
S
et to open up the aperture.
●
S
et to lower the shutter speed.
The color of the recorded
su
b
ject looks unnatural.
(Reddish,
b
luish, etc.)
●
Depending on the lighting conditions or when there are numerous light sources in the
b
ackground, set to the manual shooting mode and perform auto white
b
alance
adjustment.
●
Adjust the red or
b
lue using white paint adjustment.
White
b
alance cannot
b
e
adjusted.
●
Do not use [TWILIGHT] from Program AE.
Continuous shooting speed
of still pictures is slow.
●
The continuous shooting speed drops if the function is used continuously.
●
Continuous shooting speed may drop depending on the
S
D card in use and or under
certain shooting conditions.
-
-
The actual recording time is
shorter than the estimated
time.
●
Recording time may shorten depending on the environment, such as when shooting
fast-moving su
b
jects.
-
Focus kno
b
of the lens
does not work.
●
S
et the FOCU
S
/ZOOM switch to FOCU
S
.
Zoom kno
b
of the lens does
not work.
●
S
et the FOCU
S
/ZOOM switch to ZOOM.
The MIC terminal and
b
uilt-
in microphone do not work.
●
Remove the audio unit ca
b
le from the AUDIO IN terminal of the camcorder.
Una
b
le to adjust the
recording level of the
b
uilt-
in microphone or
microphone connected to
the MIC terminal using the
recording level kno
b
.
●
The recording level of the
b
uilt-in microphone or microphone connected to the MIC
terminal cannot
b
e adjusted using the recording level kno
b
. (The recording level kno
b
can only
b
e used for the INPUT1/INPUT2 terminal.
S
et the volume of the
b
uilt-in
microphone or MIC terminal using the [INTERNAL MIC LEVEL] or [MIC LEVEL
S
ETTING] menu.)
Una
b
le to switch to the
play
b
ack mode when
continuous clip recording is
paused.
●
When the
R
REC
icon lights up in red or the
RW
icon lights up in yellow, it is not
possi
b
le to switch to the play
b
ack mode. To switch to the play
b
ack mode, close the clip
file.
M9H7_EN_001D.book Page 70 Thursday, August 26, 2010 11:51 AM


