


EN
27
Night-Scope
Makes dark subjects or areas even brighter than they
would be under good natural lighting. Although the
recorded image is not grainy, it may look as if it is
strobing due to the slow shutter speed.
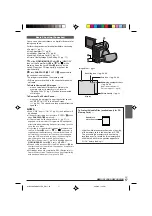
1
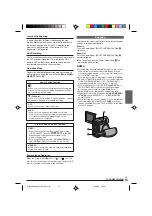
Set the Power Switch
@
to “
” while pressing down
the Lock Button
$
located on the switch. Open the
LCD monitor fully or pull out the viewfinder fully.
2
Press
NIGHT
e
so that the Night-Scope indicator
“
”
q
appears.
• The shutter speed is automatically adjusted to provide
up to 30 times sensitivity.
• “
A
” appears beside “
”
q
while the shutter speed is
being automatically adjusted.
To Deactivate Night-Scope . . .
..... press
NIGHT
e
again so that the Night-Scope
indicator disappears.
NOTES:
●
During Night-Scope, the following functions or settings
cannot be activated and its indicator blinks or goes out:
• Some modes of “Programme AE With Special Effects”
(
墌
pg. 27).
• “GAIN UP” in the CAMERA Menu (
墌
pg. 33).
• “DIS” in the MANUAL Menu (
墌
pg. 33).
• Video Flash (
墌
pg. 25).
●
During Night-Scope, it may be difficult to bring the
camcorder into focus. To prevent this, use of manual
focus and/or a tripod is recommended.
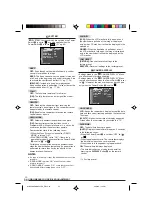
Programme AE With Special Effects
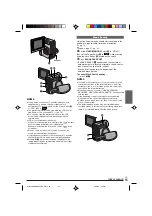
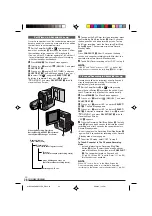
1
Set the Power Switch
@
to “
” while pressing down
the Lock Button
$
located on the switch. Open the
LCD monitor fully or pull out the viewfinder fully.
2
Press
MENU
4
. The Menu Screen appears.
3
Press
+
or
–
5
to select “
(PROGRAM AE)”,
then press
SELECT/SET
3
.
4
Press
+
or
–
5
to select the desired mode, then
press
SELECT/SET
3
. Selection is complete. Press
SELECT/SET
3
again. The Menu Screen closes.
• The PROGRAM AE Menu disappears and the
selected mode is activated. The selected mode
indicator appears.
To Deactivate The Selected Mode . . .
..... select “OFF” in step
4
.
IMPORTANT
Some modes of Programme AE with special effects
cannot be used with certain Fade/Wipe Effects
(
墌
pg. 28). If an unusable mode is selected, its
indicator blinks or goes out.
NOTES:
●
Programme AE with special effects can be changed
during recording or during Record-Standby.
●
Some modes of Programme AE special effects cannot be
used during Night-Scope.
FOR RECORDING
(GR-DX300/DX100 only)
SHUTTER
1/50:
The shutter speed is fixed at 1/50th of a second.
Black bands that usually appear when shooting a TV
screen become narrower.
1/120:
The shutter speed is fixed at 1/120th of a
second. The flickering that occurs when shooting under
a fluorescent light or mercury-vapour lamp is reduced.
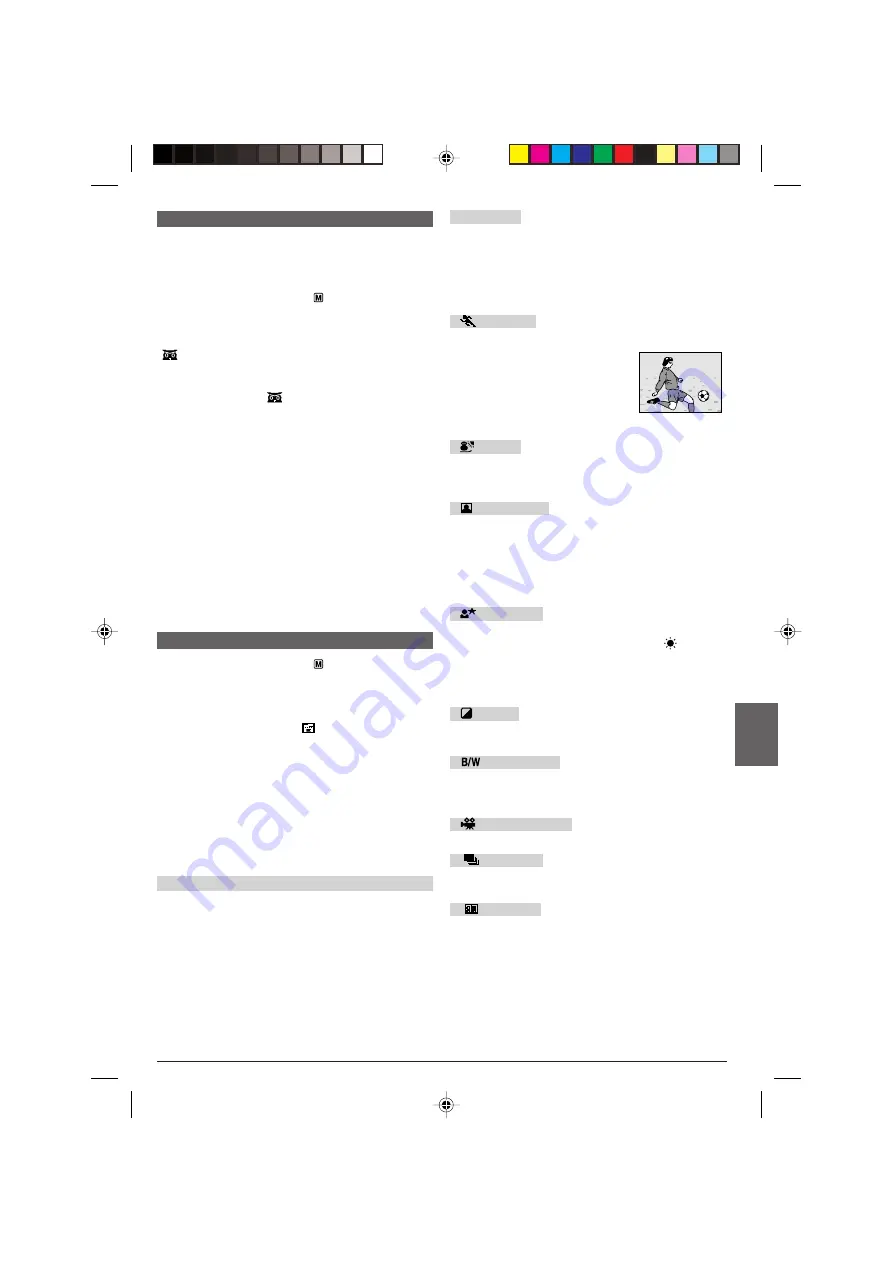
SPORTS
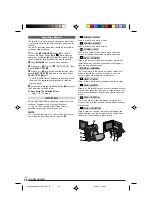
(Variable Shutter Speed: 1/250 – 1/4000)
This setting allows fast-moving
images to be captured one frame at
a time, for vivid, stable slow-motion
playback. The faster the shutter
speed, the darker the picture
becomes. Use the shutter function
under good lighting conditions.
SNOW
Compensates for subjects that may otherwise appear
too dark when shooting in extremely bright surround-
ings such as in the snow.
SPOTLIGHT
Compensates for subjects that may otherwise appear
too bright when shooting under extremely strong direct
lighting such as spotlights.
NOTE:
“SPOTLIGHT” has the same effect as –3 with the exposure
control (
墌
pg. 30).
TWILIGHT
Makes evening scenes look more natural.
White Balance (
墌
pg. 31) is initially set to
, but can
be changed to your desired setting. When Twilight is
chosen, the camcorder automatically adjusts the focus
from approx. 10 m to infinity. From less than 10 m,
adjust the focus manually.
SEPIA
Recorded scenes have a brownish tint like old photos.
Combine this with the Cinema mode for a classic look.
MONOTONE
Like black and white films, your footage is shot in B/W.
Used together with the Cinema mode, it enhances the
“classic film” effect.
CLASSIC FILM*
Gives recorded scenes a strobe effect.
STROBE*
Your recording looks like a series of consecutive
snapshots.
MIRROR*
Creates a mirror image on the left half of the screen,
juxtaposed to the normal image on the other half.
* Available when the
VIDEO/MEMORY
Switch
t
is set to
“VIDEO”.
01 DX300/100/95/75EK_EN 25-34
2/26/03, 7:12 PM
27