background image

ENGLISH

Dear Customer

Thank you for purchasing this 

camcorder. Before use, please 

read the safety information and 

precautions contained in pages 2 

and 3 to ensure safe use of this 

product.

LYT2051-001B-M

Contents

Accessories .....................................5

Getting Started.................................6

-  Charging the Battery Pack

-  Insert an SD Card

-  Date/Time Setting

Recording Files ................................8

-   Checking Remaining Battery  

Power

Playing Back Files .........................10

Watching Images on TV.................11

Installing Software to the PC ........12

Connecting the Camcorder to the  

PC ..................................................13

File Backup ....................................14

File Upload to YouTube™ ..............15

Further Information ................17 - 20

EN

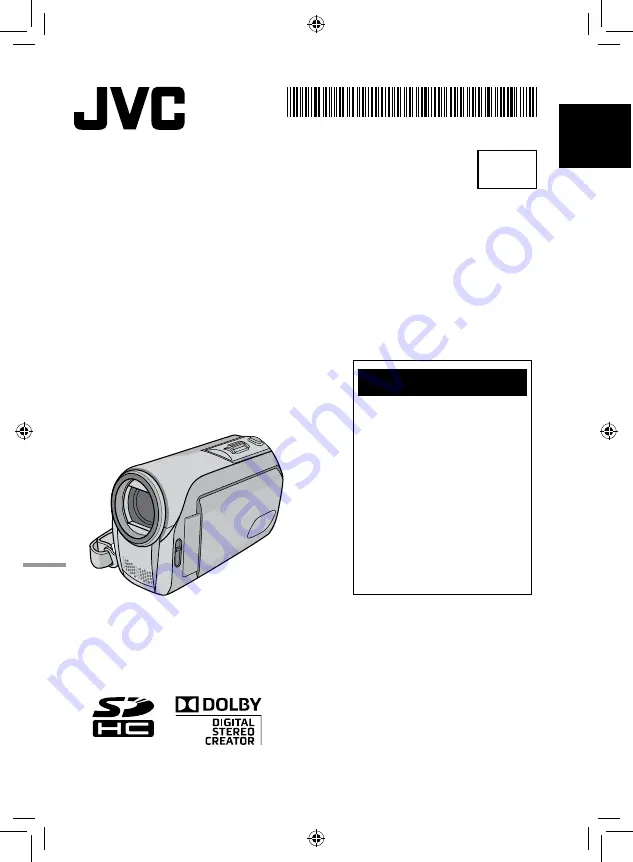
GZ-MS90AA

INSTRUCTIONS

MEMORY CAMCORDER

Содержание GZ-MS90AA

Страница 1: ...051 001B M Contents Accessories 5 Getting Started 6 Charging the Battery Pack Insert an SD Card Date Time Setting Recording Files 8 Checking Remaining Battery Power Playing Back Files 10 Watching Images on TV 11 Installing Software to the PC 12 Connecting the Camcorder to the PC 13 File Backup 14 File Upload to YouTube 15 Further Information 17 20 EN GZ MS90AA INSTRUCTIONS MEMORY CAMCORDER ...

Страница 2: ...its upper and lower sides WARNING The battery pack and the camcorder with battery installed should not be exposed to excessive heat such as direct sunshine fire or the Iike CAUTION The mains plug shall remain readily operable When the equipment is installed in a cabinet or on a shelf make sure that it has sufficient space on all sides to allow for ventilation 10 cm or more on both sides on top and...

Страница 3: ...of their respective holders Do not point the lens directly into the sun This can cause eye injuries as well as lead to the malfunctioning of internal circuitry There is also a risk of fire or electric shock CAUTION The following notes concern possible physical damage to the camcorder and to the user Carrying or holding the camcorder by the LCD monitor can result in dropping the unit or in a malfun...

Страница 4: ...ding media for storage Z pg 14 Make a trial recording Before the actual recording of important data make a trial recording and play back the recorded data to check that the video and sound have been recorded correctly We recommend you to use the same recording media when performing both the trial recording and the actual recording Reset the camcorder if it does not operate correctly Z pg 17 Precau...

Страница 5: ...is indicated on the bottom of your camcorder Accessories AC Adapter AP V20M Power cord Battery Pack BN VF808U Audio Video Cable USB Cable Z pg 13 CD ROM Z pg 12 Core Filter for USB Cable The core filter reduces interference NOTE Make sure to use the provided cables for connections Do not use any other cables Attaching the Core Filter to the USB Cable Attach the core filter to the USB cable The cor...

Страница 6: ...pull or bend the AC adapter plug and cable This may damage the AC adapter Displays the remaining battery power As the battery power comes close to nil the battery indicators blink When the battery power is exhausted power turns off automatically High Exhausted Insert an SD Card Operations are confirmed on the following SD cards Class 4 or higher compatible SD or SDHC card Panasonic TOSHIBA SanDisk...

Страница 7: ... card when using it for the first time This will also ensure stable speed and operation when accessing the SD card Select FORMAT SD CARD from the MENU Date Time Setting 1 Open the LCD monitor to turn on the camcorder 2 When SET DATE TIME appears select YES within 10 seconds SET DATE TIME YES NO If you do not select within 10 seconds the screen disappears In such case press the power button and tur...

Страница 8: ...will be created for every 4 GB of continuous shooting This camcorder records video in MPEG2 format compliant with SD VIDEO format This camcorder is not compatible with other digital video formats Slide the mode switch to select video or still image mode RECORDING Still Image Recording Press and hold the SNAPSHOT button halfway The indicator becomes green when the captured image is focused Press th...

Страница 9: ...place the SD card VIDEO MANAGEMENT FILE IS DAMAGED RECOVERY IS REQUIRED TO RECORD PLAYBACK RECOVER The video management file is damaged Recovery is required to record or play back video files Select YES then touch the OK button to recover the video management file Manual Recording Mode Manual recording mode enables you to set focus screen brightness etc manually Press twice MANUAL AUTO 4 AUTO 3 MA...

Страница 10: ...keep touching the sensor button under E G for a while LOperations during Still Image Playback Rotate 90 degrees counterclockwise P Change playback order of slide show in reverse direction Rotate 90 degrees clockwise F Change playback order of slide show in forward direction L Return to the index screen N Display the previous file F Start end the slide show O Display the next file LTo check the fil...

Страница 11: ...connecting the camcorder to the VCR DVD recorder Turn on the VCR DVD recorder and set it to its AUX input mode 4 Start playback on the camcorder Z pg 10 16 9 TV 4 3 TV LIf the aspect ratio of the image is not correct as shown on the right Change the settings in SELECT TV TYPE from the MENU LTo display the camcorder s on screen display on TV Set DISPLAY ON TV to ON from the MENU Watching Images on ...

Страница 12: ...he function by clicking on the picture Digital Photo Navigator 1 5 Allows you to change the format of still image files backed up on your PC You can find the latest information on the provided software program at CyberLink s world wide web server at http www2 cli co jp products ne Preparation Quit any other software you are using 1 Load the provided CD ROM into the PC After a moment the SETUP scre...

Страница 13: ...ent malfunctions of the PC It is recommended to use the AC Adapter as the power supply instead of the battery pack POWER IS OFF OR USB DEVICE IS UNSUPPORTED Appears when an incompatible USB device is connected to the camcorder AC Adapter DC Jack USB Jack To AC Outlet USB Cable USB Port Connecting the Camcorder to the PC Preparation Close the LCD monitor to turn off the camcorder ...

Страница 14: ... EVERIO_SD then click OK When the progress bar disappears the process is complete File Backup File Backup Windows and Macintosh without Using Software Preparation Connect the camcorder to the PC with the USB cable Z pg 13 1 On the PC create a folder to back up files into 2 Open the LCD monitor to turn on the camcorder 3 On the camcorder select PLAYBACK ON PC then press OK 2 10 2 72 1 2 6 10 2 72 4...

Страница 15: ... files repeat this step 4 Click YouTube 5 Login your username and password Click Next To create a YouTube account click Sign up to YouTube 6 Select video category and broadcast option Click Next The Video Title is automatically filled in during uploading process with the File name and the Description and Tags with Everio Video references Date information is also input If you want to modify this in...

Страница 16: ...rding basic operation of your PC or questions regarding specifications or performance of the OS other applications or drivers CyberLink Telephone fax support Location Language Office hours Mon to Fri Phone Fax Germany English German French Spanish Italian 9 00 to 17 00 49 700 462 92375 49 241 70525 25 Taiwan Mandarin 9 00 to 18 00 886 2 8667 1298 ext 333 886 2 8667 1300 Japan Japanese 10 00 to 17 ...

Страница 17: ...te operating temperatures The battery is worn out and needs to be replaced Please purchase a new one 20 The power charge lamp on the camcorder does not light during charging Charging may stop in places subject to extremely high low temperatures to protect the battery It is recommended to charge it in places with a temperature of 10 C to 35 C When the battery is already fully charged the lamp does ...

Страница 18: ... sure to follow the guidelines below to prevent corruption or damage to your recorded data Do not bend or drop the recording medium or subject it to strong pressure jolts or vibrations Do not splash the recording medium with water Do not use replace or store the recording medium in locations that are exposed to strong static electricity or electrical noise Do not turn off the camcorder power or re...

Страница 19: ...asting antennas etc in places subject to extremely high over 40 C or extremely low under 0 C temperatures DO NOT leave the unit in places of over 50 C in places where humidity is extremely low below 35 or extremely high above 80 in direct sunlight in a closed car in summer near a heater in high places such as on a TV Leaving the unit in high places while a cable is connected may result in a malfun...

Страница 20: ...Turkish Simplified Chinese LFor video Audio Format SD VIDEO Recording Playback format Video MPEG 2 Audio Dolby Digital 2 ch Signal format PAL standard Recording mode video ULTRA FINE 720 x 576 pixels 8 5 Mbps VBR FINE 720 x 576 pixels 5 5 Mbps VBR NORMAL 720 x 576 pixels 4 2 Mbps VBR ECONOMY 352 x 288 pixels 1 5 Mbps VBR Recording mode audio ULTRA FINE 48 kHz 384 kbps FINE 48 kHz 384 kbps NORMAL 4...

Отзывы: