1-10
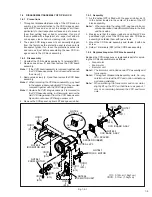
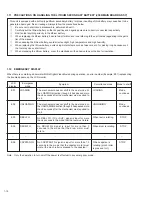
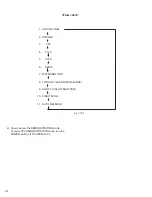
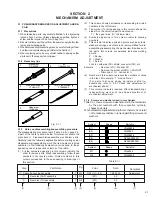
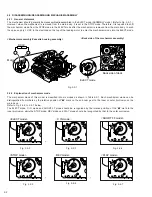
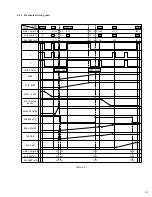
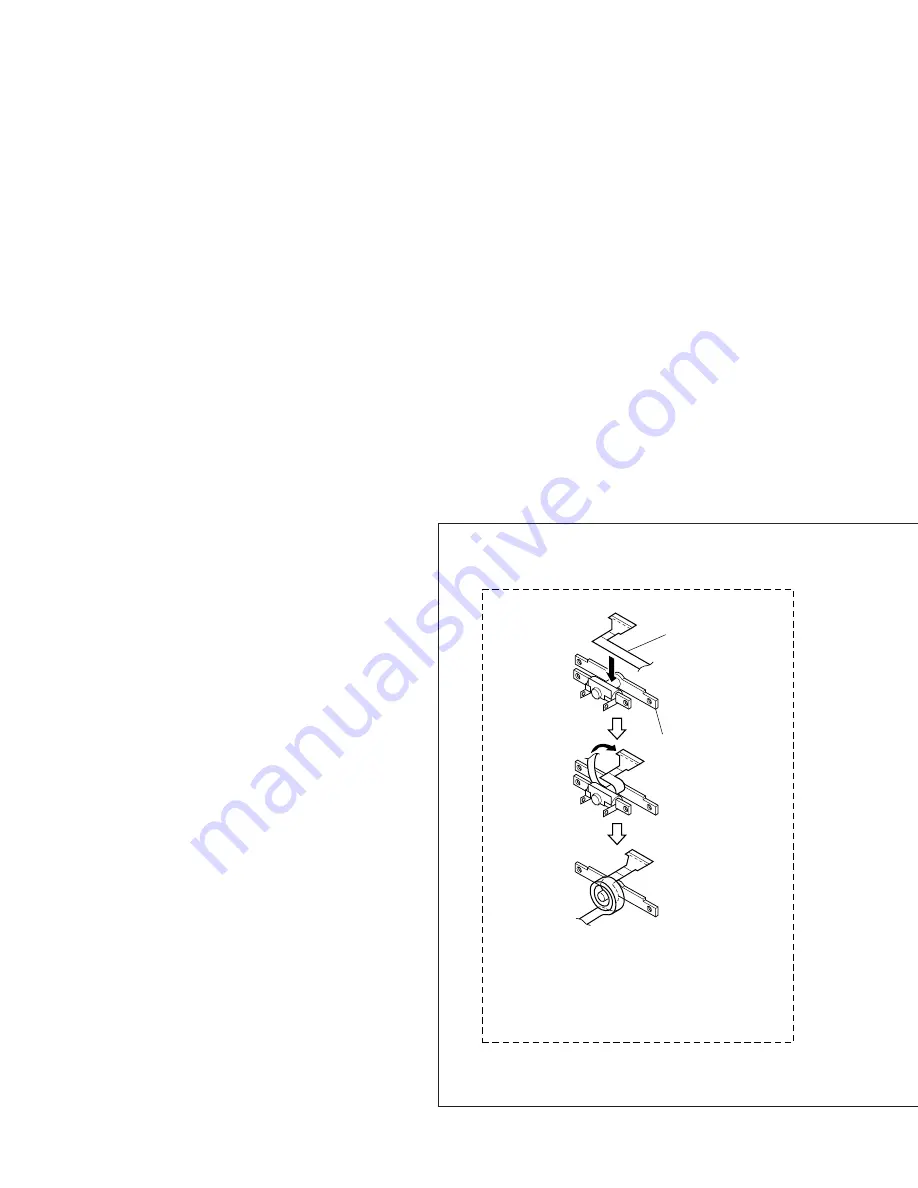
FPC ASSY
NOTE10,11
HINGE ASSY
Note
11: The FPC assembly should be winded
around the hinge assembly by two and
half turns so that the wire to be
connectged to the monitor board
assembly is positioned inside.
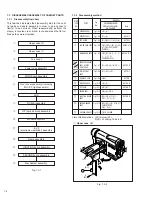
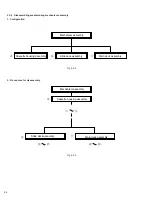
1.5 DISASSEMBLY/ASSEMBLY OF MONITOR ASSEMBLY
Note
1: For a convenience of explanation, the monitor assem-
bly is roughly divided into two blocks as mentioned
below.
• Monitor block (monitor cover assembly/monitor case
assembly, MONITOR board assembly, etc.)
• Hinge assembly block (hinge cover [upper/lower],
FPC assembly, bracket)
Don't remove the screws of No. 5 to No. 10 except
for dismantling the hinge assembly block (hinge
cover [upper/lower], FPC assembly and bracket).
Note
2: Don't reuse any screw that was once removed for dis-
assembling.
Note
3: Be careful not to break down any switch (open/closed
status sensor) and FPC.
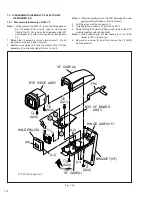
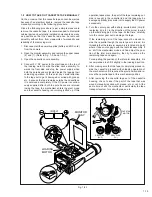
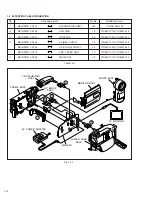
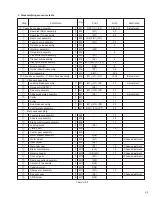
1. Remove four screws (1 to 4) first, and then remove the
monitor cover assembly unhooking it by 7 points (L2 to
L8) while releasing L1 from locking.
2. While unlocking the connector
S
, pull out the FPC and
then remove the hinge assembly.
Note
4: The following steps (3 to 8) explain the procedure to
disassemble the monitor block.
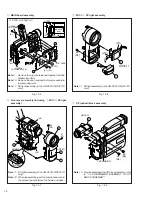
<Disassembly of monitor block>
3. Pull the wire out of the connector
T
.
4. Unlock the connector
U
and pull out the FPC. While
unhooking two hooks (L9, L10), remove the MONITOR
board assembly.
Note
5: When remounting the MONITOR board assembly,
carefully arrange the FPC and wires.
Note
6: In case of the 3-inch monitor, fold down the FPC on
the connector
U
.
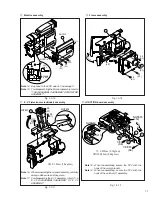
5.
After unhooking seven hooks (L11 to L17) in the numeri-
cal order, remove the holder (PWB).
Note
7: When remounting the holder (PWB), arrange the
backlight wires inside the holder.
After remounting the holder, check to see if it is tightly
fastened without wobbling while paying heed to the
hooking (L12, L14) of the backlight.
6.
Remove the backlight.
7.
Remove the LCD module.
8.
Remove the holder (LCD) and bracket (earth).
Note
8: The holder (LCD) is used only for the 3-inch monitor.
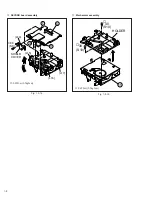
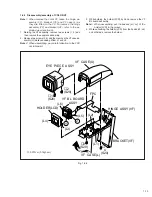
<Disassembly of hinge assembly block>
9.
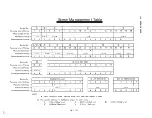
Remove one screw (5) and then remove the SWITCH
(open/closed) board assembly.
10. Remove two screws (6, 7) and then remove the bracket.
11. Remove one screw (8) and then remove the SWITCH
(rotation) board assembly.
12. Remove two screws (9, 10) and then remove the hinge
cover (U) while unhooking it by four points (two hooks of
L20 and two hooks of L21) on both sides.
13. While displacing the hinge cover (L), pull out the FPC
assembly and finally remove the hinge cover.
Note
8:
Since the FPC assembly is branched into two, first
remove the SWITCH (open/closed) board assem-
bly and then disconnect the other branch of the FPC
assembly.
14. Remove the FPC assembly from the hinge assembly.
Note
10: Carefully handle the FPC not to break it.


