30
EN
PAUSE
G a i n U p
S . L X
T e l e M a c r o
O F F
I n t e r v a l T i m e r
O F F
R e c T i m e
O F F
J L I P I D N O .
0 7
T a l l y
O N
S e t C h a r a c t e r
D a t e / T i m e
E N D : M E N U K E Y
G a i n U p
N O R M
T e l e M a c r o
O N
I n t e r v a l T i m e r
1 m i n
R e c T i m e
1 / 2 s
J L I P I D N O .
0 7
T a l l y
O N
S e t C h a r a c t e r
D a t e / T i m e
E N D : M E N U K E Y
RECORDING
Advanced Features (cont.)
If GAIN UP or TELE MACRO in the Menu has
been changed from the factory settings, this
mark appears.
Using Menu For Detailed Adjustment
This camcorder is equipped with an easy-to-use,
on-screen menu system that simplifies many of the more
detailed camcorder settings.
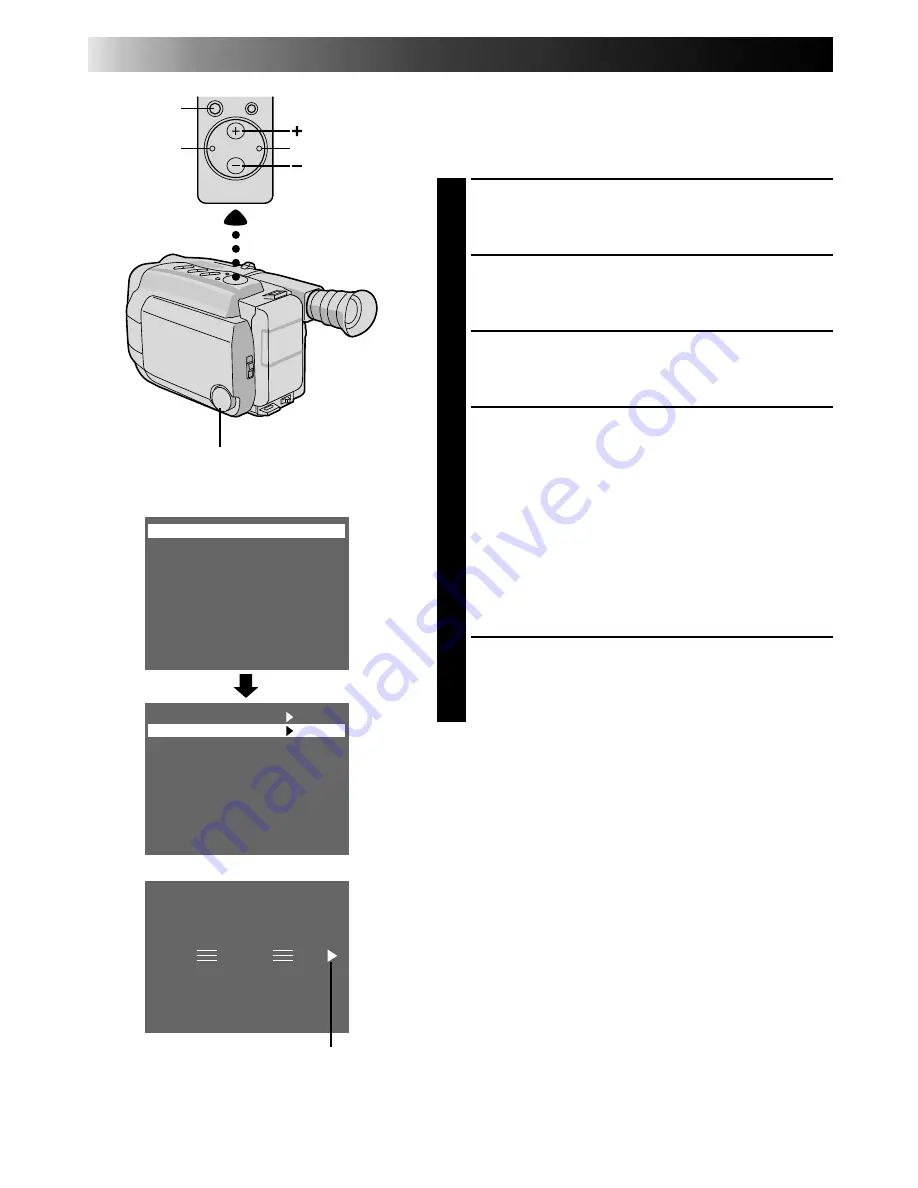
SELECT MODE
1
Turn the PROGRAM AE select dial to any position
except AUTO LOCK.
ACCESS MENU SCREEN
2
Press MENU.
SELECT FUNCTION
3
Press + or – to place the highlight bar on the desired
function.
MAKE SETTING
4
The setting procedure depends on the function you
select.
If you select Gain Up, Tele Macro, Interval Timer,
Rec Time, JLIP ID NO or Tally. . . .
.... press FAR or NEAR to cycle through the choices
until the desired setting appears.
If you select Set Character or Date/Time, . . .
.... press NEAR to access the selection menu for
each function (Set Character –
Z
pg. 27; Date/
Time –
Z
pg. 11).
CLOSE MENU
5
Press MENU. The normal screen reappears.
NOTE:
The menu is available only in the Record-Standby mode.
MENU
FAR
NEAR
PROGRAM AE select dial
LCD monitor or viewfinder


