


.
2
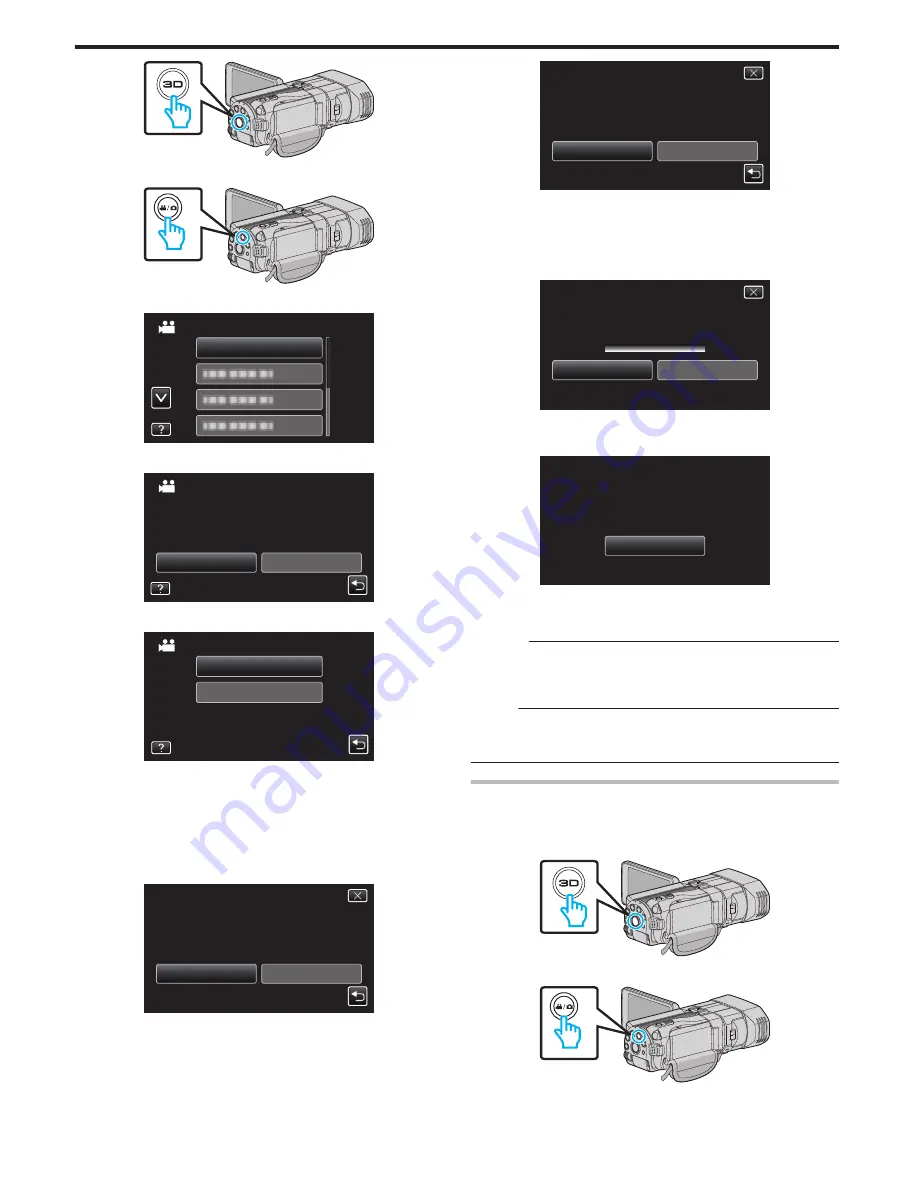
Select video or still image mode.
.
3
Tap “CREATE FROM ALL” (video) or “SAVE ALL” (still image).
.
CREATE FROM ALL
VIDEO BACKUP
4
Tap on the media to copy.
.
SD CARD
BUILT-IN MEMORY
SELECT THE MEDIA TO BACK UP
CREATE FROM ALL
5
Tap the desired method.
.
UNSAVED SCENES
ALL SCENES
CREATE FROM ALL
0
“ALL SCENES” (video)/“ALL IMAGES” (still image):
All videos or still images in this unit are copied.
0
“UNSAVED SCENES” (video)/“UNSAVED IMAGES” (still
image):
Videos or still images that have never been copied are automatically
selected and copied.
6
Tap “EXECUTE”.
.
RETURN
EXECUTE
PREPARE AN EMPTY DISC
REQUIRED DISC SPACE
ALL SCENES
DVD:2 / DVD(DL):1
0
The number of discs required to copy the files is displayed.
Prepare the discs accordingly.
7
Tap “YES” or “NO”. (
A
mode only)
.
ALL SCENES
NO
YES
CREATED?
HEADLINE ON THE TOP MENU
DO YOU WANT AN AUTOMATIC
0
When “YES” is selected, videos with similar recording dates are
displayed in groups.
0
When “NO” is selected, videos are displayed according to recording
dates.
8
Tap “EXECUTE”.
.
EXECUTE
ALL SCENES
STOP
DVD 2
REMAINING
DVD(DL)1
0
When “INSERT NEXT DISC” appears, change the disc.
9
After copying, tap “OK”.
.
ALL SCENES
OK
COMPLETED
10
Press and hold the
M
button for 2 seconds or more to turn off this unit
and disconnect the USB cable.
Caution :
0
Do not turn off the power or remove the USB cable until copying is
complete.
0
Files that are not on the index screen during playback cannot be copied.
Memo :
0
To check the created disc, refer to “Playing Back with an External Blu-ray
Drive”.
“Playing Back with an External Blu-ray Drive” (
A
p. 84)
Copying Files by Date (2D mode only)
Videos or still images are sorted and copied according to the date on which
they were recorded.
1
Select 3D or 2D mode.
.
2
Select video or still image mode.
.
3
Tap “SELECT AND CREATE” (video) or “SELECT AND SAVE” (still
image).
Copying
82


