


Setting
Details
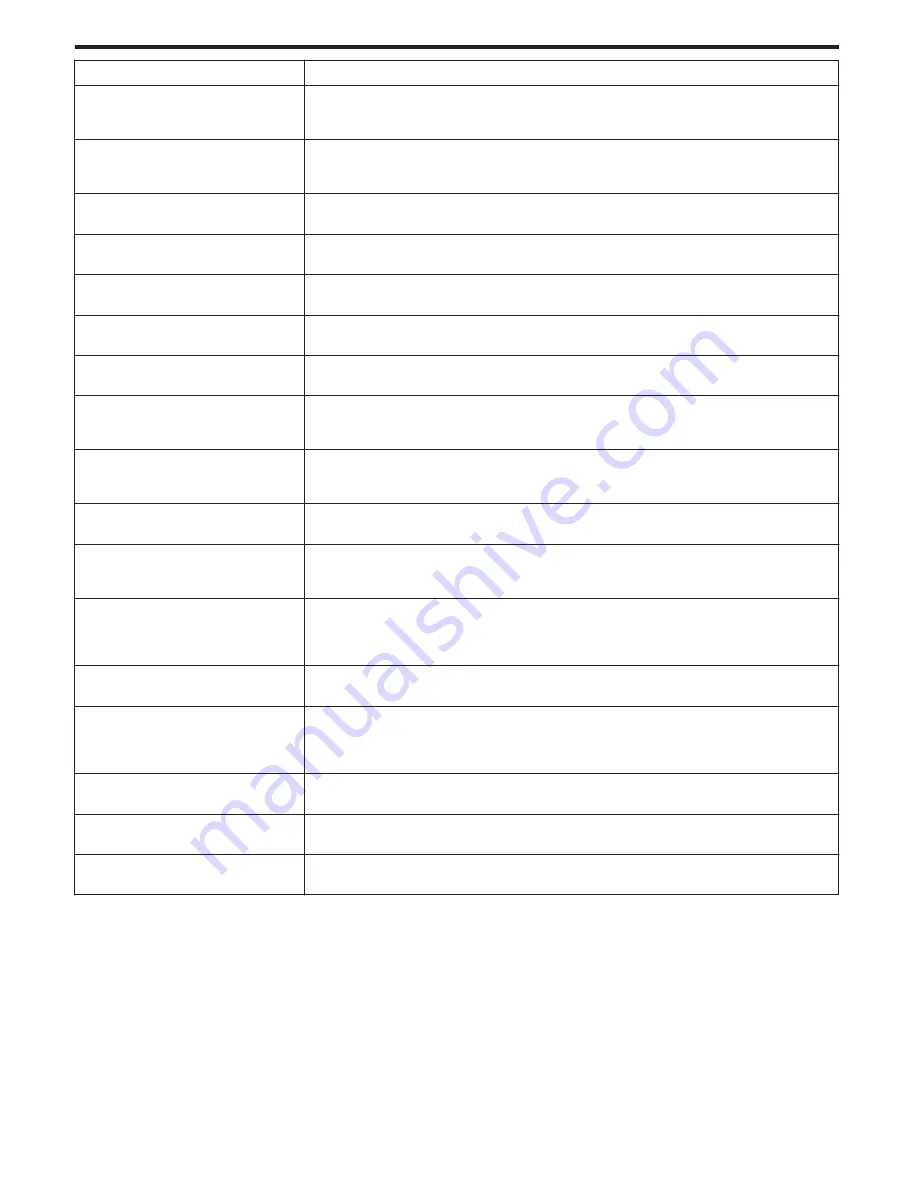
BACKLIGHT COMP.
Corrects the image when the subject appears dark due to backlight.
“Setting Backlight Compensation” (
A
p. 42)
*Displayed only in the manual recording mode.
TELE MACRO
Enables close-up shots when using the telephoto (T) end of the zoom.
“Taking Close-up Shots” (
A
p. 42)
*Displayed only in the 2D manual recording mode.
TOUCH PRIORITY AE/AF
Automatically adjusts focus and brightness based on the subjects’ faces or selected area.
“Capturing Subjects Clearly (TOUCH PRIORITY AE/AF)” (
A
p. 45)
DIS
Camera shake during recording can be effectively reduced.
“Reducing Camera Shake” (
A
p. 45)
GAIN UP
Makes the subject appear bright automatically when recording in dark places.
“GAIN UP” (
A
p. 106)
WIND CUT
Reduces the noise caused by wind.
“WIND CUT” (
A
p. 106)
GRID
Displays gridlines to make it easier to detect when the subject appears slanted.
“GRID” (
A
p. 107)
TIME-LAPSE RECORDING
Enables the changes of a scene that occur slowly over a long period to be shown within a short time by taking
frames of it at a certain interval.
“Recording at Intervals (TIME-LAPSE RECORDING)” (
A
p. 47)
3D VIDEO REC FORMAT
You can select a recording format for 3D video recording.
“3D VIDEO REC FORMAT (3D mode only)” (
A
p. 107)
*Displayed only in the 3D recording mode.
VIDEO QUALITY
Sets the video quality.
“VIDEO QUALITY” (
A
p. 108)
ZOOM
Sets the maximum zoom ratio.
“ZOOM (2D mode only)” (
A
p. 109)
*Displayed only in the 2D recording mode.
x.v.Color
Captures the true colors.
(Use an x.v.Color compatible TV for playback.)
“x.v.Color (2D mode only)” (
A
p. 110)
*Displayed only in the 2D recording mode.
USER BUTTON SETTING
Assigns a frequently used function to the USER button.
“Setting the USER Button” (
A
p. 43)
3D SOUND
Records realistic audio sounds.
You can enjoy more realistic audio sounds during playback of a video by recording it with “3D SOUND” set
to “ON”.
“3D SOUND” (
A
p. 110)
MIC LEVEL
Make the adjustments such that “MIC LEVEL” does not turn red.
“MIC LEVEL” (
A
p. 111)
MIC LEVEL SETTING
Sets the microphone level.
“MIC LEVEL SETTING” (
A
p. 111)
HEADPHONE VOL. ADJ.
Sets the volume level of the connected headphones.
“HEADPHONE VOL. ADJ.” (
A
p. 112)
Menu Settings
104


