background image

28

Viewing a Photo file 

This unit can play photo files. Before playing photo
files, read “Photo file requirement” on below.

1. Insert a disc containing photo files, or connect

the USB Flash Drive containing photo files.

2. Press HOME and Home Menu appears. 

3. Select [Photo] then press ENTER.

The [PHOTO] menu appears on the TV screen.

Note:

When the USB Flash Drive is connected and a
disc is inserted simultaneously, the menu for
selecting a media will appear. Select a media
then press ENTER.

4. Use 

B

to select a file and press ENTER.

The selected image is displayed in full screen.

5. To stop viewing at any time, press 

x

(STOP).

The PHOTO menu appears. 

Tips:

To go directly to any file and play, enter the file
number using the numbered buttons (0-9).

Use 

v

/

V

/

b

/

B

to select a folder then press

ENTER and you can view the files in the folder.
If you want to move to the upper or lower direc-
tory, use 

v

/

V

to move to the desired directory.

On the [MUSIC] menu, use red or blue button to
move to the first or the last file or track and
green or yellow button to move to the previous or
next page. 

If there is impossible code to express in the file
name, it may be displayed as illegible.

You can change the content list view by pressing
DISPLAY repeatedly. 

You can start the slide show by pressing 

N

(PLAY) while the [PHOTO] menu appears. 

To start the slide show, choose the folder con-
taining photo files or the photo file then press 

N

(PLAY).

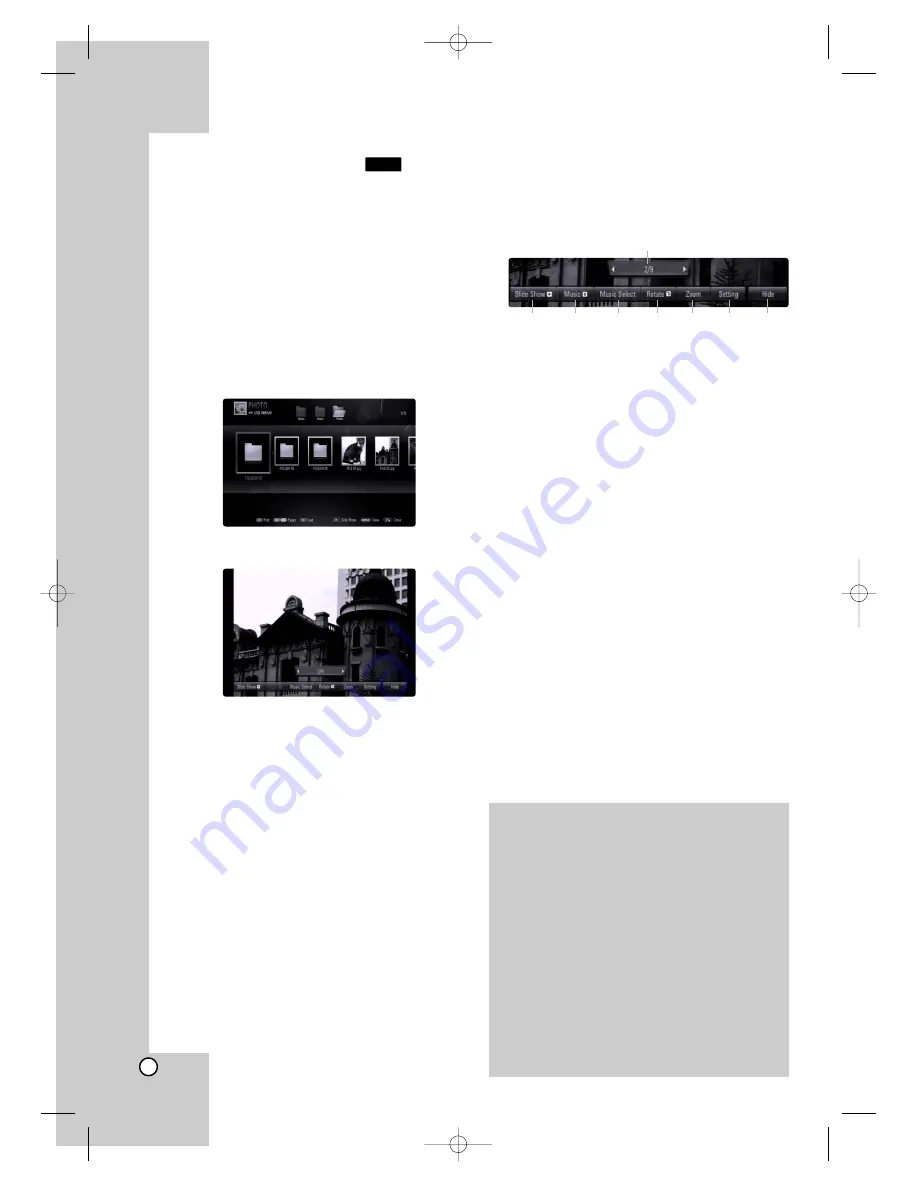
Options during viewing a photo file
in full screen

You can use various options during viewing a picture
in full screen. Use 

v V b B

to select an option and

use the options as described below.

a

Use 

b B

to advance to the previous or next file. 

b

Press ENTER to start or pause the slide show. 

c

Press ENTER to play or pause the background
music. This option is available after the background
music is selected using [Music Select] option. 

d

Selects the background music.
1) Press ENTER and the menu will appear.
2) Use 

v V b B

to select a media or folder that

there are music file(s). 

3) Press ENTER to confirm your selection.

e

Press ENTER to rotate the picture clockwise.
This option is not available during slide show.

f

Use green or yellow buttons to zoom in or out the
picture. You can move through the zoomed picture
using 

v V b B

buttons. Press RETURN to exit the

[Zoom] menu and return to the normal picture size. 
• The zoom function can be operated by the

ZOOM button on the remote control.

g

Use 

v V

to selects an option between [Effect] or

[Delay].
Use 

b B

to adjusts and press ENTER to set the

selected option.
[Effects] – You can apply various effects when slid-
ing photos.

OFF: Slide Show without any effect.
Random: Slide show effects are applied randomly.
Slide: Slides a photo from various direction.
Door: Photo will be appear like door opening.
Lattice: Photo will be appear from tiled pieces to
full screen image

[Delay] – You can set the photo delaying time while
Slide Show.

h

Press ENTER to exit the option menu.
To appear the menu again, press ENTER.

PHOTO

Photo file requirement

File extensions: 

“.jpg”, “.jpeg”, “.png”

Recommended size: 

Less than 4,000 x 3,000 x 24 bit/pixel
Less than 3,000 x 3,000 x 32 bit/pixel

CD-R/RW, DVD-R/RW, +R/+RW, BD-R/RE Format: 

ISO 9660+JOLIET, UDF and UDF Bridge format

Maximum Files/Folder: 

Less than 2,000 (total number of files and folders)

Notes on Photo file

Progressive and lossless compression photo
image files are not supported.

Depending on the size and number of the photo
files, it may take several minutes to read the
contents of the media.

b

c

d

e

f

g

h

a

BD320-JN_BUSAJJK_OM_ENG  8/31/09  12:16 PM  Page 28

Содержание BP11 - XV Blu-Ray Disc Player

Страница 1: ... INSTRUCTIONS LVT2101 001A J For customer use Enter below the Model No and Serial No which are located on the rear of cabinet Retain this information for future reference Model No Serial No BD320 JN_BUSAJJK_OM_ENG 8 31 09 12 16 PM Page 1 ...

Страница 2: ...sted kinked pinched closed in a door or walked upon Pay particular attention to plugs wall outlets and the point where the cord exits the appliance To disconnect power from the mains pull out the mains cord plug When installing the product ensure that the plug is easily accessible FCC WARNING This equipment may generate or use radio frequency energy Changes or modifications to this equipment may c...

Страница 3: ... replacement of the obsolete outlet 10 Protect the power cord from being walked on or pinched particularly at plugs convenience receptacles and the point where they exit from the apparatus 11 Only use attachments accessories specified by the manufacturer 12 Use only with the cart stand tripod bracket or table specified by the manufacturer or sold with apparatus When a cart is used use caution when...

Страница 4: ...otapes BD ROM discs DVDs CDs and other materials may subject you to civil and or criminal liability Licenses Java and all Java based trademarks and logos are trademarks or registered trademarks of Sun Microsystems Inc in the United States and other countries Manufactured under license from Dolby Laboratories Dolby and the double D symbol are trademarks of Dolby Laboratories Manufactured under lice...

Страница 5: ...al Settings 17 General Operation 17 DISPLAY Menu 17 LANGUAGE Menu 18 AUDIO Menu 18 LOCK Menu Parental Control 19 OTHERS Menu 20 Operations 21 28 General playback features 21 23 If a disc menu screen is displayed 24 Enlarge the playback image 24 Time Search 24 Skip Search 24 Marker Search 24 Watching from a different angle 24 Last Scene Memory 24 Using Color R G B Y Buttons 25 Screen Saver 25 Chang...

Страница 6: ...ion Before playing clean the disc with a clean cloth Wipe the disc from the center out Do not use strong solvents such as alcohol ben zine thinner commercially available cleaners or anti static spray intended for older vinyl records Moisture Condensation Never operate this product immediately after moving it from a cold location to a warm location Leave it for two or three hours without operating ...

Страница 7: ...de printed on the rear of the unit This unit can play only BD ROM or DVD discs labeled same as the rear of the unit or ALL Notes Depending on the conditions of the recording equipment or the CD R RW or DVD R RW R RW disc itself some CD R RW or DVD R RW R RW discs cannot be played on the unit Do not attach any seal or label to either side the labeled side or the recorded side of a disc Do not use i...

Страница 8: ...s like subtitles and the other plane is assigned to interactive graphic elements such as buttons or menus For both planes various wipes fades and scroll effects may be available Menu sounds When you highlight or select a menu option sounds can be heard such as button clicks or a voice over explaining the highlighted menu choice Multi page PopUp Menus With DVD Video playback is interrupted each tim...

Страница 9: ...on DVD an HDMI or HDCP capable DVI input on your display device is required for copy protected content For Dolby Digital Plus Dolby TrueHD and DTS HD multi channel audio playback An amplifier receiver with a built in Dolby Digital Dolby Digital Plus Dolby TrueHD DTS or DTS HD decoder Main center surround speakers and subwoofer as necessary for chosen format Language setting When turned on for the ...

Страница 10: ...to USB port please take it off after switching off the unit When connecting with a USB cable use the USB 2 0 cable those length is less than 1 m Using the USB Flash Drive 1 Connect a USB Flash Drive 2 Press HOME on the Remote Control 3 Select Music or Photo option then press ENTER 4 Select USB then press ENTER MUSIC or PHOTO menu appears Details for the menu are on pages 27 28 Using the Home Menu ...

Страница 11: ...emporarily press again to exit pause mode h x STOP Stops playback i SKIP Go to next or previous file track chapter Front Panel a b c d e f g h i Rear Panel a AC Power Cord Plug into the power source b HDMI OUT Type A Connect to TV with HDMI inputs Interface for digital audio and video c VIDEO OUT Connect to a TV with video inputs d DIGITAL AUDIO OUT COAXIAL Connect to digital coaxial audio equipme...

Страница 12: ...enu ENTER Acknowledges menu selection RETURN O Exits or closes the menu or resumes playback The resume play function may work depending on the BD ROM disc DISPLAY Displays or exits On Screen Display AUDIO Selects an audio lan guage or audio channel SUBTITLE Selects a subtitle language SUBTITLE ON OFF Switches the subtitle on or off TITLE POP UP Displays the DVD title menu or BD ROM s popup menu if...

Страница 13: ...y result in malfunc tions To solve the problem turn off the player and then turn it on again When the HDMI connection with HDCP is not veri fied TV screen is changed to black screen In this case check the the HDMI connection or discon nect the HDMI cable If there is noise or lines on the screen please check the HDMI cable length is generally limited to 15ft Additional Information for HDMI When you...

Страница 14: ...k record player of your audio system Do not connect your player via your VCR The image could be distorted by the copy protection system Video Connection Connect the VIDEO OUT jack on the player to the video in jack on the TV using a video cable V Audio Left Right Connection Connect the left and right AUDIO OUT jacks of the player to the audio left and right IN jacks on the TV using the audio cable...

Страница 15: ...lifier has HDMI output jack Digital Multi channel sound A digital multi channel connection provides the best sound quality For this you need a multi channel Audio Video Receiver that supports one or more of the audio formats supported by your player Check the receiver manual and the logos on the front of the receiver PCM Stereo PCM Multi Ch Dolby Digital Dolby Digital Plus Dolby TrueHD DTS and or ...

Страница 16: ...he desired resolution then press ENTER to confirm your selection Available resolution according to connection and media format HDMI OUT connection For the 480i resolution setting real output resolu tion of HDMI OUT will change to 480p If you select a resolution manually and then con nect the HDMI jack to TV and your TV does not accept it the resolution setting is set to Auto If you select a resolu...

Страница 17: ...Scan Select when a standard 4 3 TV is connected Displays pictures cropped to fill your TV screen Both sides of the picture are cut off 16 9 Original Select when a 16 9 wide TV is connected The 4 3 picture is displayed with an original 4 3 aspect ratio with black bars appear ing at the left and right sides 16 9 Full Select when a 16 9 wide TV is con nected The 4 3 picture is adjusted horizontally i...

Страница 18: ...L AUDIO OUT and HDMI OUT jack to a device with LPCM Dolby Digital Dolby Digital Plus Dolby TrueHD DTS and DTS HD decoder Notes When HDMI option is set to PCM Multi CH the audio may output as PCM Stereo if the PCM Multi Ch information is not detected from HDMI device with EDID If the HDMI or SPDIF option is set to DTS Re Encode the DTS Re encode audio is outputted for BD ROM discs with secondary au...

Страница 19: ... is cleared DVD Rating Blocks playback of rated disc based on their con tent Not all discs are rated 1 Select DVD Rating on the LOCK menu then press B 2 To access this option you must input the pass word you have created If you have not yet entered password you will be prompted to do so Input a password and press ENTER Enter it again and press ENTER to verify If you make a mistake before pressing ...

Страница 20: ...s ENTER The confirm message will appear Factory Set If you need to you can reset the player to all its factory settings Some options cannot be reset Rating Password and Area Code etc BD Storage Clear Deletes the BD contents from the connected USB Flash Drive The files such as music or photo file stored in the USB Flash Drive except BD contents are not erased 3 Use b B to select Yes or No then pres...

Страница 21: ...deo DVD and AVCHD discs if you press x STOP on the front panel in Resume Stop mode and Movie is highlighted on the Home menu the unit will resume playback from the scene point On BD ROM interactive title the unit will be in Complete Stop mode if you press x STOP once dur ing playback X PAUSE During playback press X PAUSE to pause playback Tip During Audio CD or MP3 WMA playback press X PAUSE once ...

Страница 22: ...eatedly to select Off Note You cannot select a portion less than 3 seconds Playing in random order During playback press REPEAT repeatedly to select a Random or Random All All mode icon The tracks or files will be played in random order To return to normal playback press REPEAT repeatedly to delete the mode icons Tip When you are using the repeat A B repeat or ran dom functions in the MUSIC menu r...

Страница 23: ...ENU button and choose the appropriate audio from the selections on the disc menu Immediately after you have switched sound there may be a temporary discrepancy between the display and actual sound On BD ROM disc the multi audio format 5 1CH or 7 1CH is displayed with MultiCH in the on screen display Notes on general features When you turn on the player or replace a disc the player returns to the i...

Страница 24: ...a Marker You can start playback from up to nine memorized points To enter a marker press MARKER at the desired point on the disc The Marker icon appears on the TV screen briefly Repeat to enter up to nine markers To Recall or Clear a Marked Scene 1 Press SEARCH and the search menu appears on the screen 2 Press a number button to select a marker num ber that you want to recall Playback starts from ...

Страница 25: ... Press DISPLAY to show various playback infor mation The items displayed differ depending on the disc type or playing status 2 During BD ROM or DVD playback you can select an item by pressing v V and change or select the setting by pressing b B Title Track Current title track number total number of titles tracks Chapter Current chapter number total num ber of chapters Time Elapsed playing time Aud...

Страница 26: ...enu Notes On the MOVIE menu use red or blue button to move to the first or the last file or track and green or yellow button to move to the previous or next page Unfinalized DVD VR format discs may not be played in this player Some DVD VR disc are made with CPRM data by DVD RECORDER This unit cannot support these kinds of discs What is CPRM CPRM is a copy protection system with scramble system onl...

Страница 27: ...b B to select a folder then press ENTER and you can view the files in the folder If you want to move to the upper or lower directory use v V to move to the desired direc tory On the MUSIC menu use red or blue button to move to the first or the last file or track and green or yellow button to move to the previous or next page The equalizer indicator is not coupled with the music in play back If the...

Страница 28: ...s ENTER to start or pause the slide show c Press ENTER to play or pause the background music This option is available after the background music is selected using Music Select option d Selects the background music 1 Press ENTER and the menu will appear 2 Use v V b B to select a media or folder that there are music file s 3 Press ENTER to confirm your selection e Press ENTER to rotate the picture c...

Страница 29: ...ambodian 7577 Catalan 6765 Chinese 9072 Corsican 6779 Croatian 7282 Czech 6783 Danish 6865 Dutch 7876 English 6978 Esperanto 6979 Estonian 6984 Faroese 7079 Language Code Fiji 7074 Finnish 7073 French 7082 Frisian 7089 Galician 7176 Georgian 7565 German 6869 Greek 6976 Greenlandic 7576 Guarani 7178 Gujarati 7185 Hausa 7265 Hebrew 7387 Hindi 7273 Hungarian 7285 Icelandic 7383 Indonesian 7378 Interl...

Страница 30: ... finalized The Remote Control is not pointed at the remote sensor on the player The Remote Control is too far from the player A state is unstable Correction Plug the power cord into the wall out let securely Insert a disc Select the appropriate video input mode on the TV Connect the video cable securely Select another resolution using RESOLUTION button Select the correct input mode of the audio re...

Страница 31: ... 0 Vrms 1 kHz 0 dB 600 Ω RCA jack L R x 1 DIGITAL OUT COAXIAL 0 5 V p p 75 Ω RCA jack x 1 System Laser Semiconductor laser wavelength 405nm 650 nm Signal system Standard NTSC Color TV system Frequency response 20 Hz to 20 kHz 48 kHz 96 kHz 192 kHz sampling Signal to noise ratio More than 100 dB ANALOG OUT connectors only Harmonic distortion Less than 0 008 Dynamic range More than 95 dB Bus power s...

Страница 32: ... If you set the HDMI option to PCM Multi CH or Primary Pass Thru the SPDIF option is set to PCM Stereo automatically Also if you set the SPDIF option to DTS Re Encode the HDMI option is set to PCM Stereo automatically 4 The LPCM audio recorded at 192kHz sampling frequency will be outputted as stereo sound 5 On the PCM audio output the sampling frequency of SPDIF DIGITAL AUDIO OUT is limited to 96 ...

Страница 33: ...k cs few eur nl Copyright 1993 Branko Lankester branko hacktic nl Copyright 1993 Ulrich Pegelow pegelow moorea uni muenster de Copyright 1995 1996 Michael Elizabeth Chastain mec duracef shout net Copyright 1993 1994 1995 1996 Rick Sladkey jrs world std com Copyright 1999 2000 Wichert Akkerman wakkerma debian org All rights reserved Permission is hereby granted free of charge to any person obtainin...

Страница 34: ...34 BD320 JN_BUSAJJK_OM_ENG 8 31 09 12 16 PM Page 34 ...

Страница 35: ...35 MEMO Reference BD320 JN_BUSAJJK_OM_ENG 8 31 09 12 16 PM Page 35 ...

Страница 36: ...XV BP10 XV BP11 EN 0809SKMLGEEGL P N MFL62026484 BD320 JN_BUSAJJK_OM_ENG 8 31 09 12 16 PM Page 36 ...

Отзывы: