1-13
UX-G6/FS-G6
23
English
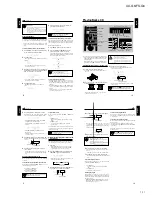
Dolby B NR
Press DOLBY B NR button before recording to
reduce frequency response noise.
When the tape is played back later, also press the
button with its lamp lit.
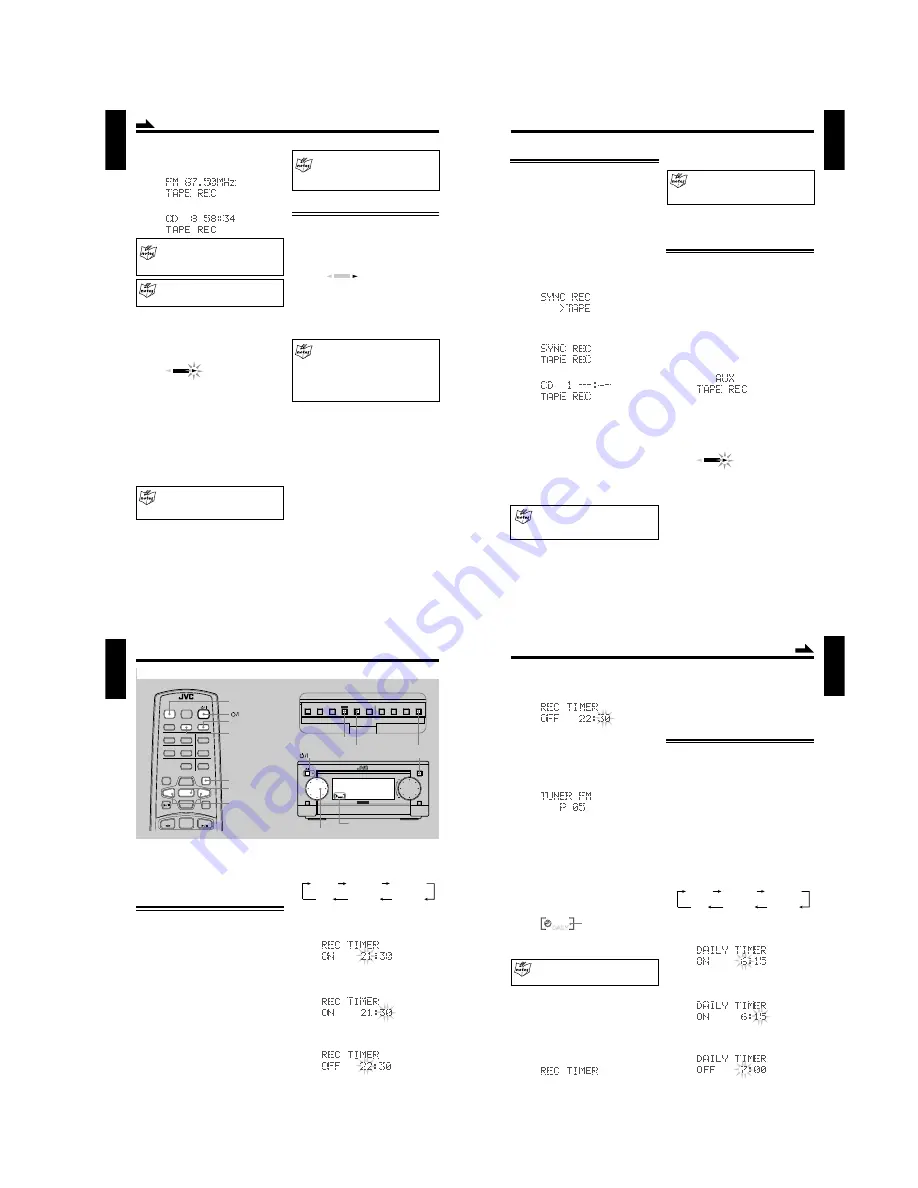
Recording in Auto Reverse
1
Select one of the recording sources — FM/AM
broadcasts, CD, or other external equipments.
2
Make sure the tape side for recording meets the
tape direction indicator
3
(forward).
• Each time to press
`
(playback) button or TAPE
`
(playback) button on the remote control, you can
change the tape direction to be recorded onto.
3
3
3
3
3
: Good, records onto the forward side.
2
2
2
2
2
: No good, records onto the reverse side.
• The recording in the auto reverse mode stops
automatically after completing recording onto the
2
(reverse) direction side.
Be sure to start recording from the
3
(forward)
direction side.
• When the auto reverse mode is set to off, recording
stops after having recorded onto one side of the
tape.
3
Press
π
(auto reverse) button on the cassette deck
unit to set the reverse mode on.
The auto reverse lamp lights orange on the front panel.
4
Press REC PAUSE button on the cassette deck unit.
5
Repeat the steps 4 to 5 of “Manual Recording onto
a Tape” mentioned in the left column.
REC indicator lights red to show the recording pause
mode, and “TAPE REC” appears in the display window
as follows,
or
To change the recording source
You cannot change the selected source during the
recording pause mode. To exit from the recording
pause mode, press
7
(stop) button on the cassette deck
unit.
To make the blank tape
Press AUX button to start recording without
connecting nor playing back the external equipment.
4
Press Tape
`
(playback) button for FM/AM
broadcasts or
6
(play/pause) button on the CD unit
to start recording.
Tape direction indicator starts blinking slowly in the
display window.
•
To stop recording for a moment,
press REC PAUSE
button on the cassette deck unit. Tape direction
indicator stops blinking in the display window.
•
To resume recording,
press
`
(playback) button
again. Recording continues from the point where it
was stopped for a while.
5
Press
7
(stop) button on the cassette deck unit for
FM/AM broadcasts recording, or
7
(stop) button on
the CD unit for the CD recording.
Recording stops and REC indicator goes off in the
display window.
On CD recording, cassette deck unit will stop
after leaving a non-recorded portion of 4 seconds.
If you want to quit recording immediately, press
7
7
7
7
7
(stop) button on the cassette deck unit.
6
Press
0
(open/close) button on the cassette deck
unit to remove the tape.
• Pressing
0
(open/close) button directly during
recording , the cassette deck unit stops recording and
opens the tape tray.
REC
Tape direction indicator
REC
forward
reverse
Continued
24
English
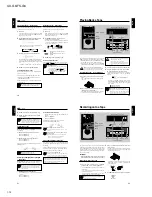
Synchronized Recording from a CD
CD application on UX-G6 system can be recorded with a
simple, one-touch operation.
1
Place a recordable tape and a source CD into each
tray.
• To record using Dolby B NR, press the DOLBY B
NR button before recording so that its lamp near the
button lights orange.
2
Press
6
(play/pause) button on the CD unit, then
7
(stop) button to set the system to CD operation
mode.
3
Press REC MODE button behind the sliding panel.
The display window shows information as follows:
4
Press SET button.
Display window shows as follows:
then
UX-G6 starts playback on the CD unit as well as
recording on the cassette deck unit simultaneously.
You can get an entire copy of the source CD.
To select a particular track or program,
use REC
PAUSE button on the cassette deck unit. During SYNC
REC mode, you cannot operate CD unit except
7
(stop)
button.
•
To make recording pause temporarily,
press REC
PAUSE button on the cassette deck unit.
•
To resume recording,
press
`
(playback) button
on the cassette deck unit.
Using Program play for CD recording
To edit CD’s tracks to be recorded, it is useful to set
the desired tracks to be played back into a program
in advance.
When CD playback finished, the CD unit first, then
the cassette deck stops recording automatically.
Cassette deck unit will stop after leaving a non-
recorded portion of 4 seconds.
If you want to quit recording immediately, press
7
(stop) button on the cassette deck unit.
5
Press
0
(open/close) button on each unit to remove
the CD and the tape.
Recording from the External Equipment
You can record audio sources played-back on the external
equipment onto a tape manually.
First of all, make sure to connect the external equipment
properly (see also page 9).
Recording an external audio source manually
1
Press AUX button to show “AUX” in the display
window.
The external audio source is selected.
2
Repeat the steps 2 and 3 on page 22 to prepare a
tape to record.
Information appears as follows:
3
Press
`
(playback) button on the cassette deck unit
or TAPE
`
(playback) button on the remote control
to start recording.
Tape direction indicator starts blinking slowly in the
display window.
4
Start playing back the external equipment.
•
To stop recording for a moment,
press REC PAUSE
button on the cassette deck unit. Tape direction
indicator stops blinking in the display window.
•
To resume recording,
press
`
(playback) button
again.
•
To end the recording,
press
7
(stop) button on the
cassette deck unit.
Recording stops and REC indicator goes off in the
display window.
REC
Tape direction indicator
25
English
• Each time you press the button, the timer mode
changes as follows:
2
Rotate MULTI JOG dial (< / > button on the remote
control also available) to select the hour of the timer-
on time, then press SET button.
3
Rotate MULTI JOG dial (< / > button on the remote
control also available) to select the minute of the
timer-on time, then press SET button.
4
Rotate MULTI JOG dial (< / > button on the
remote control also available) to select the hour of
the timer-off time, then press SET button.
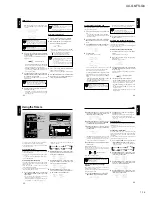
On UX-G6 system, three timer features are available —
Recording Timer, Daily Timer, and Sleep Timer.
Before using these timers, you need to set the clock built in
the system (see page 10).
Using Recording Timer
With Recording Timer, you can make a tape of a radio
broadcast automatically.
• You can set Recording Timer whether the system is turned
on or off.
• To correct a mis-entry any time during the setting process,
press CANCEL button.
How Recording Timer actually works
The system automatically turns on, tunes into the specified
station, turns off the volume, and starts recording when the
timer-on time comes.
Then, when the timer-off time comes, the system
automatically turns off (standby).
The timer settings remain stored in memory until you reset
them or unplug the AC power cord.
1
Press CLOCK/TIMER button repeatedly until
“REC TIMER” and its timer-on time appear in the
display window.
You can select the timer-on/off time, a tuner preset
channel to record, and recording media.
• If MD recorder XM-G6 (not supplied) connected, you
can select MD as recording media (see page 7).
Using the Timers
MD
ENTER
AUTO PRESET
PLAY MODE
FM MODE
CANCEL
DISPLAY
/CHARA.
BASS
SLEEP
PANEL
OPEN/CLOSE
REMOTE CONTROL RM-SUXG6E
TAPE
FM/AM
DOWN
SET
UP
AUX
TITTLE/EDIT
REPEAT
TREBLE
DIMMER
CLOCK/TIMER
CD
ACTIVE
BASS EX.
SET
CANCEL
CLOCK/TIMER
SLEEP
< / >
>
<
(standby/on)
PANEL
OPEN/CLOSE
DAILY TIMER
REC TIMER
Clock
(canceled)
DAILY TIMER
ON
0:00
REC TIMER
ON
0:00
DISPLAY
/CHARA.
PLAY
MODE
REC
MODE
TITLE
/EDIT
CLOCK
/TIMER
CANCEL
ENTER
SET
SET
CANCEL
CLOCK/TIMER
Buttons behind the sliding panel
4
¢
M I C R O
C O M P O N E N T
S Y S T E M U X - G 6
MOS - FET
OPEN/CLOSE
AUX
VOLUME
MULTI
FM/AM
STANDBY/ON
JOG
MULTI JOG
OPEN/CLOSE
REC
STANDBY/ON
Timer indicators
26
English
2
Press SET button to call the previous settings for
next timer recording.
The REC timer indicator lights, and the setting items
appear one after another in the display window.
• To erase the recording timer, press CANCEL button
in this step.
Using Daily Timer
With Daily Timer, you can wake up on your favorite music
or radio program.
• You can set the daily timer whether the system is turned
on or off.
How Daily Timer actually works
The system automatically turns on, and starts playing the
specified source when the timer-on time comes. Then, when
the timer-off time comes, the system automatically turns
off (standby).
The timer settings remain stored in memory until you reset
them or disconnect the AC power cord.
1
Press CLOCK/TIMER button repeatedly until
“DAILY TIMER” and its timer-on time appear.
• Each time you press the button, the timer mode
changes as follows:
2
Rotate MULTI JOG dial (< / > button on the remote
control also available) to select the hour of the timer-
on time, then press SET button.
3
Rotate MULTI JOG dial (< / > button on the remote
control also available) to select the minute of the
timer-on time, then press SET button.
4
Rotate MULTI JOG dial (< / > button on the remote
control also available) to select the hour of the timer-
off time, then press SET button.
5
Rotate MULTI JOG dial (< / > button on the remote
control also available) to select the minute of the
timer-off time, then press SET button.
6
Rotate MULTI JOG dial (< / > button on the remote
control also available) to select either “TUNER FM”
or “TUNER AM,” then press SET button.
7
Rotate MULTI JOG dial (< / > button on the remote
control also available) to select a preset channel, then
press SET button.
“TAPE REC” follows in the display window as selected
recording media, unless any MD recorder connected.
• If XM-G6 MD recorder connected, you can select
either a tape or an MD as recording media.
8
Press SET button to select recording media, and turn
off the system.
After completing the settings...
The REC timer indicator lights and the setting items appear one
after another in the display window. Thus the Recording Timer is
ready for unattended recording.
After a timer recording is complete...
Set the volume to an appropriate listening level.
If you press a certain button while Recording
Timer is operating
Recording will stop.
To use the same Recording Timer settings
repeatedly
Once you have set the recording timer, it remains stored
in memory until you change it.
To activate the recording timer with the previous settings,
follow the procedure below:
1
Press CLOCK/TIMER button repeatedly until
“REC TIMER” appears in the display window.
DAILY TIMER
REC TIMER
Clock
(canceled)
DAILY TIMER
ON
0:00
REC TIMER
ON
0:00
REC
REC timer indicator
Continued
Содержание AX-UXG6
Страница 16: ...1 16 UX G6 FS G6 M E M O ...
Страница 17: ...2 1 UX G6 FS G6 AX UXG6 ...
Страница 27: ...2 11 UX G6 FS G6 XT UXG6 ...
Страница 46: ...2 30 UX G6 FS G6 M E M O ...
Страница 47: ...2 31 UX G6 FS G6 TD UXG6 ...
Страница 65: ...2 49 UX G6 FS G6 A B C D E F G 3 4 5 2 1 FL Display and micom section AX UXG6 ...
Страница 66: ...2 50 UX G6 FS G6 A B C D E F G 3 4 5 2 1 System control section XT UXG6 Main signal ...
Страница 68: ...2 52 UX G6 FS G6 A B C D E F G 3 4 5 2 1 Tuner section XT UXG6 except Ver J FM Tuner signal ...
Страница 69: ...2 53 UX G6 FS G6 A B C D E F G 3 4 5 2 1 Tuner section XT UXG6 only Ver J FM Tuner signal ...
Страница 71: ...2 55 UX G6 FS G6 A B C D E F G 3 4 5 2 1 Dolby section TD UXG6 Tape playback signal Tape recording signal ...
Страница 72: ...2 56 UX G6 FS G6 A B C D E F G 3 4 5 2 1 Printed circuit boards System control Main amplifier board AX UXG6 ...
Страница 73: ...2 57 UX G6 FS G6 A B C D E F G 3 4 5 2 1 System control Analog IN digital OUT board XT UXG6 ...
Страница 74: ...2 58 UX G6 FS G6 A B C D E F G 3 4 5 2 1 CD Servo Main board XT UXG6 ...
Страница 75: ...2 59 UX G6 FS G6 A B C D E F G 3 4 5 2 1 Main board TD UXG6 ...
Страница 76: ...2 60 UX G6 FS G6 A B C D E F G 3 4 5 2 1 Tuner board TD UXG6 ...
Страница 85: ...3 9 UX G6 FS G6 M E M O ...


