1-10
UX-G6/FS-G6
11
English
Common Operations
Here are basic and common things that apply to all the
operations of UX-G6 system.
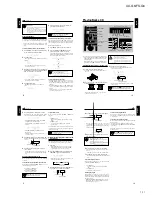
Adjusting the Voltage Selector
Before plugging in the system, set the correct voltage for
your area with the voltage selector on the rear of AX-UXG6
unit.
[A]
[B]
Notes on [B] type voltage selector
115 V position of the selector covers from 110 V to
120 V in service, and 230 V position covers from
220 V to 240 V in service.
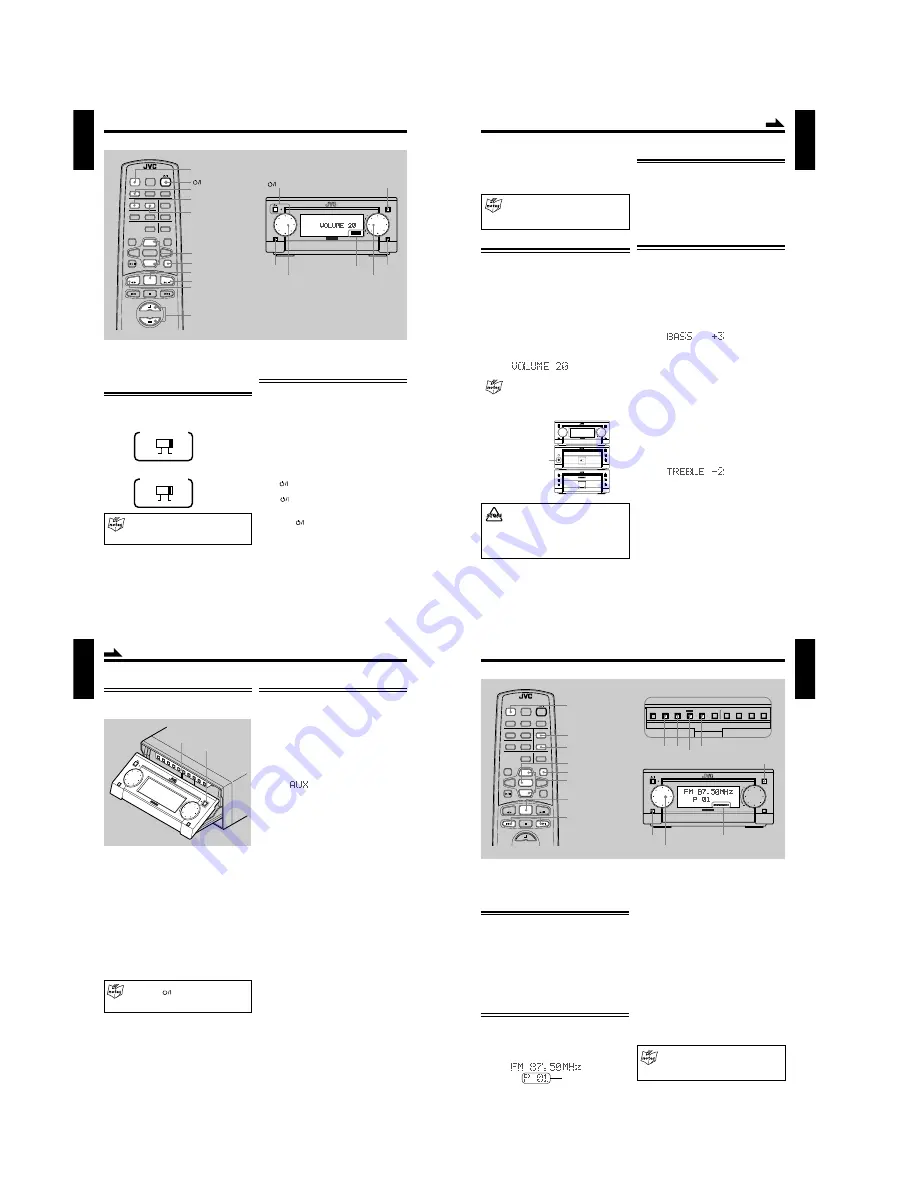
Turning On the Power and Selecting the
Sources
When you press a play button for example, like FM/AM,
CD
6
(play/pause), or TAPE
23
(playback), the system
automatically turns on and STANDBY/ON lamp lights
green.
One Touch Play
If any CD or a tape, or last tuned station provided, the system
starts playing that source.
To select the external equipment as the source, press MD
6
(play/pause) or AUX button so that the system
automatically turns on.
Using
button
•
To turn on the system without playing,
press
button so that STANDBY/ON lamp lights
green.
•
To turn off the system (standby mode),
press again
button so that STANDBY/ON lamp
lights red.
A little power is always consumed even while the system
is in standby mode.
M I C R O
C O M P O N E N T
S Y S T E M U X - G 6
MOS - FET
OPEN/CLOSE
AUX
VOLUME
MULTI
FM/AM
STANDBY/ON
JOG
FM/AM
MULTI JOG
VOLUME
AUX
OPEN/CLOSE
BASS
BASS indicator
STANDBY/ON
VOLUME
MD
ENTER
AUTO PRESET
PLAY MODE
FM MODE
CANCEL
DISPLAY
/CHARA.
BASS
SLEEP
PANEL
OPEN/CLOSE
REMOTE CONTROL RM-SUXG6E
>
<
TAPE
FM/AM
DOWN
SET
UP
AUX
TITTLE/EDIT
REPEAT
TREBLE
DIMMER
CLOCK/TIMER
CD
ACTIVE
BASS EX.
(standby/on)
CD
6
(play/pause)
AUX
TAPE
`
(playback)
PANEL
OPEN/CLOSE
ACTIVE BASS EX.
TREBLE
BASS
FM/AM
VOLUME (+/–)
UP/DOWN
110-120V 220-240V
j
VOLTAGE SELECTOR
115V
230V
j
VOLTAGE SELECTOR
12
English
•
To save the power consumption,
make use of Dimmer
feature (see page 10).
•
To switch off the power supply completely,
unplug the
AC power cord from the AC outlet. STANDBY/ON lamp
goes off.
When you unplug the AC power cord
or if a power failure occurs
The clock is reset to “0:00” right away, while the
tuner preset stations will be erased in a few days.
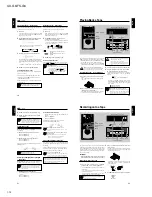
Adjusting the Volume
You can adjust the volume level only while the system is
turned on.
• Rotate VOLUME dial clockwise to increase the volume
level or counterclockwise to decrease it.
• Using VOLUME dial, rotating quickly makes a large
change in the volume level while rotating slowly makes a
step-by-step change.
• When using the remote control, press VOLUME
+
button
to increase the volume level or press VOLUME
–
button
to decrease it.
The volume level (from 0 to 50) appears in the display
window as follows:
For private listening
Connect a pair of headphones to the PHONES jack.
No sound comes out of the speakers. Be sure to turn
down the volume level before connecting or putting
headphones.
DO NOT turn off the system with the volume level set
to an extremely high level; otherwise, the sudden blast
of sound can damage your hearing, speakers and/or
headphones when you turn on the system or start
playing any source.
REMEMBER you cannot adjust the volume level while
the system is turned off.
Continued
Reinforcing the Bass Sound
The richness and fullness of the bass sound is maintained
regardless of how low you set the volume level.
You can use this effect only while listening sources.
•
To get the effect,
press ACTIVE BASS EX. button on
the remote control, and its indicator lights in the display
window.
•
To cancel the effect,
press the button again so that the
indicator goes off.
Adjusting Bass and Treble Sounds
You can adjust bass and treble sound effects with the remote
control, conforming to your preference and acoustic
surroundings.
You can use this effect only while listening sources.
To adjust the bass
1
Press BASS button.
The current level settings shortly appears as follows:
To exit from the level setting, press the button again.
2
Press UP/DOWN button to adjust the level.
• Press UP button to increase the bass tone level.
• Press DOWN button to decrease the bass tone level.
The bass level can be adjusted in seven steps from –3
through 0 to +3 (step “0” makes no effect).
To cancel the effect,
adjust the level to “0.”
To adjust the treble
1
Press TREBLE button.
The current level settings shortly appears as follows:
To exit from the level setting, press the button again.
2
Press UP/DOWN button to adjust the level.
• Press UP button to increase the treble tone level.
• Press DOWN button to decrease the treble tone level.
The treble level can be adjusted in seven steps from –3
through 0 to +3 (step “0” makes no effect).
To cancel the effect,
adjust the level to “0.”
1 B I T
P • E • M
D • D • C O N V E R T E R
PHONES
COMPACT
DIGITAL AUDIO
REC PAUSE
DOLBY B NR
AUTO
REVERSE
REC
M I C R O
C O M P O N E N T
S Y S T E M U X - G 6
MOS - FET
OPEN/CLOSE
AUX
VOLUME
MULTI
FM/AM
STANDBY/ON
JOG
PHONES jack
13
English
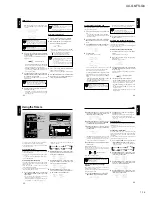
Operating the Sliding Panel
You can use the sliding panel to enable advanced operations
features provided for UX-G6 micro component system.
• Press OPEN/CLOSE button on the front panel (or PANEL
OPEN/CLOSE button on the remote control).
The sliding panel opens to uncover the inner buttons
behind the panel for further operations.
• Press OPEN/CLOSE button again.
The sliding panel automatically closes to hide the 10 inner
buttons.
Each time you press the button, the sliding panel opens and
closes repeatedly.
The buttons behind the sliding panel provided to control
various program settings such as playback, recording, and
presetting mode of each source. For details, refer to chapters
concerning to the particular unit.
When turning off the system
After pressing
button, the system closes sliding
panel as well as other CD tray and Tape tray
automatically if they are still opened.
MOS - FET
M
I C
R
O
C
O
M
P
O
N
E
N
T
S
Y
S
T
E
M
U
X
- G
6
OPEN/CLOSE
AUX
VOLUME
MUL
TI
FM/AM
ST
ANDBY/ON
JOG
Inner Buttons
OPEN/CLOSE
Continued
Listening to the External Equipment
You can listen to an external equipment such as MD recorder,
VCR, and other auxiliaries.
First make sure that the external equipment is properly
connected to the system (see page 7 and 9). For operation
of the equipment, refer to its Instructions.
1
Press AUX button to select an external source.
• To play an audio equipment without optical digital
output, select AUX so that the following information
appears in the display window.
2
Start playing back the external equipment.
3
Adjust the volume level to the desired listening
level.
4
Apply other sound effects, if you wish.
14
English
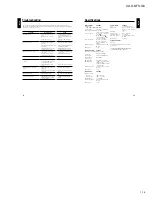
You can tune in FM and AM stations manually,
automatically, and use the preset station feature.
Setting the AM Tuner Interval Spacing
Some countries space AM stations 9 kHz apart, and some
countries use 10 kHz spacing.
When shipped, the built-in AM tuner is set to 9 kHz spacing.
•
To set the frequency spacing — on the front panel only
Press FM/AM button first.
While pressing and holding
7
(stop) button on XT-UXG6,
press FM/AM button on AX-UXG6 repeatedly to select
“AM–9kHz” or “AM–10kHz” appeared alternately in the
display window.
Tuning in a Station
1
Press FM/AM button.
The system automatically turns on and tunes in the last
tuned station (either FM or AM). The following
information appears in the display window.
• Each time you press the button, the band alternates
between FM and AM.
• If a program on FM band is broadcast in stereo,
STEREO indicator lights.
2
Select a station using one of the following three
methods.
•
Manual Tuning
Opening the sliding panel, press
4
/
¢
(lower/
higher frequencies) button repeatedly to change the
frequencies step by step until you find the desired
station.
•
Auto Tuning
Opening the sliding panel, press and hold
4
/
¢
(lower/higher frequencies) button for a second or more
to start searching a station and stop automatically until
the station of sufficient signal strength is tuned in.
•
Preset Station Tuning
Rotate MULTI JOG dial clockwise to increase the
preset number or counterclockwise to decrease it
until the desired station is easily found.
Using the remote control:
UP/DOWN
button on the remote control also has
the same function as
MULTI JOG
dial on the front
panel.
Listening to FM and AM Broadcasts
VOLUME
MD
ENTER
AUTO PRESET
PLAY MODE
FM MODE
CANCEL
DISPLAY
/CHARA.
BASS
SLEEP
PANEL
OPEN/CLOSE
REMOTE CONTROL RM-SUXG6E
>
<
TAPE
FM/AM
DOWN
SET
UP
AUX
TITTLE/EDIT
REPEAT
TREBLE
DIMMER
CLOCK/TIMER
CD
ACTIVE
BASS EX.
FM/AM
UP/DOWN
FM MODE
AUTO PRESET
SET
CANCEL
4
/
¢
PANEL
OPEN/CLOSE
DISPLAY
/CHARA.
PLAY
MODE
REC
MODE
TITLE
/EDIT
CLOCK
/TIMER
CANCEL
ENTER
SET
4
¢
SET
CANCEL
Buttons behind the sliding panel
¢
4
M I C R O
C O M P O N E N T
S Y S T E M U X - G 6
MOS - FET
OPEN/CLOSE
AUX
VOLUME
MULTI
FM/AM
STANDBY/ON
JOG
MULTI JOG
STEREO/MONO
indicator
FM/AM
OPEN/CLOSE
Preset number
Содержание AX-UXG6
Страница 16: ...1 16 UX G6 FS G6 M E M O ...
Страница 17: ...2 1 UX G6 FS G6 AX UXG6 ...
Страница 27: ...2 11 UX G6 FS G6 XT UXG6 ...
Страница 46: ...2 30 UX G6 FS G6 M E M O ...
Страница 47: ...2 31 UX G6 FS G6 TD UXG6 ...
Страница 65: ...2 49 UX G6 FS G6 A B C D E F G 3 4 5 2 1 FL Display and micom section AX UXG6 ...
Страница 66: ...2 50 UX G6 FS G6 A B C D E F G 3 4 5 2 1 System control section XT UXG6 Main signal ...
Страница 68: ...2 52 UX G6 FS G6 A B C D E F G 3 4 5 2 1 Tuner section XT UXG6 except Ver J FM Tuner signal ...
Страница 69: ...2 53 UX G6 FS G6 A B C D E F G 3 4 5 2 1 Tuner section XT UXG6 only Ver J FM Tuner signal ...
Страница 71: ...2 55 UX G6 FS G6 A B C D E F G 3 4 5 2 1 Dolby section TD UXG6 Tape playback signal Tape recording signal ...
Страница 72: ...2 56 UX G6 FS G6 A B C D E F G 3 4 5 2 1 Printed circuit boards System control Main amplifier board AX UXG6 ...
Страница 73: ...2 57 UX G6 FS G6 A B C D E F G 3 4 5 2 1 System control Analog IN digital OUT board XT UXG6 ...
Страница 74: ...2 58 UX G6 FS G6 A B C D E F G 3 4 5 2 1 CD Servo Main board XT UXG6 ...
Страница 75: ...2 59 UX G6 FS G6 A B C D E F G 3 4 5 2 1 Main board TD UXG6 ...
Страница 76: ...2 60 UX G6 FS G6 A B C D E F G 3 4 5 2 1 Tuner board TD UXG6 ...
Страница 85: ...3 9 UX G6 FS G6 M E M O ...


