Juniper SRX345 Скачать руководство пользователя страница 2

have either a single AC power supply or dual AC power supplies. The SRX345 DC models have a single power supply.

This guide covers SRX345 AC models.
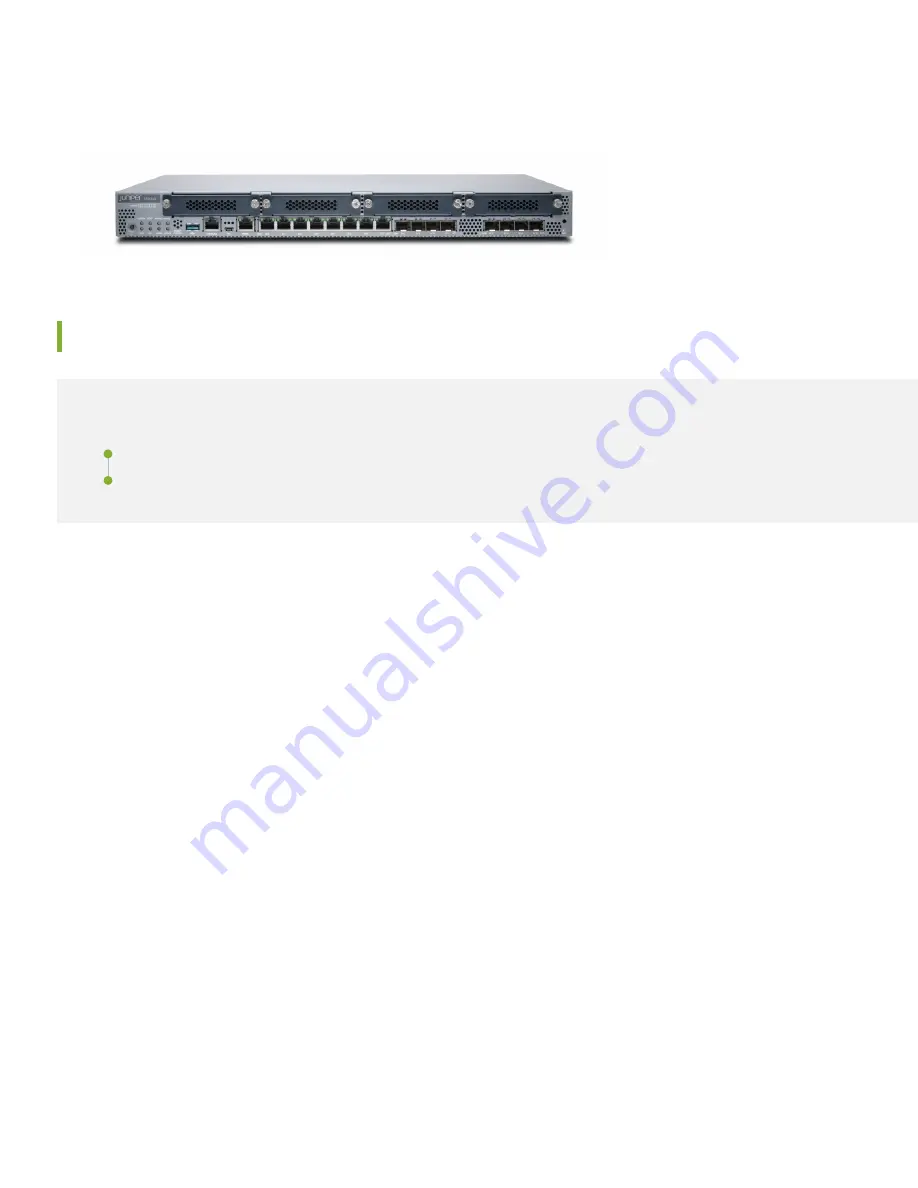
Install the SRX345

IN THIS SECTION

What’s in the Box? | 2

What Else Do I Need? | 2

What’s in the Box?

SRX345 Services Gateway

A power cord appropriate for your geographic location

An RJ-45 cable

A DB-9 adapter

A USB cable

Two mounting brackets

Eight mounting screws to attach the mounting brackets to the SRX345

What Else Do I Need?

You’ll also need:

Someone to help you do the installation

Rack mount screws appropriate for your rack

A number two Phillips (+) screwdriver

2

Содержание SRX345

Страница 1: ...ughput and 800 Mbps IPsec VPN to meet the needs of midsize distributed enterprise locations Along with Juniper Sky Enterprise and Contrail Service Orchestration CSO the SRX300 line delivers fully auto...

Страница 2: ...t Else Do I Need 2 What s in the Box SRX345 Services Gateway A power cord appropriate for your geographic location An RJ 45 cable A DB 9 adapter A USB cable Two mounting brackets Eight mounting screws...

Страница 3: ...other end to a site ESD point 3 Attach the mounting brackets to the sides of the SRX345 using the eight mounting screws and the screwdriver Depending on how you d like the SRX345 to sit in the rack yo...

Страница 4: ...op holes 6 Check that the mounting brackets on each side of the rack are level Power On Now that you ve installed your SRX345 in the rack you re ready to connect it to power 1 Attach an electrostatic...

Страница 5: ...rn it on 7 If you are using a SRX345 Services Gateway with dual AC power supplies then repeat Step 3 through Step 5 for the second power supply The SRX345 powers up as soon as you connect it to power...

Страница 6: ...ks Contrail Service Orchestration CSO To use CSO you ll need an authentication code See the Contrail Service Orchestration CSO Deployment Guide If you are using Junos OS Release 19 2 or earlier you ca...

Страница 7: ...pen a browser and type https 192 168 1 1 The Phone Home Client page appears b Click Skip to J Web at the bottom of the screen The Skip to J Web page appears c Type a root authentication password and c...

Страница 8: ...Go to http www juniper net If the webpage doesn t load check the Internet connection After you complete these steps you can start using the SRX345 on your network right away You can go back and custo...

Страница 9: ...t up the SRX345 in chassis cluster mode Passive Set up the SRX345 in Tap mode Tap mode enables the SRX345 to passively monitor traffic flows across a network Step 3 Keep Going Congratulations Your SRX...

Страница 10: ...ct and defend your network See Installing Software on SRX Series Devices Manage software upgrades for your SRX345 See the Junos OS Release Notes Stay up to date on new and changed features and known a...

Отзывы: