


10. Place one hand under the power supply to support it. Grasp the power supply handle with your other
hand and pull the power supply completely out of the chassis.
11. Place the power supply in the antistatic bag or on the antistatic mat placed on a flat, stable surface.
12. If you are not immediately replacing the power supply, install the cover panel over the slot.
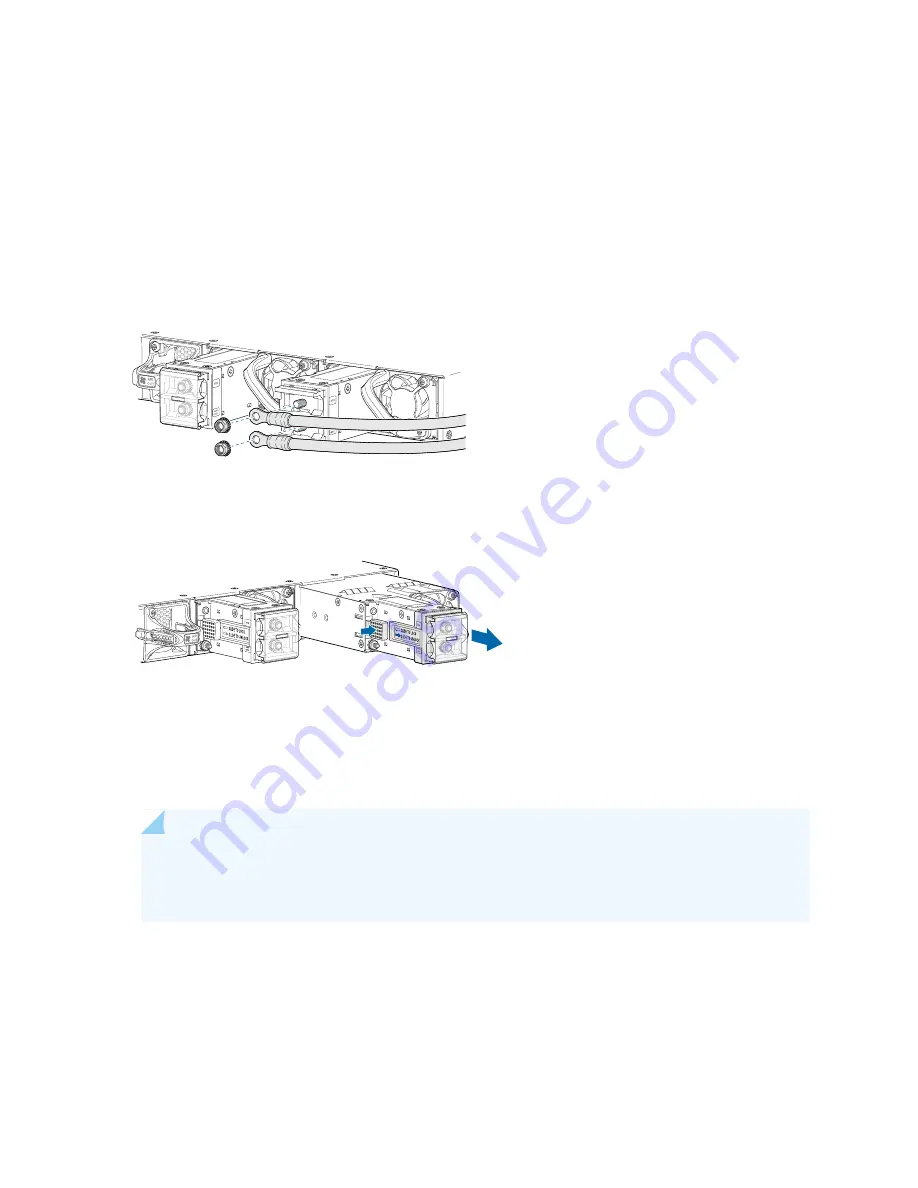
Figure 36: Removing the DC Power Cables
g009524
Figure 37: Removing a DC Power Supply
g009523
Installing the SRX4600 Services Gateway DC Power Supply
You can install an DC Power Supply without powering off the services gateway or disrupting services
gateway functions.
NOTE:
Before you remove a power supply from the services gateway, ensure that you have
taken the necessary precautions to prevent ESD damage (see Prevention of Electrostatic Discharge
Damage).
Ensure that you have the following tools and parts available:
•
ESD grounding strap
•
An antistatic bag or an antistatic mat
•
Socket nut driver
97
Содержание SRX-4600
Страница 1: ...SRX4600 Services Gateway Hardware Guide Published 2020 02 28 ...
Страница 18: ......
Страница 42: ......
Страница 62: ......
Страница 82: ......
Страница 122: ...5 CHAPTER Troubleshooting Hardware Troubleshooting the SRX4600 127 ...
Страница 123: ......
Страница 134: ......
Страница 147: ...151 ...
Страница 150: ...Restricted Access Area Warning 154 ...
Страница 157: ...161 ...
Страница 170: ...Jewelry Removal Warning 174 ...
Страница 173: ...Operating Temperature Warning 177 ...
Страница 183: ...DC Power Disconnection Warning 187 ...
Страница 187: ...DC Power Wiring Sequence Warning 191 ...
Страница 190: ...DC Power Wiring Terminations Warning 194 ...
Страница 193: ...DC Power Disconnection Warning 197 ...
Страница 197: ...DC Power Wiring Sequence Warning 201 ...
Страница 200: ...DC Power Wiring Terminations Warning 204 ...


