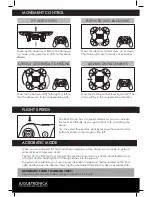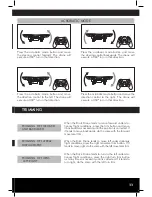
MOVEMENT CONTROL
FLIGHT SPEEDS
UP AND DOWN
GIROS A IZQUIERDA Y DERECHA
LATERAL DISPLACEMENTS
FORWARD AND BACKWARD
Move up the power lever (left) to the drone go
up. Lowers the power lever (left) to the drone
down.
The Brick Drone has a 4-speed selector so you can increase
the level of difficulty as you get familiar with controlling the
drone.
You can select th speed you want by pressing the speed control
button as shown in the image on the left.
Move the power lever (left) to the right or left so
that the drone turn to the corresponding side.
Move the steering control lever right or left: The
drone will fly in the corresponding direction.
Move the steering control lever up or down:
The drone will move forwards or backwards.
ACROBATIC MODE
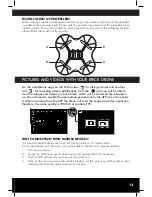
When you’ve controlled the flight and basic operation of the drone, you’re ready to perform
some tricks and impressive stunts.
The first of all is that you fly at a height of more than 3 meters, since all the stunts lead to a loss
of height, and so avoiding that the drone crashes into the ground.
To perform its acrobatics, you have to press the button “aerobatics” (button located on the front
right) and then push the direction lever (right) in the desired direction to make an acrobatic 360.
ACROBATIC FLIGHT MODE ADVICES:
The drone must be with battery charged to perform the stunts.
ACROBATIC MODE
Содержание BRICK DRONE
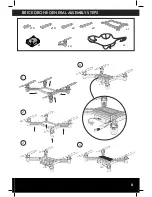
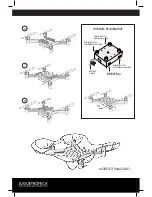
Страница 5: ...5 BRICK DRONE GENERAL ASSEMBLY STEPS 1 3 2 4 x2 x2 x10 x16 x1 x1 x1 x4 5...
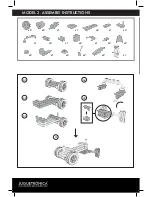
Страница 16: ...MODEL 2 ASSEMBLY INSTRUCTIONS x1 x2 x1 x1 x2 x1 x1 x2 x2 x2 x3 x1 x2 x2 x1 x2 x2 x2 x1 x2 A1 A4 A5 A2 A3 A 45...
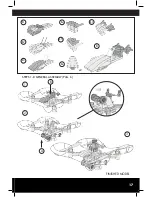
Страница 17: ...17 FINISHED MODEL B4 B1 B2 B3 B5 B6 B7 B B A 180 1 2 3 STEPS 1 8 GENERAL ASSEMBLY PAG 6 x2...
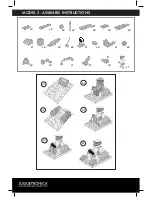
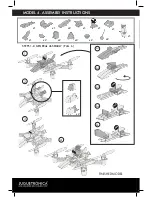
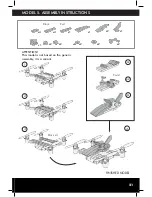
Страница 18: ...MODEL 3 ASSEMBLY INSTRUCTIONS x2 x5 x2 x2 x2 x2 x2 x2 x1 x1 x1 x1 x6 x2 x1 x2 x2 x2 x1 A1 A2 A3 A4 A5 A x2 x2...
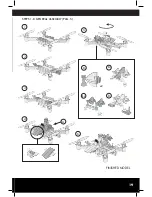
Страница 19: ...19 FINISHED MODEL 1 5 6 2 3 STEPS 1 8 GENERAL ASSEMBLY PAG 5 4 A B1 B2 B3 B x2...
Страница 23: ...23 DESING YOUR OWN DRONE...


