background image

17

18

Selecting A Temperature Scale

1.  Temperature readings are available in the Celsius (

) or 

     Fahrenheit (

) scale.

2.  With the thermometer off, press and hold the 

START BUTTON


 for 3 seconds 


3.  Press and release 

START BUTTON

  to select the unit.

4.  When the preferred unit on the display, press     

 BUTTON 

 t

to enter into unit changing mode.

     exit the unit changing mode.

Figure 8

Care And Cleaning

1.  The probe window must be kept clean, dry, and undamaged at all
     times to ensure accurate readings. The accuracy of temperature 
     readings can be affected by damage to the probe window, or the 
     presence of dirt, fingerprints, earwax, dust and other soiling 
     compounds on the probe window. Degraded sensors can degrade
     performance or cause other problems.
2.  The probe window is the most delicate part of the thermometer.
     Use a soft cloth slightly moistened with a 75% isopropyl alcohol
     solution to disinfect probe window and the thermometer. Do not
     use abrasive cleaners. After cleaning, allow at least 10 minutes 
     drying time before taking temperatures.
     Note: Do not use any chemical other than isopropyl alcohol to 
     clean the probe window.  
3.  Use a soft, dry cloth to clean the thermometer display and 
     exterior.
4.  
5.  Store the thermometer in a dry location, free from dust and 
     contamination and away from direct sunlight.
6.  Strong electromagnetic fields may interfere with the proper 
     operation of the thermometer. The device needs special 
     pre-cautions regarding EMC according to the EMC information.

Do not put the thermometer into water directly.

7.  Put the thermometer back to the original packaging after using. 

15


Match your 

 with a Smart Device

1. If this is your first time using it, bind first.Open

 "

SETTING  

    menu,choose

Bind and unbind device" and select the 

    appropriate model.

    The date and time on your thermometer will automatically be

     updated when it's connected with your phone.

2. Confirm that your thermometer is connected successfully.

    When your thermometer is connected successfully to your smart

     phone,  the “      ” symbol stop flashing and keep showing.


Transfer your readings

1. As soon as your measurement is finished, open the app on

     your smart phone to transfer  the reedings.

     Note: On the matched smart phone, Bluetooth must be enabled.

2. You can view your  temperature  readings in the app.

thermometer

"

Illustration For Use

16

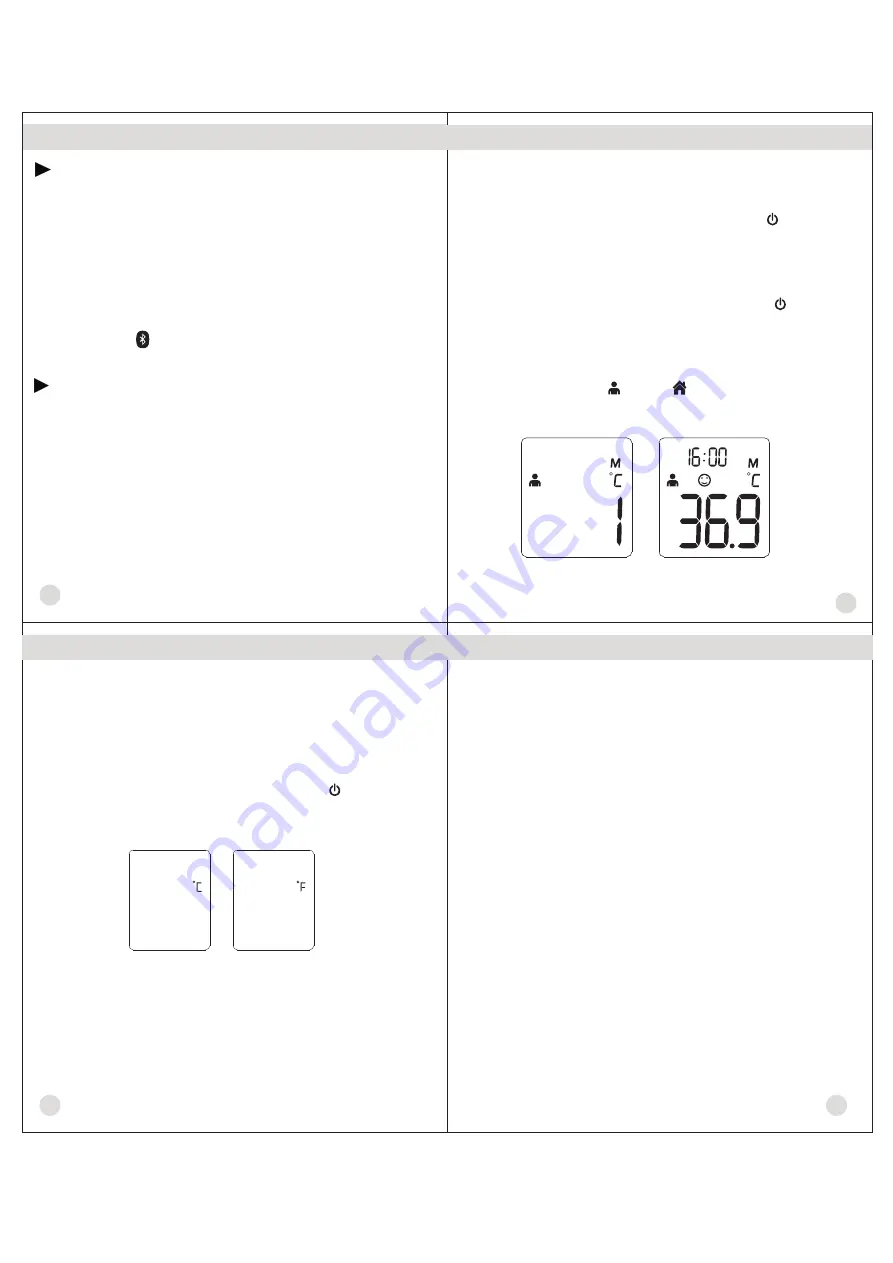
Memory Mode

Figure 7

Figure 6 

3.  

The user can press the 

START BUTTON 

to take new 

     measurements. 

In the memory mode,      mark or      mark will not change.


1.  The Memory Mode can be accessed ether in forehead mode or 
     object mode:
     When the thermometer has been turned on and followed by 
     Figure 2/4 or finished testing, press and hold the     

 BUTTON


 for three seconds. The letter M will appear in the center right

     corner of the display. (See Figure 6)
2.  The thermometer will automatically memorize the last 30
     temperature readings. 

Each time the     

 BUTTON


is pressed, the screen displays past readings that correspond

     with a number 1-30. The number 1 reflects the most recent
     reading, while the number 30 reveals the oldest reading stored
     in memory.(See  Figure 7)   

Each memory also records the


measurement date/time/mode icon. 

Содержание DET-306b

Страница 1: ...itute for consultation with your physician 4 some parts are small enough to be swallowed 5 Never immerse this device in water or other liquids not waterproof 6 Do not modify this equipment without authorization of manufacturer 7 Do not expose the thermometer to temperature extremes below 25 13 or over 55 131 nor excessive humidity 95 RH 8 Keep the battery away from children 1 There is no gender or...

Страница 2: ... For Use The real time clock will be recorded with the memory function and help you to recognize each measurement result Please see the Real time clock setting section to learn how to setup the time in the first use The thermometer has been designed for practical use It s not meant to replace a visit to the doctor Please also remember to compare the measurement result to your regular body temperat...

Страница 3: ...l This is the only way to accurately diagnose a fever To determine normal temperature take multiple readings when healthy Re measure with a standard digital thermometer for confirmation 2 Users 3 Oils or cosmetics on the forehead may give a lower temperature reading than the actual one must be inside for 30 minutes before taking a measurement Note Users and the thermometer should be in the same am...

Страница 4: ... a reading equal to or higher than 37 8 100 0 In Object mode The display will only be lighted GREEN for 3 seconds when the unit is ready for measurement and a measurement is completed 1 Press the BUTTON The display is activated to show all segments 3 Read the temperature on the display 4 Press the BUTTON to turn off After self checking Figure 2 appears on the display screen with beeps so you can s...

Страница 5: ...to the EMC information Do not put the thermometer into water directly 7 Put the thermometer back to the original packaging after using 15 Match your with a Smart Device 1 If this is your first time using it bind first Open SETTING menu choose Bind and unbind device and select the appropriate model The date and time on your thermometer will automatically be updated when it s connected with your pho...

Страница 6: ...ry cover down as shown in Figure 10 3 Remove battery and install 2 new AAA alkaline batteries as shown in Figure 11 4 Slide battery cover back on Figure 9 Figure 10 Figure 11 Specifications Forehead mode 34 0 43 0 93 2 109 4 Object mode 0 100 32 212 Forehead mode 0 2 0 4 during 35 5 42 0 95 9 107 6 at 15 35 59 0 95 0 operating temperature range 0 3 0 5 for other measuring and operating temperature...

Страница 7: ...vice to the dealers or manufacturer The above recommendations do not supersede the legal requirements The user must always comply with legal requirements for the control of the measurement functionality and accuracy of the device which are required by the scope of relevant laws directives or ordinances where the device is used A clinical summary and procedures for checking calibration are availabl...

Страница 8: ...e Use of the unit in conjunction with non approved accessories can affect the device negatively and alter the electromagnetic compatibility The device should not be used directly adjacent to or between other electrical equipment Electromagnetic Compatibility Information This device complies with part 15 of the FCC Rules Operation is subject to the following two conditions 1 This device may not cau...

Страница 9: ...d in the frequency range 80 MHz to 2 7 GHz are intended to decrease the likelihood that mobile portable communications equipment could cause interference if it is inadvertently brought into patient areas For this reason an additional factor of 10 3 has been incorporated into the formulae used in calculating the recommended separation distance for transmitters in these frequency ranges c Field stre...

Страница 10: ...or radio control products If you have to do so the device should be observed to verify normal operation The use of accessories and power cord other than those specified with the exception of cables sold by the manufacturer of the equipment or system as replacement parts for internal components may result in increased emissions or decreased immunity of the equipment or system ...

Отзывы: