background image

Basic Setup

- 9 -

When this mode is selected, the total number of keypads currently enrolled is displayed.

1. Enter [902][000] to begin auto-enrollment of new keypads. Keypads are assigned to the next available slot.

[902][001] Manual Enroll

1. Enter [902][001] or use the [<][>] keys and press [*].
2. When prompted, enter the serial number of the keypad found on the back of the keypad.
3. Once enrolled, the keypad model, serial number and slot assignment are displayed. The slot assignment can be

changed using the [<][>] keys.

4. To cancel the enrollment of a module, press [#].

[902][101] Unenroll Keypads

1. Enter [902][101] or use the [<][>] keys and press [*].
2. Use the [<][>] keys to scroll to the specific keypad to delete.
3. Press [*] to select the keypad and, when prompted, press [*] again to delete it.

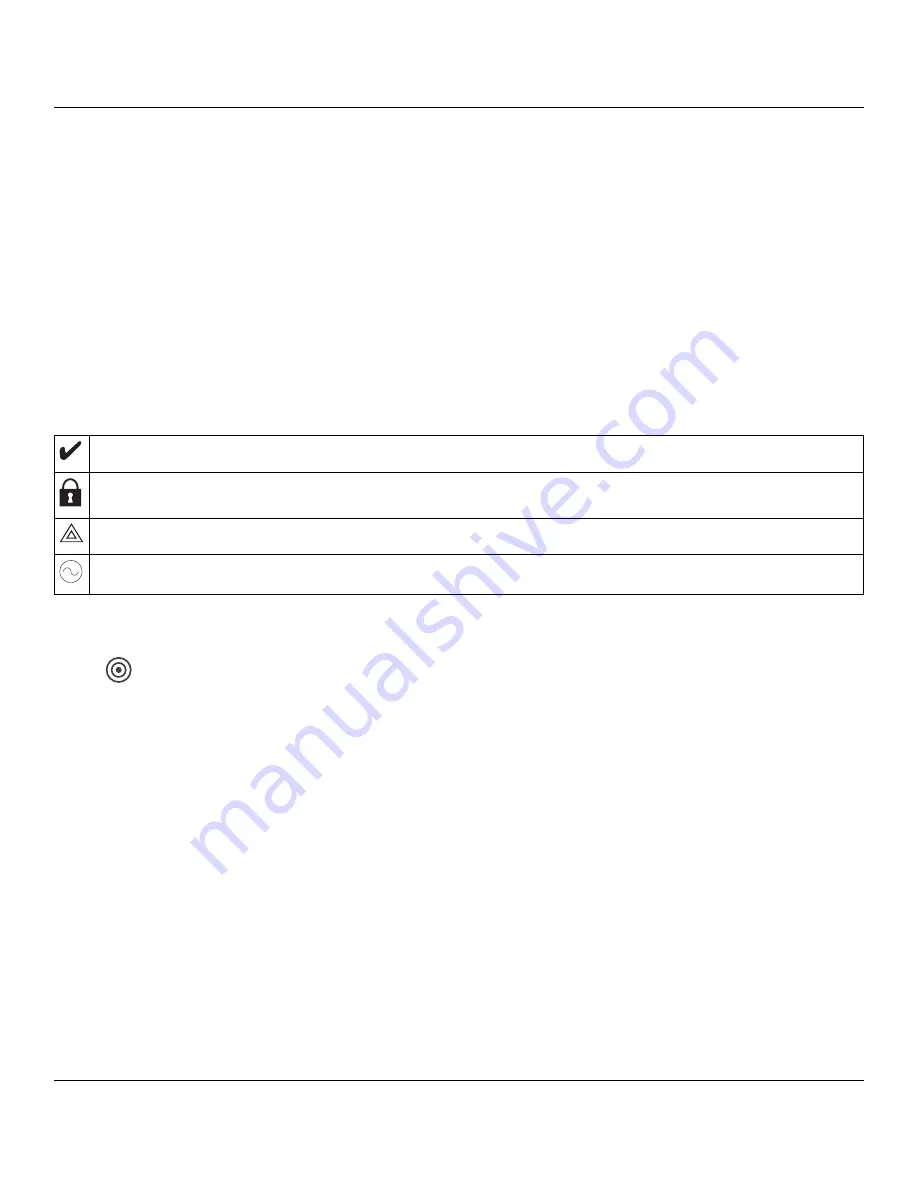
Keypad Display Symbols

Ready Light (green) – If the Ready light is on, the system is ready for arming.

Armed Light (red) – If the Armed light is on, the system has been armed successfully.

System Trouble – Indicates that a system trouble has been detected.

AC – Indicates that AC is present at the main panel.

Proximity (Prox) Tags Support

A Prox tag can be used in place of an access code to perform functions on the system. Present the tag to the tag
reader

.

Assign Proximity Tags

Using the keypad:

1. Press [*][5] Master/Supervisor Code].
2. Enter a 2-digit user code.
3. Press 2.
4. Pass the enrolled tag near the tag reader.

Delete Proximity Tags

To delete a proximity tag:

1. Select Options, Access Codes [enter Master code].
2. Select a user to delete.
3. Select Prox Tag Prog then delete.

Function Key Assignment

The HS2TCHPRO/HS2TCHPROBLK has 7 buttons on the Home screen, four of them programmable by the installer.
Function key 2 must always be set to "Away Armed."

Содержание Tyco PowerSeries Pro HS2TCHPRO

Страница 1: ... for information on limitations regarding product use and function and information on the limitations as to liability of the manufacturer These instructions shall be used in con junction with the system Installation Manual of the Control Panel with which this equipment is intended to be used 29010964R001 ...

Страница 2: ...ic Buttons 11 Extra Power Option 11 Change the Background Image 11 Dark Text Enable Disable 11 Performing a firmware upgrade 11 Keypad Programming 11 000 Keypad Partition Assignment 12 011 Keypad Input Output Programming 12 012 Local PGM Output Pulse Activation Time 12 021 First Keypad Options 12 022 Second Keypad Options 12 023 Third Keypad Options 13 030 Download LCD Messages 13 031 Download LCD...

Страница 3: ... 3 Approvals 14 FCC Compliance Statement 14 Industry Canada Compliance Statement 14 Simplified Declaration of Conformity 14 EN50131 1 Grade 3 Class II 14 Limited Warranty 15 SOFTWARE PRODUCT LICENSE 16 ...

Страница 4: ...ore you install this equipment disconnect all power sources for example mains battery and telephone line connected to the alarm panel l Install the equipment indoors in a non hazardous environment where the following conditions are met l Pollution degree Maximum 2 l Over voltages Category II l Internal wiring must be routed to prevent strain on wire and terminal connections loose terminal connecti...

Страница 5: ...his does not include 50 mA max using PGM output l Wall mount tamper l Four programmable function keys l Ready Green LED Armed Red LED Trouble Yellow LED AC Green LED HOME White LED l Keypad size 191 mm x 126 mm x 20 35 mm l Display area size 155 mm x 86 mm l SD card slot holds any standard Secure Digital SD card 32 mm x 24 mm x 2 1 mm If necessary the SD card can be formatted to file system FAT16 ...

Страница 6: ... the touchscreen without removing the SD card first 2 Remove screw at the bottom of the keypad 3 Insert screwdriver into slots and pry up to remove Figure 1 Removing the Backplate 4 Secure keypad backplate to the wall using mounting holes see Figure 2 Use all 4 screws provided unless mount ing on a single gang box Use the plastic anchors if the unit is to be mounted on drywall If using the keypad ...

Страница 7: ...d assembly and wiring open the keypad re route the wire and close again Repeat these steps until the keypad is closed properly Wiring 1 Before wiring the unit ensure that all power AC transformer telecommunications network and battery is dis connected from the control panel 2 Connect the four corbus wires from the control panel green yellow black and red to the keypad terminals 3 If the P Z termin...

Страница 8: ... key assign ment and label programming Setting the Keypad Language Enter 000 000 then the two digit language number Languages 01 English default 08 Czech 15 Greek 02 Spanish 09 Finnish 16 Turkish 03 Portuguese 10 German 18 Croatian 04 French 11 Swedish 19 Hungarian 05 Italian 12 Norwegian 20 Romanian 06 Dutch 13 Danish 21 Russian 07 Polish 14 Hebrew Enrolling the Keypad Keypads can be enrolled aut...

Страница 9: ...it Keypad Display Symbols Ready Light green If the Ready light is on the system is ready for arming Armed Light red If the Armed light is on the system has been armed successfully System Trouble Indicates that a system trouble has been detected AC Indicates that AC is present at the main panel Proximity Prox Tags Support A Prox tag can be used in place of an access code to perform functions on the...

Страница 10: ...ad Mode To display the Photo button on the Home page press Photos Available Function Key Options The following table describes the available function key options 00 Null 02 Instant Stay Arm 03 Stay Arm 04 Away Arm 05 No entry Arm 06 Chime ON OFF 07 System Test 09 Night Arm 12 Global Stay Arm 13 Global Away Arm 14 Global Disarming 16 Quick Exit 17 Arm Interior 21 Command Output 1 22 Command Output ...

Страница 11: ...ming then Background Image 2 Select an image to use from the SD card 3 To exit press the Back or the Home button Dark Text Enable Disable 1 Press Options Installer Menu Installer Code Keypad Programming then Options 2 Select the desired text color by enabling or disabling Dark Text This will make the text white Note This feature affects only the text on the Classic square button home page Performi...

Страница 12: ...ode When Programming Display Xs When Programming Access Codes Note For EN50131 1 EN50131 3 compliant systems section 021 options 1 and 2 must be off 022 Second Keypad Options Default Value Option ON Off ON __ 1 Local Clock Display ON Local Clock Display OFF OFF __ 2 Local Clock Displays 24 hr Clock Displays AM PM ON __ 3 Auto Alarm Mem Scroll ON Auto Alarm Mem Scroll OFF ON __ 4 For Future Use For...

Страница 13: ... ___ ___ ___ ___ ___ ___ ___ ___ ___ ___ ___ ___ ___ ___ ___ ___ ___ ___ ___ ___ ___ ___ ___ ___ ___ 031 Download LCD Message Duration Default 000 ___ ___ ___ Valid entries are 000 255 000 Unlimited Msg Display This number represents the number of times the down loaded message must be cleared before it is permanently removed This message can be cleared by pressing any key 041 Indoor Temperature Zo...

Страница 14: ...ined by turning the equip ment off and on the user is encouraged to try to correct the interference by one or more of the following meas ures l Re orient the receiving antenna l Relocate the alarm control with respect to the receiver l Move the alarm control away from the receiver l Connect the alarm control into a different outlet so that alarm control and receiver are on different circuits If ne...

Страница 15: ...re of this product Warning Digital Security Controls recommends that the entire system be completely tested on a regular basis However despite frequent testing and due to but not limited to criminal tampering or electrical disruption it is pos sible for this product to fail to perform as expected Important Information Changes modifications not expressly approved by DSC could void the user s author...

Страница 16: ...tions to the Soft ware without the written permission of an officer of DSC You may not remove any proprietary notices marks or labels from the Software Product You shall institute reasonable measures to ensure compliance with the terms and conditions of this EULA b Separation of Components The Software Product is licensed as a single product Its component parts may not be separated for use on more...

Страница 17: ...RONMENT DSC shall not be responsible for problems caused by changes in the operating characteristics of the HARDWARE or for problems in the interaction of the SOFTWARE PRODUCT with non DSC SOFTWARE or HARDWARE PRODUCTS c LIMITATION OF LIABILITY WARRANTY REFLECTS ALLOCATION OF RISK IN ANY EVENT IF ANY STATUTE IMPLIES WARRANTIES OR CONDITIONS NOT STATED IN THIS LICENSE AGREEMENT DSC S ENTIRE LIABILI...

Страница 18: ...International Ltd are the property of their respective owners and are used with permission or allowed under applicable laws Product offerings and specifications are subject to change without notice Actual products may vary from photos Not all products include all features Availability varies by region con tact your sales representative This product contains open source components QT Version 4 7 3 ...

Отзывы: