background image

(1) If the lock batteries are low or input error, it will flash RED LIGHT.

(2) Password should be 3-12 digits, the first digit can’t be “0”. If the password is 12 digits, you don’t need to 

      input “   ” to end.

(3) If the password group is max or the password group is zero, you can’t add or delete password group, it will 

      flash

 RED LIGHT.

(4) When you delete single MASTER USER PASSWORD, the MASTER USER PASSWORD which uses to verify 

      can’t be deleted, it will flash 

RED LIGHT.

(5) If you delete all MASTER USER PASSWORD, the MASTER USER PASSWORD will restore 11111111.

(6) When you ADD or DELETE USER PASSWORD, only can input “1” “2” “3” “4” option button.

Input “20   ”  ⇢  Inserir 

“MASTER USER PASSWORD   ”  ⇢  BLUE LIGHT FLASHES  ⇢  Input ”4” ⇢  GREEN 

LIGHT FLASHES TWICE

EN

EN

6 - DELETE ALL NORMAL USER PASSWORD

7 - UNLOCK

8 - WARM PROMPT

STEP 1
Press 2 seconds to wake up the system.

STEP 2
Put the password after 

JNF IS BLUE.

Note:
(1)
 After 6 times error try, the keypad will be locked for 3 minutes. 
      [When you touch the keypad, the 

RED LIGHT will flash twice]

(2) If you want to set ALWAYS OPEN, after unlocking the lock by password 
      [

GREEN LIGHT is always on] and keep pressing the “0” button until the 


GREEN LIGHT flashes. The GREEN LIGHT will flash 6 times, it means 


ALWAYS OPEN setting is successful.

(3) After using the MASTER USER PASSWORD or NORMAL USER PASSWORD 
      
to unlock the lock, the TEMPORARY USER PASSWORD will be deleted. If 
      you want to set the 

TEMPORARY USER PASSWORD again, please follow 

      step 4 “

ADD TEMPORARY USER PASSWORD” to set.

INDICATIONS

MAINTENANCE

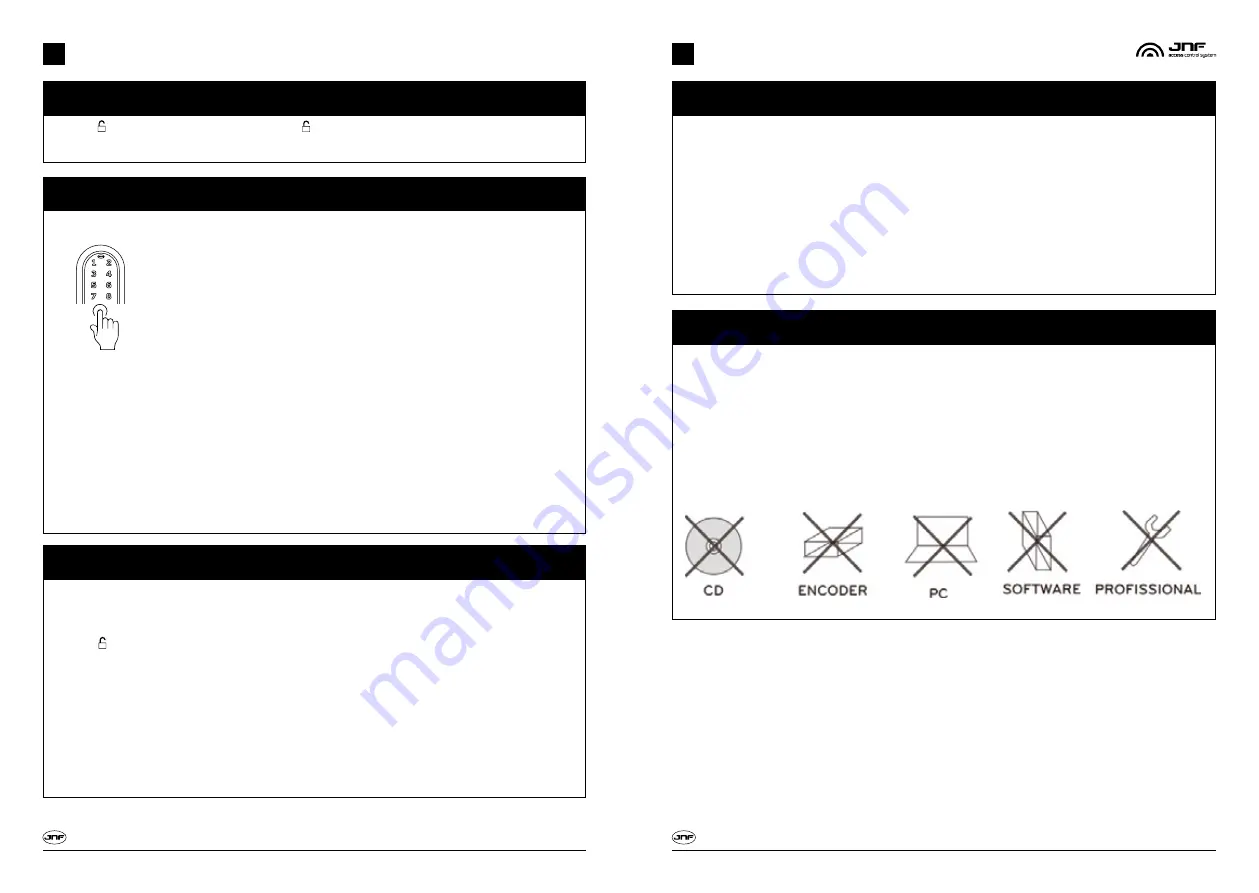
For a perfect operation of the control access we recommend that:

- The physical installation of the door lock is made by a professional.

- The mortice lock mechanism is in good working condition.

- Do not be disassembled any component, excluding the battery access

- The batteries must be the type described in the technical characteristics of the same.

- For indoor use only.

To keep the stainless steel and plastic exterior parts of the access control system you can use a product like 
Inox Repair (JNF) or Spray Inox (JNF), both applied with a soft and dry cloth.

Should be made a periodic inspection checking some signs of wear that compromises the normal operation.

The screws that secure the handles must be tightened periodically.

Manual de instalação /

 Installation Manual  / Manual de instalación   

18/30

www.jnf.pt

Manual de instalação /

 Installation Manual  / Manual de instalación   

19/30

www.jnf.pt

2 seconds

- MI242-3

- MI242-3

Содержание IN.27.106

Страница 1: ...www jnf pt Manual de instalação Installation Manual Manual de instalación MI242 3 IN 27 106 ...

Страница 2: ...e chaves iguais nos cilindros de emergência opcional Corpo exterior em aço inoxidável AISI 304 Dimensões 286 x 48 x 21 mm Rotação do puxador 45º Compatível com portas de 35 a 60mm de espessura Distância entre o puxador e cilindro 70 a 102mm 3 pilhas alcalinas LR03 1 5 V AAA Opcional 3 baterias de lítio FR03 AAA 1 5V Consumo estático 13uA Consumo dinâmico 220mA Número de ciclos de 40 000 a 70 000 c...

Страница 3: ...erior 5 Corpo fechadura exterior 6 Quadra Ver INF 1 7 Corpo fechadura interior 8 Parafusos de fixação 9 Placa de inox interior 10 Keypad FURAÇÕES NA PAREDE X Y Depende da fechadura de embutir instalada Ø14 9 Ø30 Ø14 Ø25 20 Y X 145 111 PT Manual de instalação Installation Manual Manual de instalación 04 30 www jnf pt Manual de instalação Installation Manual Manual de instalación 05 30 www jnf pt IN...

Страница 4: ...ia irá ser apagada Pressionar o botão RESET o botão RESET encontra se na parte traseira do painel perto da bateria quando a LUZ VERDE aparecer solte o botão RESET Espere 3 segundos a LUZ VERDE irá piscar uma vez se isso acontecer toda a informação foi apagada O botão RESET é temporizado se pressionar por mais de 5 segundos a LUZ VERDE desaparece e a operação de reset falhará Se a fechadura se enco...

Страница 5: ...EZES Nota Após adicionar a MASTER USER PASSWORD a LUZ AZUL irá piscar e se inserir 1 poderá adicionar um segundo grupo MASTER USER PASSWORD Inserir 10 Inserir MASTER USER PASSWORD LUZ AZUL PISCA Inserir 3 LUZ VERDE PISCA DUAS VEZES Inserir NEW TEMPORARY USER PASSWORD LUZ VERDE PISCA DUAS VEZES Inserir 20 Inserir MASTER USER PASSWORD LUZ AZUL PISCA Inserir 1 LUZ VERDE PISCA DUAS VEZES Inserir OLD M...

Страница 6: ...es deverão ser reapertados periodicamente MAIN FEATURES Keypad technology Possibility to choose different lever handles from JNF range Master User Password 3 Groups Normal User Password 7 Groups Temporary User Password 1 Group Password Length 3 12 digits Password The handle is free on the outside Possibility to switch to passage type lock mode Possible to install on existing doors with lock Compat...

Страница 7: ...first warning Environmental conditions Temperature 15º a 55ºC Humidity 20 a 80 48 111 145 Ø21 Ø8 70 72 85 92 102 LOCK ASSEMBLE 23 4 5 6 7 8 2 3 1 1 2 3 4 5 6 INF 1 7 9 2 8 3 1 10 1 Lever handle 2 Nylon washer 3 Ring to fix the plate 4 Outside stainless steel plate 5 Outside lock body 6 Spindle see INF 1 7 Inside lock body 8 Fixing screws 9 Inside stainless steel plate 10 Keypad Manual de instalaçã...

Страница 8: ...der of an emergency loose the ring that fix the plate pull the ring together with the plate turn the plate over the shaft of the handle ACCESS TO THE BATTERIES Manual de instalação Installation Manual Manual de instalación 14 30 www jnf pt Manual de instalação Installation Manual Manual de instalación 15 30 www jnf pt MI242 3 MI242 3 ...

Страница 9: ...iguring the user the alarm will be disable Input 10 Input MASTER USER PASSWORD BLUE LIGHT FLASHES Input 3 GREEN LIGHT FLASHES TWICE Input NEW TEMPORARY USER PASSWORD GREEN LIGHT FLASHES TWICE Input 20 Input MASTER USER PASSWORD BLUE LIGHT FLASHES Input 1 GREEN LIGHT FLASHES TWICE Input OLD MASTER USER PASSWORD GREEN LIGHT FLASHES TWICE CHANGE ADD MASTER USER PASSWORD 1 ADD NORMAL USER PASSWORD Inp...

Страница 10: ...pressing the 0 button until the GREEN LIGHT flashes The GREEN LIGHT will flash 6 times it means ALWAYS OPEN setting is successful 3 After using the MASTER USER PASSWORD or NORMAL USER PASSWORD to unlock the lock the TEMPORARY USER PASSWORD will be deleted If you want to set the TEMPORARY USER PASSWORD again please follow step 4 ADD TEMPORARY USER PASSWORD to set INDICATIONS MAINTENANCE For a perfe...

Страница 11: ...cional Cuerpo exterior en acero inoxidable AISI 304 Dimensiones 286 x 48 x 21 mm Rotación de la manilla 45º Para puertas de 35 a 60mm de espesor Distancia entre la palanca y bombillo 70 hasta 102mm 3 pilas alcalinas LR03 1 5 V AAA Opcional 3 pilas de lítio FR03 AAA 1 5V Consumo estático 13uA Consumo dinámico 220mA Número de ciclos de 40 000 hasta 70 000 con un juego de pilas depende de las condici...

Страница 12: ...r 5 Cuerpo de cerradura exterior 6 Quadradillo Ver INF 1 7 Cuerpo de cerradura interior 8 Tornillos de fijación 9 Placa inox interior 10 Keypad TALADROS EN LA PUERTA Ø14 9 Ø30 Ø14 Ø25 20 Y X 145 111 X Y Depende de la cerradura de embutir instalada ES ES Manual de instalação Installation Manual Manual de instalación 22 30 www jnf pt Manual de instalação Installation Manual Manual de instalación 23 ...

Страница 13: ...ábrica o después de una operación de RESET ésta crea una contraseña temporal 11111111 Después de la creación de un MASTER USER PASSWORD la contraseña temporal será apagada Presione el botón RESET el botón RESET se encuentra en la parte posterior del panel cerca de la batería cuando aparezca la LUZ VERDE suelte el botón RESET Espera 3 segundos la LUZ VERDE parpadeará una vez si esto ocurre toda la ...

Страница 14: ... el MASTER USER PASSWORD que utiliza no puede eliminarse una luz roja parpadea 5 Cuando se elimina todas las MASTER USER PASSWORD vuelve a 11111111 6 Cuando AÑADIR o ELIMINAR USER PASSWORD sólo puede insertar 1 2 3 4 ES ES Manual de instalação Installation Manual Manual de instalación 26 30 www jnf pt Manual de instalação Installation Manual Manual de instalación 27 30 www jnf pt Poner 10 Poner MA...

Страница 15: ...mente en el interior Para limpiar el acero inoxidable y piezas de plástico exteriores del sistema de control de accesos puede utilizar un producto como Inox Protect JNF o Spray Inox JNF ambos aplicados con un paño suave y seco Debe ser hecha una inspección periódica comprobando algunos signos de desgaste que compromete la operación de la misma Los tornillos que sujetan las manillas se deven ajusta...

Страница 16: ...imosas 849 851 Zona Industrial das Mimosas S Pedro da Cova Ap 75 4424 909 Gondomar PORTUGAL jnf jnf pt www jnf pt Apoio técnico Technical support Apoio tecnico qualidade jnf pt Manual de instalação Installation Manual Manual de instalación 30 30 www jnf pt MI242 3 ...

Отзывы: