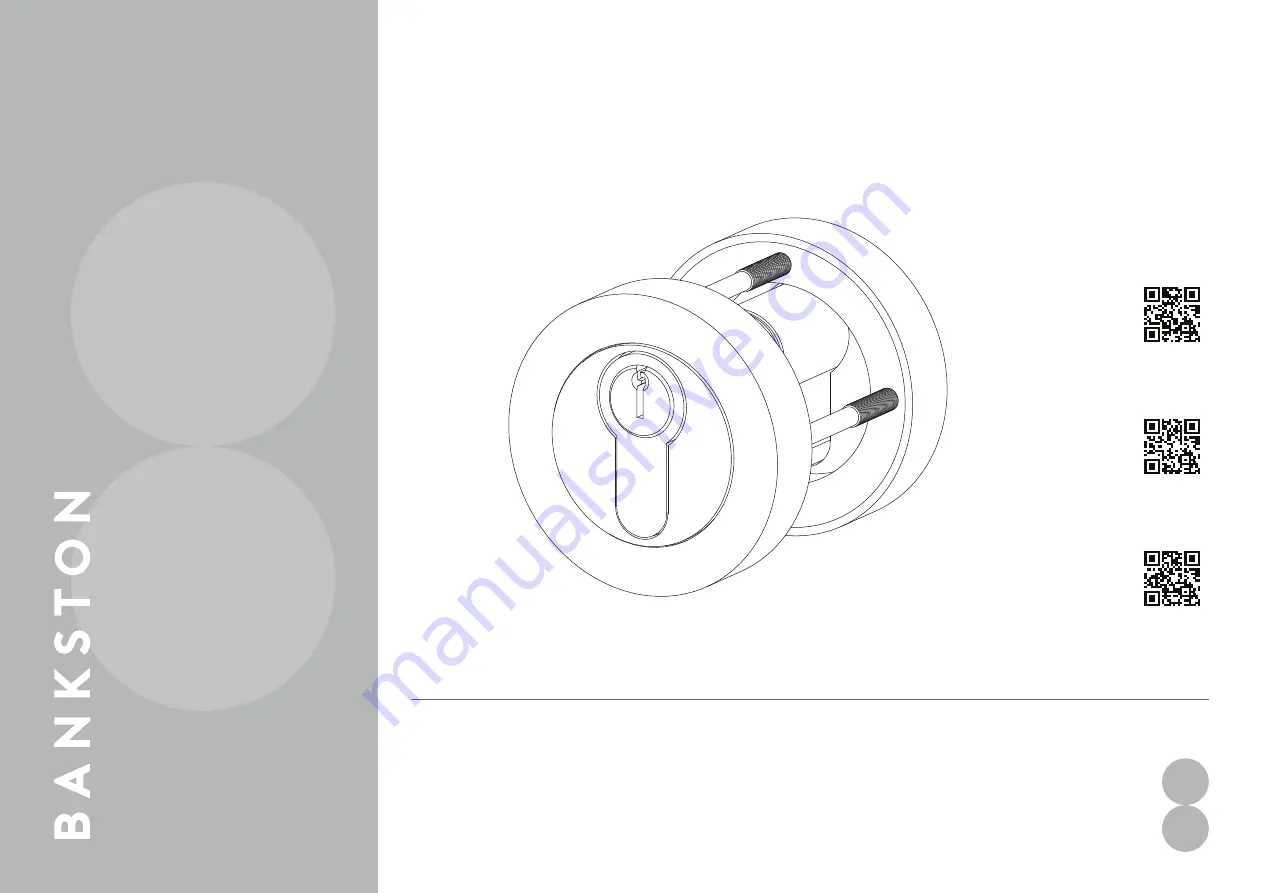
*Image used for illustration purposes only.
Australia
14 - 16 Stepney Street,
Stepney, South Australia 5069
P: +61 (0)8 8362 1133
bankstonarchitectural.com.au
New Zealand
P: +64 (0)6 359 0008
bankstonarchitectural.co.nz
SDG Trading Pty Ltd
trading as Bankston Architectural
ACN 008 154 041 | ABN 18 008 154 041
Install
Instructions
Escutcheon
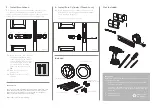
5.2.
Insert two of the cut-off screws
through non threaded holes
of the escutcheon at 3 and 9
o’clock, feeding them through
the bolt-through holes in the
mortice lock and screwing
them into the opposite rose,
OR
5.3.
Affix wood screws at all
fixing points.
5.4.
Replace outer rose covers.
*Image used for illustration purposes only.
Escutcheon
Install
Instructions
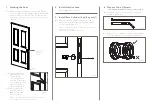
1.1.
Mark the edge of your door at the desired height
of your escutcheon. This will generally be 85mm
CTC (Centre to Centre) from the centre of the
spindle hole of the door lever to the centre of
the key hole.* (Figure 1)
1.2.
Using a spirit level, mark the door at the desired
height, continuing the line from the front of the
door, around the edge and onto the back of
the door. (Figure 2)
1.3.
We recommend extending the line 100mm
onto each face of the door.
—
*Please refer to the template included with your mortice lock
(also available for download from our website).
Preferred product height
Figure 2.
Figure 1.
1. Marking the Door
As per supplier instructions.
4.1.
If required, shorten cut-off screws to suit door
thickness.
2. Install Mortice Lock
3.1.
Insert key / key euro cylinder through the lock
body and fix with the appropriately sized cylinder
screw provided.
—
*If you are installing a cylinder with thumb turn, please skip this
step and proceed to step 4.
**If required, refer to suppliers instructions.
4. Prepare Cut-off Screws
— if using face fix timber screws, proceed to step 5
3. Install Euro Cylinder (key / key only*)
5.1.
Unscrew the outer roses from the escutcheon
set and install the halves on either side of the door,
sliding the euro cut-outs over the euro cylinder ends.
5. Install Escutcheon
IMPORTANT!
The screws provided with Bankston products are made from solid
brass. This allows finishes to be matched as closely as possible
and prevents the possibility of screws rusting in coastal areas.
Please note that screws require
pre-drilling
.
Please take extra care when fitting.
4.2.
Ensure to cut so that the screw does not protrude
from the opposite rose once installed.
6.1.
Insert thumb turn euro cylinder through the lock
body and fix with the appropriately sized cylinder
screw provided.
—
*
If required, refer to suppliers instructions.
6. Install Euro Cylinder (Thumb turn)
Wood Screws
(5)
(1)
(2)
(2)
(5)
(3)
(1)
(1)
Contact Us
Southern Design Group
Scan for
Product &
Finish Care
Information
Scan for NZ
Warranty
Scan for AU
Warranty


