background image

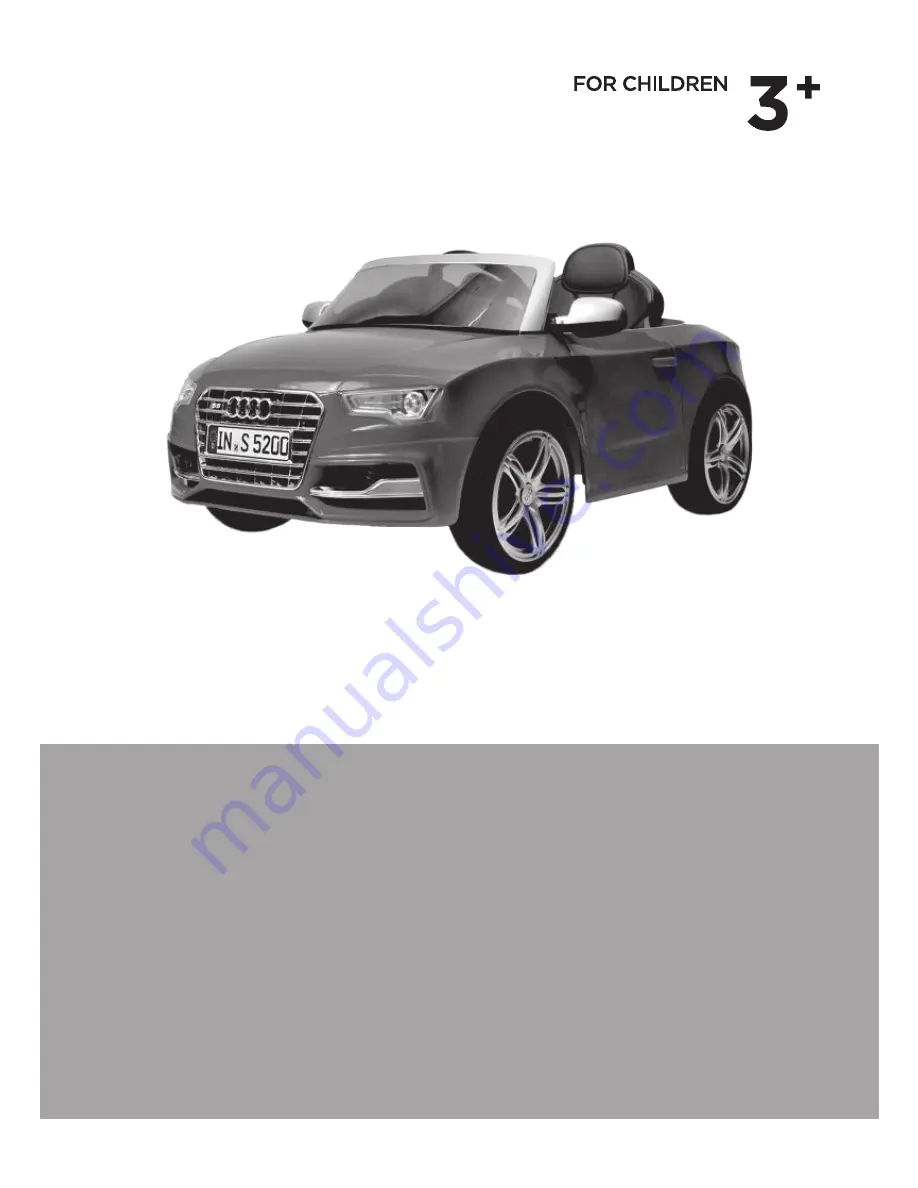
AUDI S5

CHILDREN BATTERY POWERED RIDE-ON CAR

OWNER’S MANUAL 

WITH

ASSEMBLY INSTRUCTIONS

Styles and colors may vary.

Manufactured in China under Official License from AUDI AG.

The owner’s manual contains important safety information as well as assembly, use and maintenance 

instructions.

The Battery-powered Ride-on Car must be assembled by an adult who has read and understands the 

instructions in this manual.

Keep the package away from children and dispose of properly before use.

Keep this manual for future reference.

Содержание AUDI S5

Страница 1: ...e from AUDI AG The owner s manual contains important safety information as well as assembly use and maintenance instructions The Battery powered Ride on Car must be assembled by an adult who has read...

Страница 2: ...ide on manufactured by Jiaxing Xuma Ride On Co Ltd Address Minzhu Village Guangchen Town Pinghu City Zhejiang Province P R China Jiaxing Xuma holds a license to use the logo and trademarks of in conne...

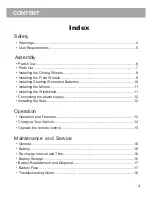
Страница 3: ...Installing the Mirrors 11 Operation and Features 13 Parts View 6 Parts List 7 Installing the Driving Wheels 8 Installing the Windshield 11 Connecting the power supply 12 Installing the Seat 12 Safety...

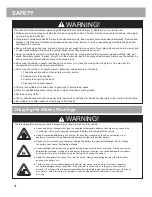
Страница 4: ...hazards of using the toy in areas other than private grounds Not to be used in traffic The toy shall be used with caution since skill is required to avoid falls or collisions causing injury to the use...

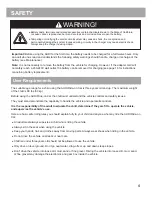
Страница 5: ...and operate its controls It is the responsibility of the adult to educate the child determine if they are fit to operate the vehicle and supervise the vehicle s use Here are basic safe riding rules yo...

Страница 6: ...afety information as well as assembly use and maintenance instructions The Battery powered Ride on Car must be assembled by an adult who has read and undertstands the instructions in this manual Keep...

Страница 7: ...t x4 7 Hubcaps x4 8 9 Nut x3 Windshield 10 11 M5 22 Screw Bolt x2 M5 52 Screw Bolt x1 Mirror Right Mirro 12 13 Motor Cover Manual Charger 3 5 12 Screw x2 Ba ery 14 15 16 Steering Wheel 17 18 Motor Gea...

Страница 8: ...the rear axle with a spanner 5 Align the two tabs of the hubcap with the slots of the wheel trim and press the hubcap into places Repeat the above steps for the other driving wheel 8 1 2 3 4 5 Hint An...

Страница 9: ...ft side 2 Slide the wheel trim and 10 Washer onto the front axle 3 Tighten a 10 Locknut to the end of the front axle with a spanner 4 Align the two tabs of the hubcap with the slots of the wheel trim...

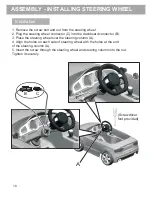
Страница 10: ...ign the holes on each side of steering wheel with the holes at the end of the steering column A 5 Insert the screw through the steering wheel and steering column into the nut Tighten it securely A Scr...

Страница 11: ...windshield into the slots in the vehicle body Push each tab in until the snaps into place hear a click windshield Att a h the PUSH 20 ror into the slots of the mirror bracket rew bolt through the top...

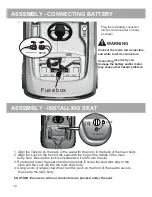
Страница 12: ...the main body hole 4 Using a coin or large screwdriver turn the Lock on the front of the seat to secure the seat to the main body CAUTION Ensure no wires or connectors are pinched under the seat Lock...

Страница 13: ...vehicle drives forward stop reverse 1 Press the Forward switch on the position 2 Press the Foot Pedal the vehicle will back up REVERSE stop reverse reverse STOP The vehicle will brake automatically wh...

Страница 14: ...ge your vehicle please open the seat to ensure the red connector is plugged into the red battery connector If the red connectors are not connected the battery can not be charged CAUTION Ensure no wire...

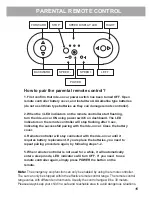
Страница 15: ...while it will automatically enter a sleep mode LED indicators will turn OFF If you need to use remote controller again simply press POWER the button on the remote 2 When the 3 LED indicators on the r...

Страница 16: ...arge battery 15 to 18 hours never longer than 18 hours Once battery is depleted recharge for 8 to 12 hours never longer than 12 hours Do not short circuit the battery DO NOT connect red and black wire...

Страница 17: ...Do not lift the battery by its connectors or cables 5 Place the dead battery in a plastic bag Important Recycle the dead battery responsibly The battery contains lead acid electrolyte and must be disp...

Страница 18: ...round the motor call local Consumer Relations A dead spot means the electric power is not being delivered to the terminal connection and the vehicle needs repair Call local Consumer Relations Check th...

Отзывы: