© 2018 Jetta Corporation. All rights reserved. REV 03/2018
1(800) 288-7771
INSTALLATION INSTRUCTIONS | JETTA CORPORATION
PAGE | 14
WALK-IN INSTALLATION INSTRUCTIONS
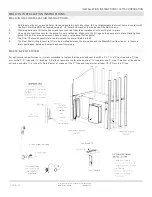
WALK-IN UNIT INSTALLATION INSTRUCTIONS:
1.
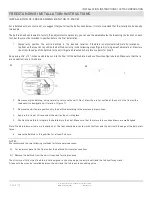
Bathtub must be set on a solid flat surface and leveled in both directions. (All six (6) adjustable feet must come in contact with
the floor). Bathtub MUST be leveled using a 2’ – 0” level both ways on the top deck of the Bathtub only.
2.
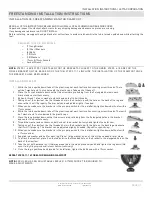
Plumbing hardware (fill valve, hoses, and reverse drain) should be installed prior to setting tub in-place.
3.
Use union connections only for the pump. Do not overtighten. Make sure the O-rings on the pump are in place. Hand tighten
pump fittings. Do not use a wrench, channel locks, or pipe dope (Teflon paste).
4.
The Filler / Extension panel(s) are used to extend the overall Bathtub to 60”.
5.
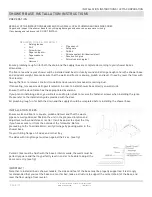
The Door Drain fitting (precut to fit) is to be installed between the drain shoe and the Waste & Overflow tee–or- in reverse
drain application, between the waste and overflow piping.
WASTE & VENT SYSTEM
For optimum drain performance, it is recommended to replace the trap arm and vent tee with a 2” x 1 ½” x 2” vent tee and a 2” trap
arm with a 2” ‘P’ trap and 1 ½” bushing. If this is not possible, replace the existing 1 ½” trap arm and ‘P’ trap. If neither of the above
options is possible, it is critical to ‘Roto Rooter’ or snake out the ‘P’ Trap and trap arm for at least 10’-0” from the ‘P’ trap.
Содержание RAIN SHOWER BASES
Страница 2: ......


