


54
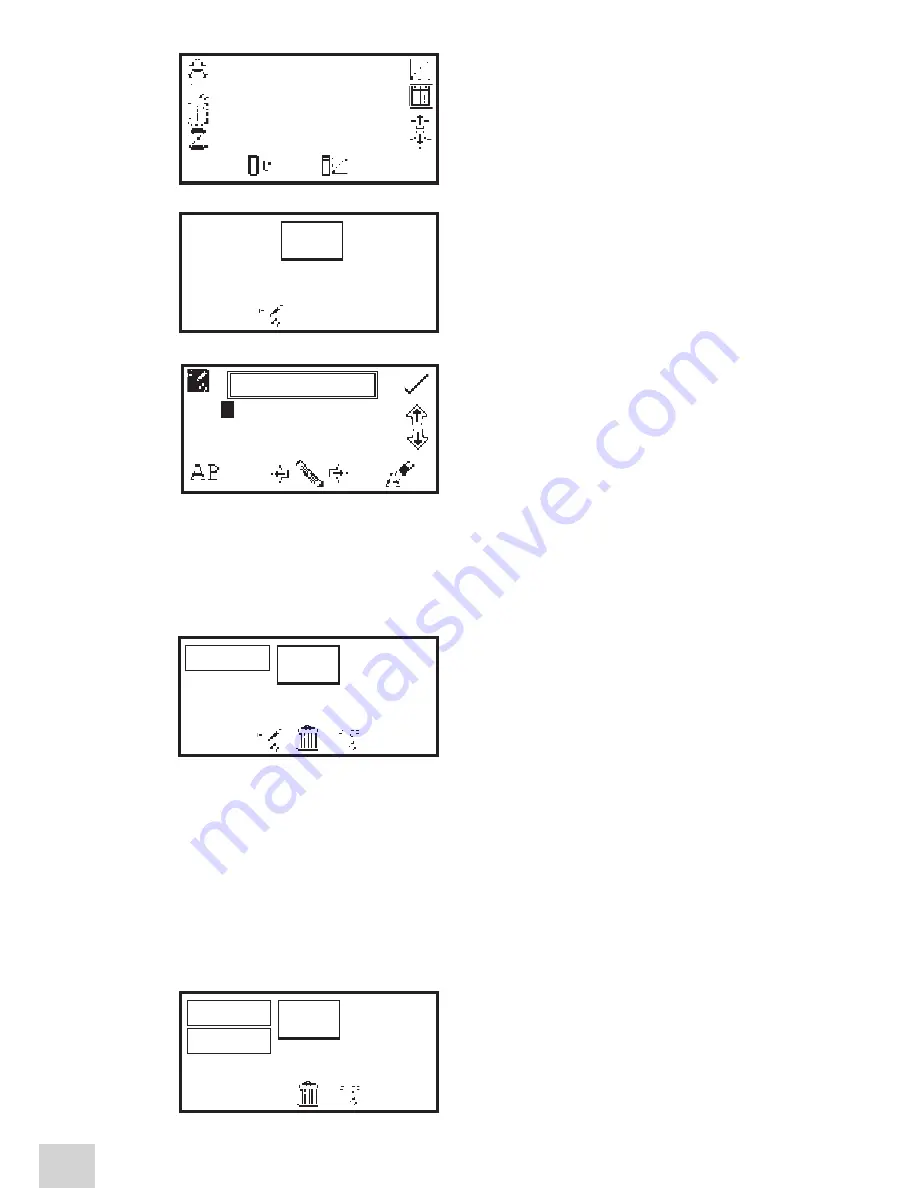
In the expanded operating menu press the key adjacent
to the
USB memory stick
icon to open the results
selection menu.
If the USB memory stick doesn’t have any results stored
on it only the
save to USB memory stick
icon will be
displayed. To save a result press the key below the
save
to USB memory stick
icon. This will open the results
naming menu.
The default result name will be displayed. To save the
result under the default name press the key adjacent to
the
tick
icon. To change the name of the result press
the key below the
eraser
icon. One press of the key
will delete one letter, holding the key for 2 seconds will
delete the name completely.
To select letters use the keys adjacent to the
arrow
icons to move around the menu. Once the required
letter is highlighted press the key below the
pencil
icon to select the letter. Up to eight characters can
be selected. To use numbers in the results name press the key below the
AB
icon. Repeat pressing of this
key will cycle between upper case and numbers. Once the required name for the result has been entered
press the key adjacent to the
tick
icon to save and return to the results selection menu.
The saved results are listed alphabetically with the date
and time that the result was generated.
If there is already a result saved under the same name
confirmation will be needed to replace the existing result
with the new one. Press the key adjacent to the
tick
icon
to confirm replacement. Press the key adjacent to the
cross
icon to cancel and return to the results naming
menu.
In photometrics, concentration and quantitation once a result has been saved to the USB memory stick
the
USB memory stick
icon will remain highlighted. Pressing the key adjacent to the highlighted icon
will result in subsequent results being saved under the same file name. To save the result with a new
filename hold the key adjacent to the highlighted
USB memory stick
icon for 2 seconds. This will open
the results naming screen.
10.5
OPENING RESULTS
Results can only be opened if a valid USB memory stick is inserted into the front of the instrument.
In the expanded operating menu press the key adjacent to
the
USB memory stick
icon to open the results selection
menu. Select the result to be opened by pressing the
key adjacent to the result. Press the key below the
load
from USB memory stick
icon.
1
/
1
1.000
0.099
400
09:02
ppm
ABS
nm
JW0000
~
0
A
B C D E F G H I
J K L M N O P Q R
S T U V W X Y Z _
1
/
1
SAMPLE_1
05/07/2010 11.11
1
/
1
BEER
05/07/2010 11.16
SAMPLE_1
30/07/2010 10.02
Содержание 7315
Страница 1: ...Spectrophotometers Models 7310 7315 Operating Manual 731 005 REV D 06 10...
Страница 2: ......
Страница 74: ...SECTION 14 Declaration of Conformity 76...
Страница 75: ...SECTION 14 Declaration of Conformity 77...
Страница 85: ......


