


27
ADVANCE SETTINGS
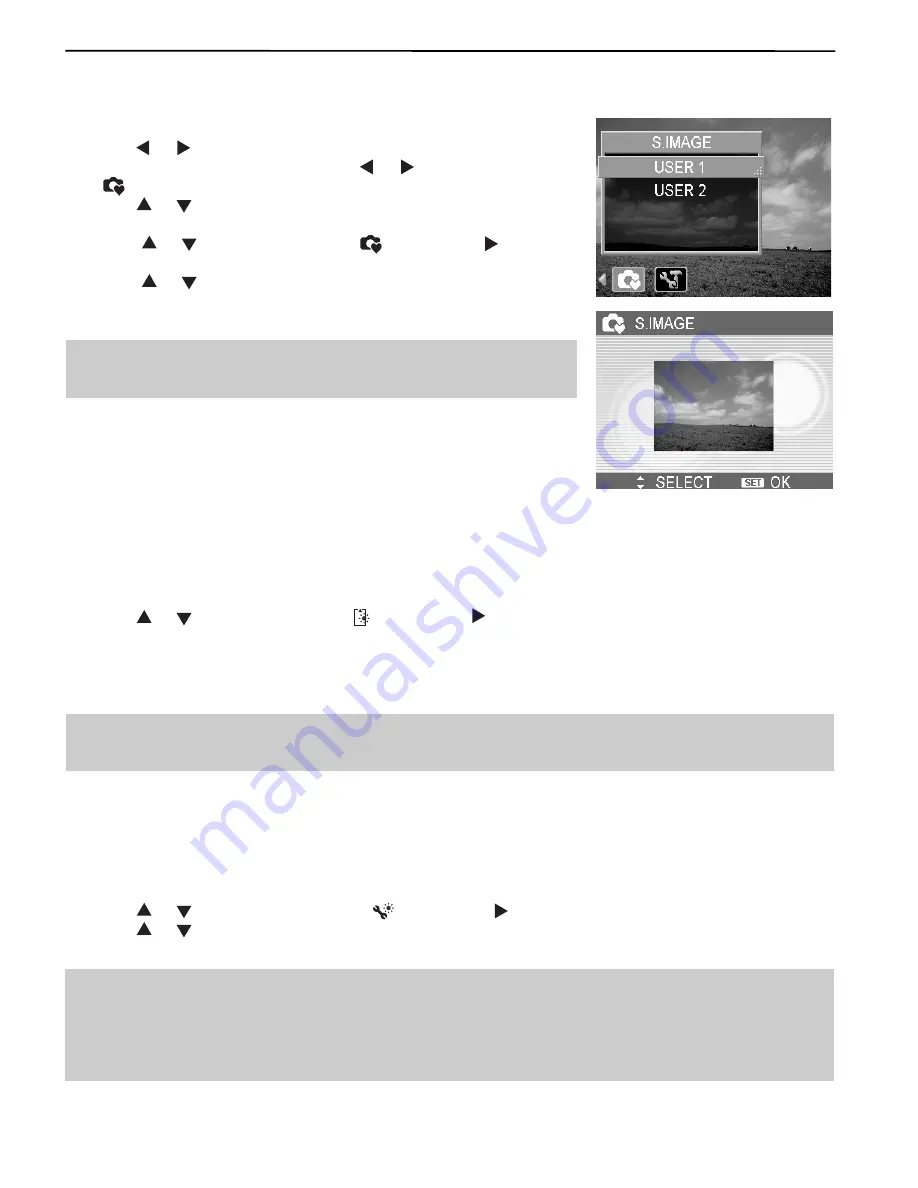
CHOOSING A STARTUP IMAGE
You can choose a recorded image as the start-up image.
1. Set the camera to the Playback mode.
2. Press
640
320
160
or
640
320
160
to select a desired image.
3. Press the
MENU
button, then press
640
320
160
or
640
320
160
to select
S.IMAGE
(
640
320
160
).
4. Press
640
320
160
or
640
320
160
to select an option, and then press the
SET
button.
5. Set the camera to the Setup Menu .
6. Press
640
320
160
or
640
320
160
to select
S.IMAGE
(
640
320
160
) then press
640
320
160
or the
SET
button.
7. Press
640
320
160
or
640
320
160
to select a desired image and press the
SET
or
the
MENU
button to apply the setting.
8. Press the
MENU
button to close the menu.
Note:
The start-up image will not be deleted even if the original
image is deleted or memory formatted.
FORMATTING THE MEMORY
To erase all data stored in the memory card if you are using a card, or all data stored in the internal
memory if there is no card inserted.
1. Set the camera to the Setup Menu .
2. Press
640
320
160
or
640
320
160
to select
FORMAT
(
640
320
160
) then press
640
320
160
or the
SET
button.
3. Press the
SET
button to start format, or press the
MENU
button to cancel it.
• A “BUSY...PLEASE WAIT” message displays and the memory card is starting format.
• A “COMPLETED” message displays when finish formatting.
Note:
All data will be deleted including protected ones. Be sure to download important files to
your computer before formatting.
RESETTING TO DEFAULT SETTINGS
You can reset the entire menu and button operation settings to initial default.
1. Set the camera to the Setup Menu.
2. Press
640
320
160
or
640
320
160
to select
RESET ALL
(
640
320
160
) then press
640
320
160
or the
SET
button to launch the submenu.
3. Press
640
320
160
or
640
320
160
to select
YES
then press the
SET
button to reset all settings.
Note:
The following settings do not change with this procedure:
• Date & Time setting
• Language
setting
• TV out setting


