· 3 ·
MANUAL OF INSTRUCTIONS
EN
Introduction
The CV boot installation tool is to be used so-
lely for the stretching of flexible CV boots onto
drive-shaft assemblies of automotive vehicles.
Specifications
Working pressure: 72-130Psi
Dimensions: 460 x 140 x 140mm
Maximum joint diameter 120mm
Safety First
Read the operating and safety instructions. Fo-
llow them carefully. Maximum safe operating
pressure 130 psi. Air lines are dangerous – use
them correctly Keep hands away from moving
parts. Never operate the CV boot installation
tool near the face or body. Only use this tool to fit
CV boots. If air line pressure exceeds 130 psi, fit
a regulator. Disconnect the CV boot installation
tool from the air supply after use.
Putting into service
Before use, check cap-retaining screws are se
-
cure. If the CV boot installation tool is dropped,
check for cracked components. Check air line
pressure before connecting the Bootgun. The
CV boot installation tool should be used only by
people trained in the use of pneumatically ope-
rated tools.
Maintenance
Do not attempt to clean or repair the CV boot
installation tool whilst air line is connected. The-
re is no routine maintenance on this tool. Only
use genuine spare parts obtainable from your
supplier.
Assembly / dismantling
No assembly or dismantling is required. The air adaptor
may be exchanged if necessary. The body is threaded to
accept 1/4 inch BSP connector.
Operation
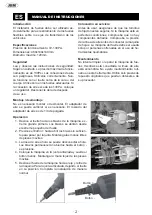
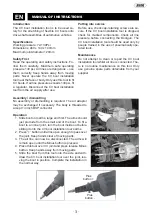
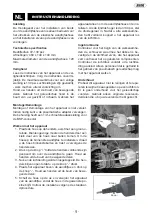
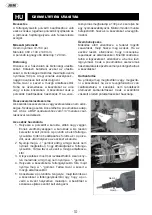
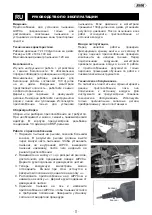
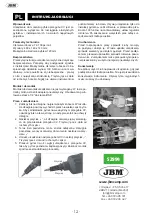
1. Slide boot onto arms, large end first. The arms should
just protrude from the small end of the boot. To fit a
boot to an inner joint, turn the boot inside out before
sliding it onto the CV boot installation tool’s arms.
2. Press “+” button until arms open enough to pass over
the joint. Keep hands clear of moving parts.
3.
The air line can now be disconnected. The arms will
remain open until the Minus button is pressed.
4. Place this tool over CV joint and press release Minus
button. Keep hands away from moving parts.
5. Slide the boot from this tool onto the axle and with-
draw the CV boot installation tool over the joint, lea
-
ving the boot in position. Complete the installation in
the normal way.
Plus
Plus
button -


