26
• Depending on the DVD, 4:3 Letter-
box may be selected automatically
instead of 4:3 Pan & Scan and vice
versa.
• You must also set the screen mode
on your widescreen TV to “FULL”.
• If 16 : 9 is selected and a normal TV
is connected, 16:9 content will
appear distorted during playback
(objects look thin).
• If 16 : 9 is selected and a normal 4:3
TV, switchable to 16:9 mode, is
connected, to avoid vertically
distorted videos the TV must be
turned to 16:9 mode manually when
16:9 content is played. This is done
automatically when the unit is
connected to the TV via SCART, but
then the TV must be turned to 4:3
mode manually when 4:3 content is
played, otherwise it will be shown
compressed vertically.
TV Type Setting
(Multi/NTSC/PAL)
Your TV is either a PAL or multi-
system TV.
The initial Default TV Type setting of
this system is “PAL“. This setting will
allow PAL discs to play properly on
both PAL TV's and multi-system TV's.
And with this setting, NTSC discs will
also be played properly, as the unit
will convert NTSC signals to the
PAL60 format which is compatible
with most PAL TVs and all multi TV
types. Only old PAL TVs are not
compatible with PAL60 and cannot be
used with NTSC discs (no matter
which setting is made).
No further adjustment is necessary.
You can skip to the next section.
If you use a multi-system TV and
want to see NTSC discs in the
original NTSC format (may improve
the video performance with some
NTSC discs), MULTI should be
selected.
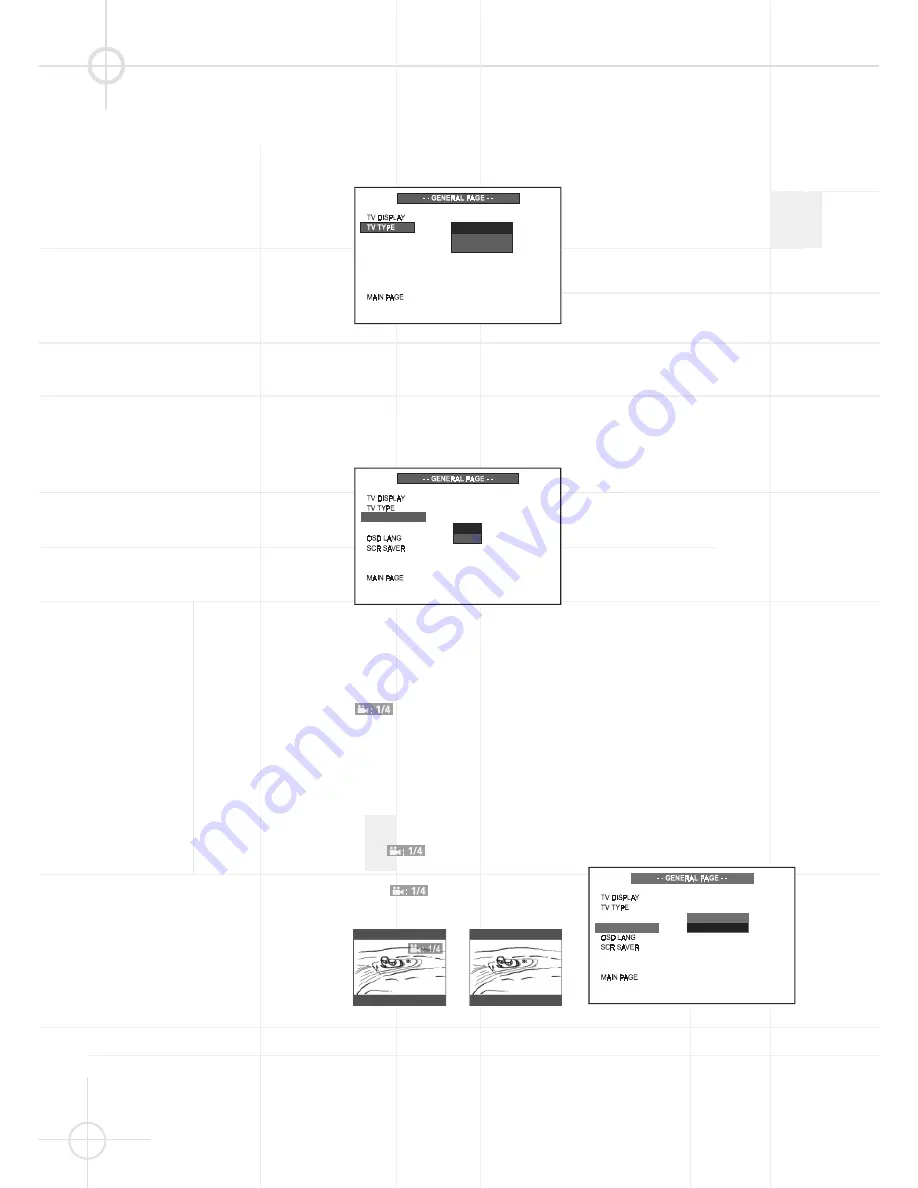
If you wish to change the TV Type
setting, follow the 3 steps below.
1. Press
SETUP
to enter SETUP
MENU. Select GENERAL SETUP
(see page 25), then press
OK
.
2. Select TV TYPE using (
DE
), then
press (
) to go to the right option
list. Select MULTI, NTSC or PAL
using (
DE
), then press
OK
to
confirm your selection.
3. Press
SETUP
again to exit SETUP
MENU. The TV type selected will
be activated.
Angle Mark Setting
Path: Main Page
➞
General Page
➞
Angle Mark
Some DVD movies contain scenes
which were filmed from multiple
angles simultaneously. If the scene
you are watching was shot from
multiple angles, the angle icon
will appear on the screen.
You may then press the angle button
on the remote to select the alternate
angles. The default Angle Mark
setting is 'On'. If you change the
setting to 'Off' the angle icon will not
appear, even if the scene was shot
from multiple angles.
• ON:
appears on the TV
screen.
• OFF:
does not appear.
Angle mark is on
Angle mark is off
Note:
• You can change the angles using
ANGLE
. For details, see page 30.
Video Output Setting
The initial default Video Output Mode
setting for this system is "SCART
RGB" which is the correct setting
when you are connecting this system
to your TV using the supplied SCART
connector. There is no need to
change the video output mode
setting.
A composite video signal is always
available at the Video Out jack,
should you wish to use this as your
preferred connection method. If you
wish to choose an S-VIDEO signal as
your video output, this is available via
the S-VIDEO socket only and is
selected by accessing the VIDEO
OUT options in the menu. If you
choose this option you will not be
able to see a video signal, or menus,
when connecting to the SCART
output. The VIDEO OUT option must
be reset to SCART RGB, in the menu,
using the SCART connection before
this option becomes available.
The 3 steps below indicate how to
select a different video output setting.
They are for information only.
Your system has been preset to the
SCART RGB setting and it must
remain in the SCART RGB setting in
order to view the picture on your TV.
1. Press
SETUP
to enter SETUP
MENU. Use (
DE
) to select
GENERAL SETUP (see page 25),
and then press
OK
.
2. Select VIDEO OUT using (
DE
),
then press
to go to the right
option list. Select S-Video or RGB
using (
DE
), then press
OK
to
confirm your selection.
3. Press
SETUP
again to exit SETUP
MENU.
S - V I D E O
S C A R T R G B
ANGLE MARK
VIDEO OUT
ON
OF F
VIDEO OUT
ANGLE MARK
M U LT I
N TS C
PA L
ANGLE MARK
VIDEO OUT
OSD LANG
SCR SAVER
G E N E R A L S E T U P ( C O N T I N U E D )


