78
[
←
]
: Left shrink red pane;
[
↓
]
: Down enlarge red pane;
[
↑
]
: Up shrink red pane;
[
PTZ
]
: Set whole screen as motion area;
[
A
]
: Clear all motion areas;
[
ENTER
]
: Save and return “Image Setup” menu;
[
ESC
]
: Cancel setup and return “Image Setup” menu;
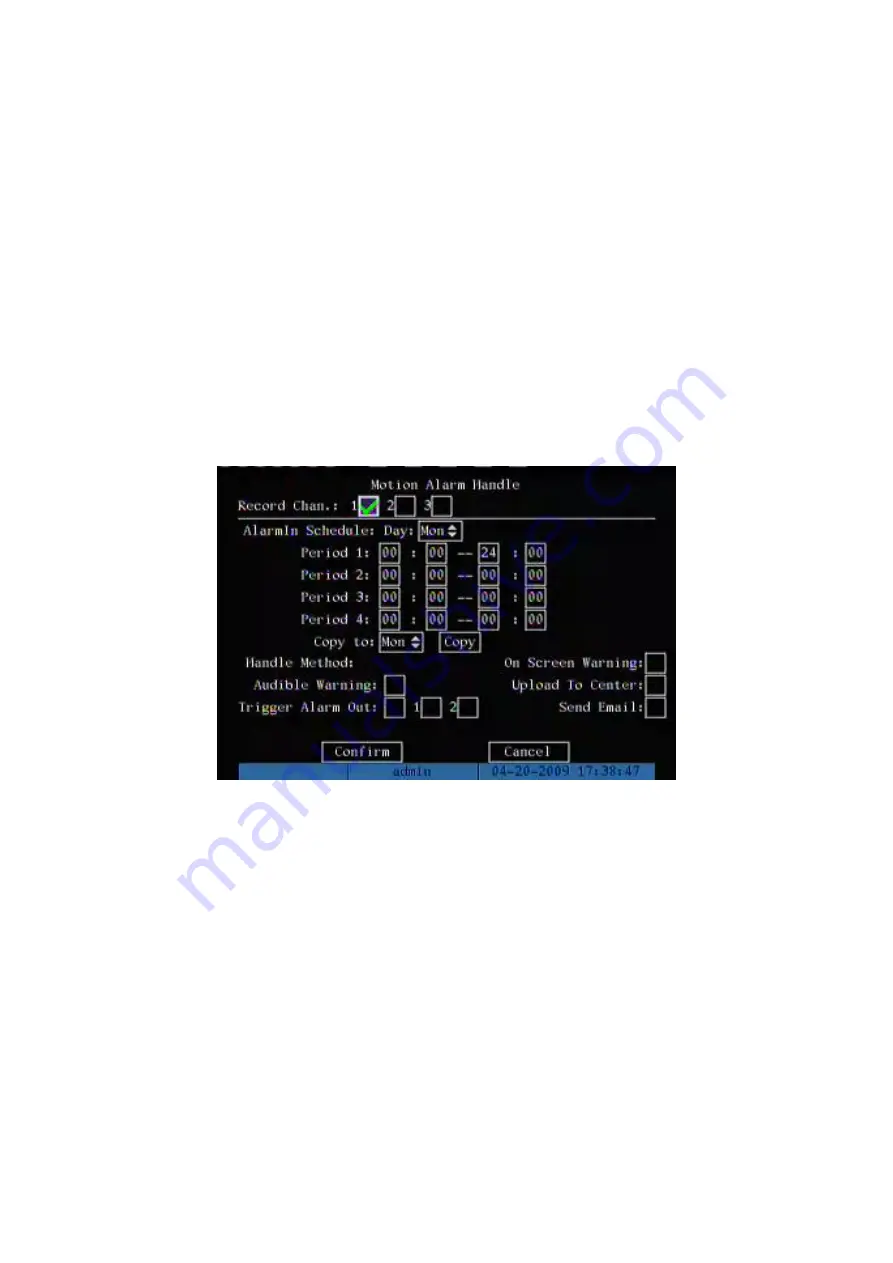
Step 5: Motion alarm policy:
Move “Active Frame” to the corresponding “Policy”
button of motion detection alarm, press
[
ENTER
]
key to enter into “Motion Alarm Handle”
menu:
Step 6: Motion alarm record channel setup:
When there is motion alarm happened,
you can trigger related camera to start recording. In “Motion Alarm Handle” menu, you can
select one or more record channels. Please use
[
ENTER
]
or
[
EDIT
]
key to enable the flag
into “
”.
Note: In order to make the cameras start recording, in “Recording” menu, you must
enable recording schedule and set “Rec Type” as “Motion Detection” or “Motion | Alarm”.
Please refer to chapter 5.11 for recording setup.
Step 7: Motion alarm schedule:
When the motion alarm is happened in schedule,
DVR will response such as “On Screen Warning”, “Audible Warning”, “Upload to Center”
and “Trigger Alarm Output”. You can setup 4 time periods for one day and 7 days for one
Содержание DS-8704HI-S
Страница 14: ...14 The installation of HDD is complete...
Страница 25: ...25 How to exit menu Press PREV or ESC key to exit menu and return to preview mode...
Страница 56: ...56 In this case press ENTER to return password edit box and input new password again...
Страница 62: ...62...
Страница 63: ...63 5 4 Day and Time Setup 5 4 1 Day and Time Setting In Display menu you can setup DVR system date and time...
Страница 113: ...113...
Страница 124: ...124 The corresponding relationship of cross cable...
Страница 136: ...136 Suggestions...


