Plug n Comply Installation Guide
22
Installation
Quick Start Guide
Rack the Jatheon Plug n Comply™ device and connect it to the LAN.
1.
Connect the keyboard, mouse and monitor to the device to configure LAN
2.
settings. Follow the Network Configuration guide below.
Add Plug n Comply™ appliance to your DNS.
3.
Configure the Plug n Comply™ device through the Administrator web user
4.
interface to accept email. Follow the Web Configuration guide below.
Configure your email platform for journaling or network for sniffing.
5.
PnC Appliance Network Configuration
Plug n Comply™ series appliances utilize a simple console configuration user
interface for network configuration accessed through the fido user login. The
terminal connected to the appliance MUST support 1024x768 resolution at
60Hz if you would like to use the graphical user interface for configuration. If the
terminal does not support the required resolution please press ALT+F2 for the
console. Once the appliance is booted, the login screen will allow you to login:
Username:
fido
Password:
jatheonpnc
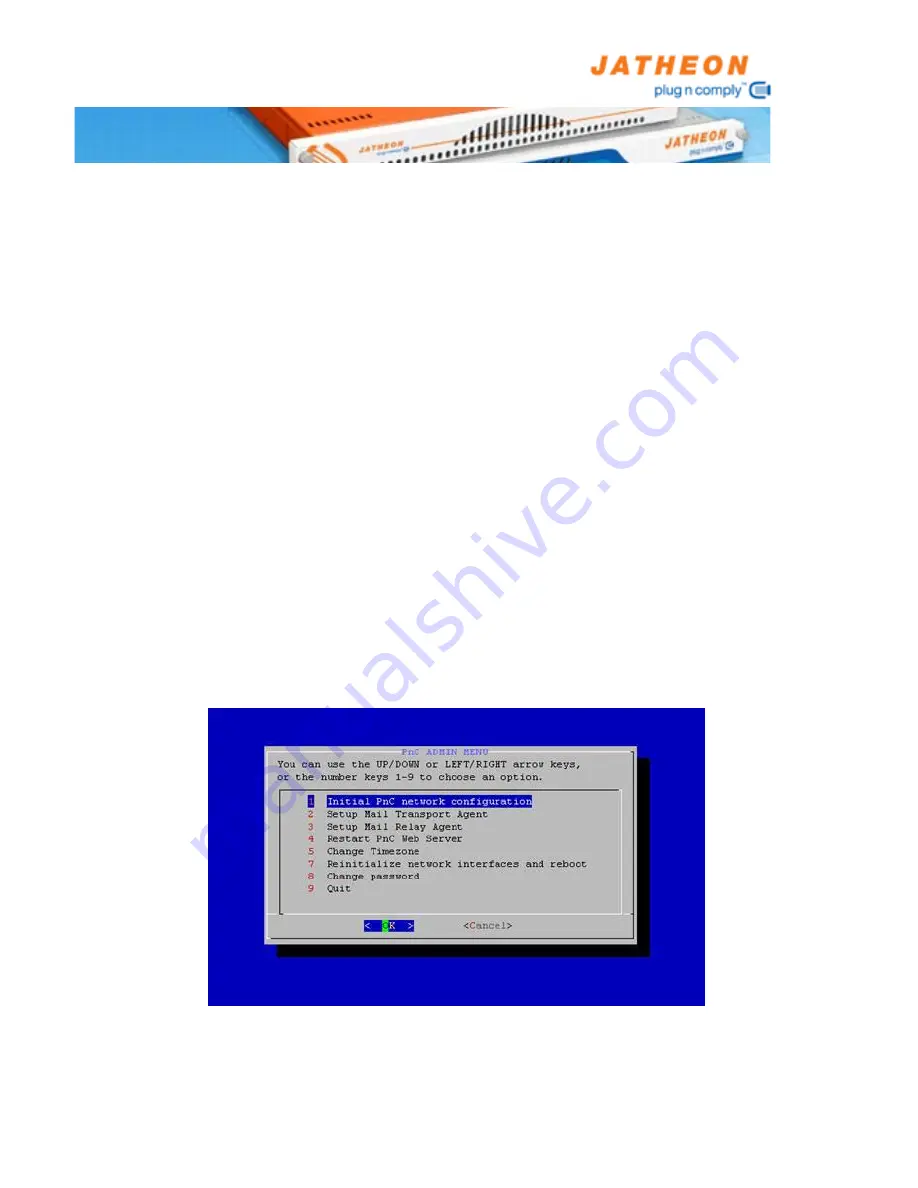
Once logged in, open the system terminal from Applications menu and type in
‘fido-menu’ to start the configuration process.
Once in the configuration menu, the options are as follows:
Initial PnC Network Configuration
Configure the network interfaces of the Plug n Comply™ appliance for your
network.
Содержание PnC 6000
Страница 8: ...Plug n Comply Installation Guide 8 Chassis Views PnC 200 PnC 500 PnC 1000...
Страница 51: ......


