


How to Set Automatic Manage Mode
First, enter the configuration mode:
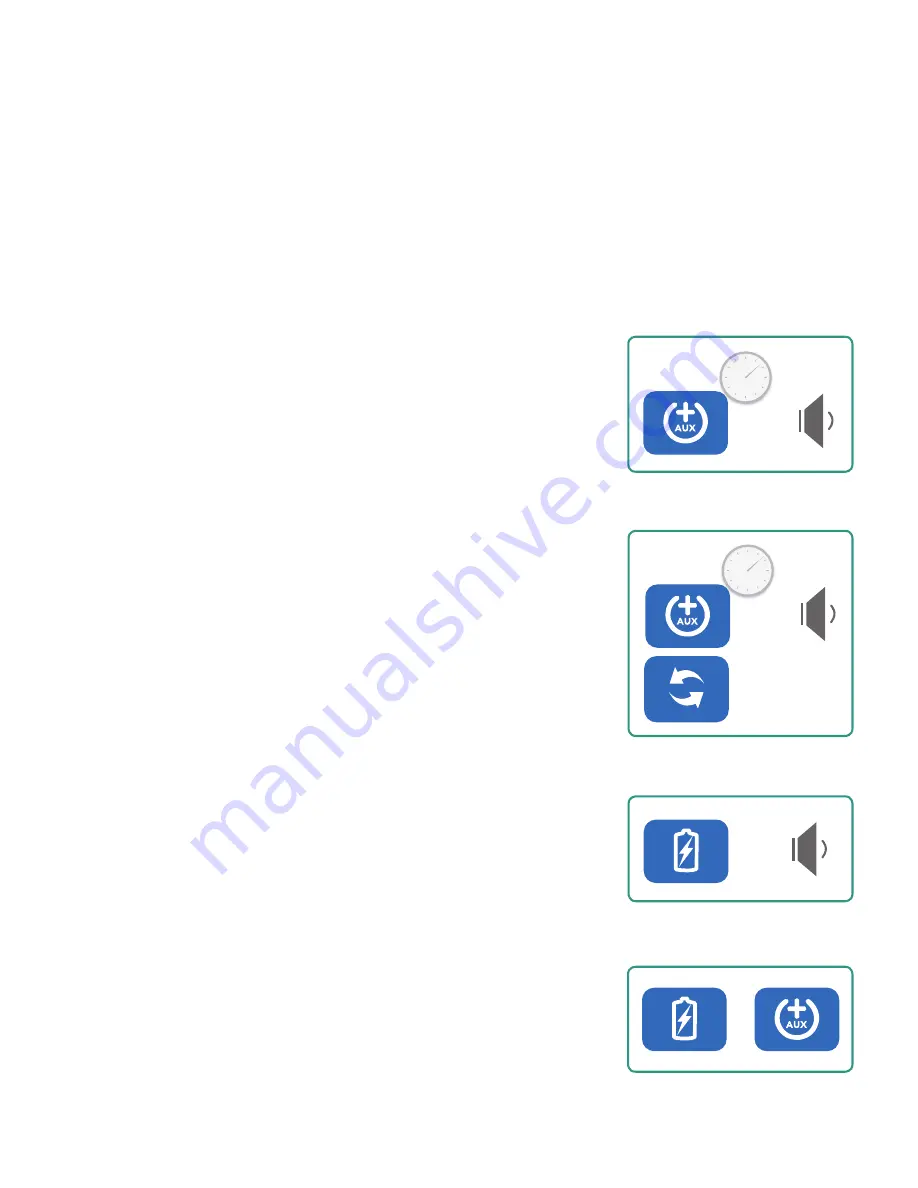
The AUX button must be held down for at least four seconds. This
must be done immediately after power-up. To indicate we are in
configuration mode, a beep will be heard
(A)
, the power icon will
change from solid blue to flashing orange. The LED display will
also display the current version number of the firmware.
While in this mode the default power mode can be changed.
To do so, press and hold the AUX button again until the beep is
heard, while still holding the AUX button, press and release the
manage button
(B)
. The power icon will now flash very fast and the
LED display will show the current configuration mode. The display
will show one of the following:
1. oFF
This indicates the auto power-up modes are off.
2. AC
This indicates that the auto charge is enabled on power-up
3. A6
This indicates that the auto manage is enabled on power-up
Now each time the manage button is pressed, the display will cycle
through the three settings. Once the desired mode is reached,
press and hold the charge button until the beep is heard
(C)
. The
power icon will now be flashing a the original slow rate and the
LED display will show
CF6
. This indicates the system has returned
to the main configuration state and the power-up configuration
has been saved.
To exit the configuration mode:
Press and hold both the AUX and charge buttons
(D)
. The unit
will now return to normal operation. The power icon will return
to a solid blue.
4s
Setting an Automatic Start Up Mode
Automatic Manage Mode
The Intelligent Charging System can be set to automatically start up in manage mode when the
system is plugged in. In manage mode the devices will be charged automatically as they are
connected to the charging system without having to press the charge button.
+
A
B
C
D
4s


