


Page 9
4.
Connect one side of the reman’s switch to the
ePump™ Controller at J3 REMOTE CONTROL,
COMMON.
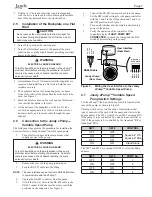
5.
Connect the other side of the reman’s switch to the
ePump™ controller at J3 REMOTE CONTROL,
INPUT 4.
6.
Set the timeclock to the desired on/off times.
7.
Turn on all switches and the main breaker feeding
power to the ePump™.
8
If the installation is working properly, the reman’s
switch will open 20 minutes before the booster
pump shuts down, the ePump™ will continue to run
for 30 minutes, and the ePump™ Controller will
display
PUMP WILL REMAIN ON FOR XX:XX
,
where
XX:XX
is the time remaining until ePump™
shutdown.
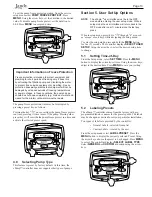
Section 3. User Operation
3.1 OFF
Mode
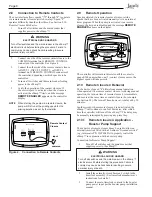
When the pump is off (not running), the controller displays
PRESS PRESET OR MENU/00:00 PUMP IS OFF
,
where 00:00 is the time-of-day clock.
2
3
4
PRESS PRESET OR MENU
12:00AM PUMP IS OFF
ePUMP
MENU
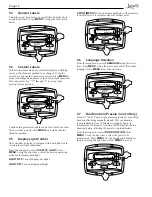
3.2 RUN
Mode
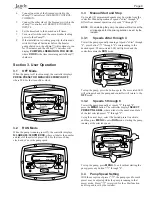
When the pump is running (not off), the controller displays
N:LABEL/00:00 RPM:XXXX
, where n:label is the number
and label of the selected preset, 00:00 is the time-of-day
clock, and xxxx is the pump speed.
2:PRESET 2
10:00AM RPM: 1200
2
3
4
ePUMP
MENU
3.3
Manual Start and Stop
Up to eight (8) programmed speeds may be started from the
controller. Manual operation of speeds "eStar" through "4"
differs from manual operation of speeds "5" through "8".
NOTE
When starting the pump, the pump will first run at the
priming speed for the priming duration, as set by the
installer.
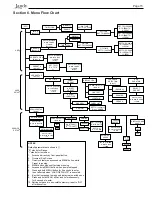
3.3.1
Speeds eStar through 4
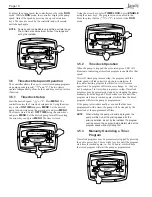
To start the pump manually running at speeds "eStar" through
"4", press button "
" through "4" corresponding to the
desired speed. The associated LED will light red and the
controller enters the
RUN
mode.
2
3
4
ePUMP
MENU
2:PRESET 2
10:00AM RPM: 1200
To stop the pump, press the button again. The associated LED
will extinguish and the pump and controller will return to the
OFF
mode.
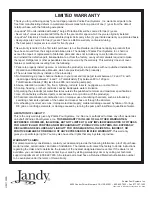
3.3.2
Speeds 5 through 8
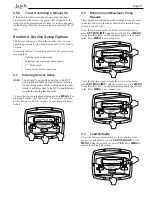
To start the pump manually at speeds "5" through "8",
press the
MENU
button. The controller displays
SELECT
PRESET/N:LABEL
, where n:label is the number and label
of the last selected preset "5" through "8".
Using the arrow keys, select the desired preset to activate,
and then press
MENU
to enter
RUN
mode, starting the pump
running at the selected speed.
2
3
4
SELECT PRESET
5:PRESET 5
ePUMP
MENU
To stop the pump, press
MENU
. To exit without starting the
pump, press any button "
" through "4".
3.4
Pump Speed Setting
With the exception of preset "
", the pump speed for each
preset may be adjusted while the pump is running in that
preset mode. Preset "
" is reserved for the eStar function,
and its speed is set by the installer.
Содержание ePump
Страница 2: ......


