background image

12

Funciones Avanzadas


Nota: Se puede pulsar la tecla SOURCE en el control 

    remoto para cambiar la fuente. Pero si ha activado la 

    función inteligente, oprimiendo la tecla Source solamente

    podrá cambiar entre las fuentes con señal.

Ajustes de Geometría

Despliegue el menú oprimiendo la tecla Menu. Pulse  

la tecla direccional izquierda o derecha para seleccionar

el ícono Geometry y presione la tecla hacia arriba o abajo

o la tecla OK para que aparezca el menú Geometry.


Auto Adjust

pres


H Position ( osi

):

 ajust


V Position (Posi

):

 ajust

AD Clock: 

ajust  

Phase: 

ajust  


[Ajuste Automático]

ione la tecla 

direccional derecha o la tecla OK para ajustar la posición

de la imagen, fase o reloj automáticamente. El menú se 

cerrará automáticamente cuando finalice el ajuste.

P

ción Horizontal

a la posición 

de la imagen a la derecha o a la izquierda.

ción Vertical

a la posición de la 

imagen hacia arriba o hacia abajo

a la sincronización del reloj de la imagen

a la imagen si hay movimiento de las letras 

de la pantalla, desalineación de color, o imagen borrosa.

Presione Menú para regresar o Exit para cerrar el menú.

Note:

 Esta función solo está disponible en el modo PC. 

Geometry

Auto Adjust

H Position
V Position
AD Clock
Phase

50
50

0

60

Conecte el dispositivo USB a la entrada USB y presione 

el botón Menú para exhibir el menú, luego seleccione el

icono Multimedia y la tecla direccional hacia arriba o hacia

abajo o la tecla OK para desplegar el Menu Multimedia.

Notas: 

En el catálogo de disco USB, presione Menú para exhibir

en Menú Multimedia y con las teclas direccionales hacia 

arriba o hacia abajo para seleccionar entre Movie Show, 

Photo Show ,Music Show y Auto Play, luego presione el 

direccional derecho u OK para confirmar.

Las teclas de acceso directo del USB incluyen: tecla

direccional hacia arriba, abajo, izquierda, derecha, OK

y el botón Zoom.


Turnon Time 

[Hora Encendido]

presione las teclas 

   direccionales izquierda, derecha, arriba, abajo para

   ajustar la hora de encendido.


Wake Source 

[Origen de Señal al encender]

presione 

   la tecla direccional izquierda o derecha para seleccionar 

   la señal en que se encenderá el televisor.
   

Wake Channel 

[Canal al Encender]

presione la tecla 

   direccional izquierda o derecha para seleccionar el canal

   en que se encenderá el televisor.

   (Nota: esta función está disponible solamente cuando el 

   origen de señal al encender es TV.)
    

Turnoff Repeat 

[Repetir apagado]

seleccione las veces 

    el tiempo especifico para apagar su TV, use la tecla 

    direccional izquierda o derecha para optar entre Off 

    [apagado], Once [Una vez] y Daily [Todos los días].

    (Nota: si selecciona Off, Turnoff Time no es ajustable.)


Turnoff Time 

[Hora de apagado]

presione las teclas 

    direccionales izquierda, derecha, arriba, abajo para 

    ajustar la hora de apagado.


Sleep Time 

[Hora de temporizador]

:

 ajusta el periodo de 

    tiempo después del cual el aparato de TV pasa a modo de

    espera, pulse la tecla direccional izquierda o derecha para 

    configurar el periodo (240 minutos máximo). Para 

    deshabilitar esta función, oprima Off.


Restore to Default 

[Restauración a Predeterminado]

:


    Presione Menú para retornar o Exit para cerrar el menú.

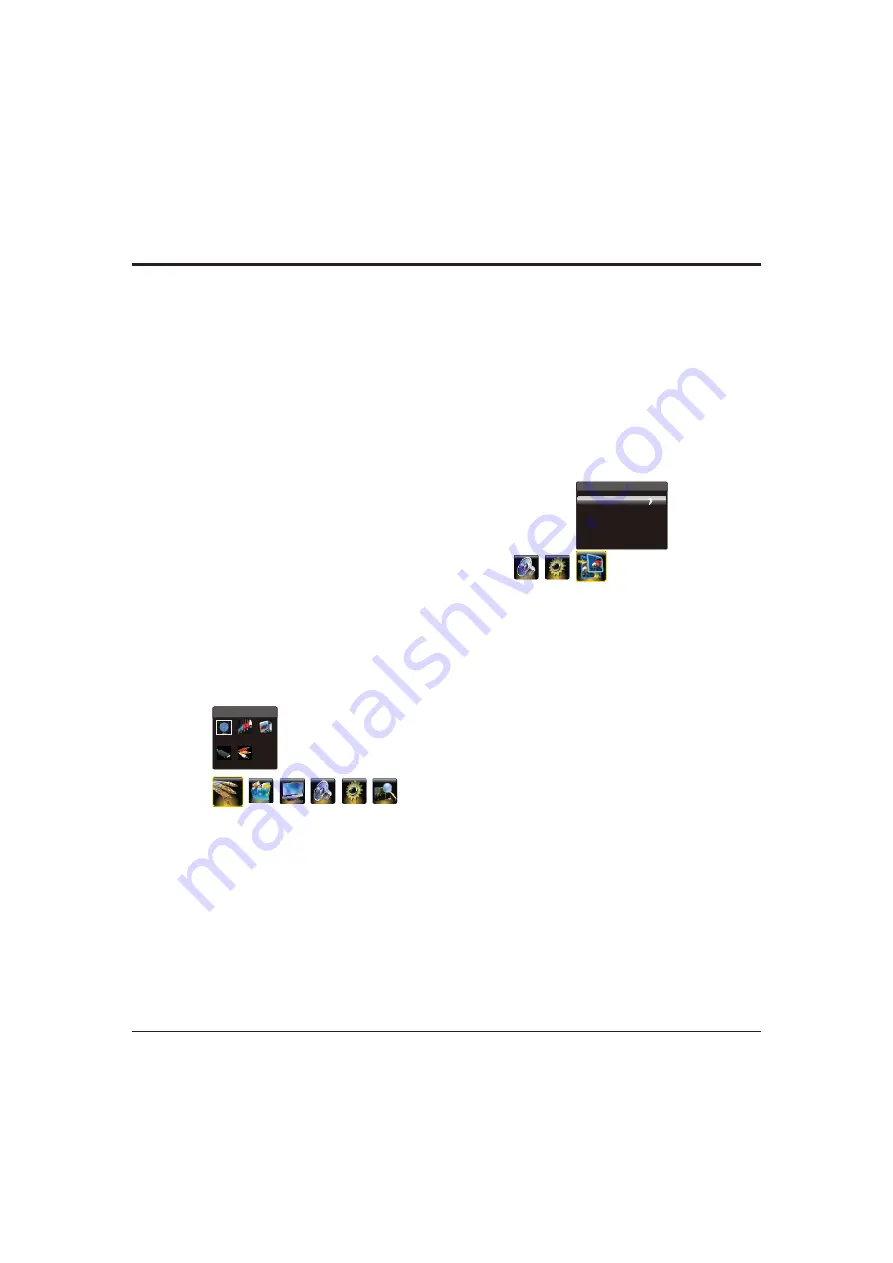
Selección de Fuente de Señal 

Visualice el menú pulsando la tecla MENU. Pulse la tecla 

direccional izquierda o derecha para seleccionar el icono

de fuente y oprima hacia arriba o abajo o la tecla OK para

que aparezca el menú de Fuente.

1. Presione las teclas direccionales hacia arriba, abajo

    izquierda, derecha para seleccionar la fuente 

    deseada.

    (

Nota: La fuente deseada puede variar dependiendo

    del modelo).

2. Presione OK para confirmar la selección.

Source

TV 

PC

HDMI

AV 

YPbPr

Selección de Fuente de Señal


Funciones USB 

Содержание TVJ LED 19 T3520

Страница 1: ...MANUAL DE FUNCIONAMIENTO 19 LED TV TVJ LED 19 T3520...

Страница 2: ...emoto 6 Cap tulo 2 Operaci n General 7 Apagado 7 Ajuste Autom tico de Canales 8 Sintonizaci n de Canales 8 C mo Saltar un Canal 8 Cap tulo 3 Funciones Avanzadas Ajustes de Imagen 9 Ajustes de Sonido 9...

Страница 3: ...pacto o cae la caja ser da ada Cuando se utiliza un interruptor de fusibles como el dispositivo de desconexi n el interruptor permane cer f cilmente operable Energ a y enchufe No permita que nada se a...

Страница 4: ...elos el bot n enciende y apaga la TV Nota Los nombres y localizaci n de los botones funcionales y de encender de la TV pueden variar seg n el modelo de TV 5 CHANNEL UP DOWN CANAL SIGUIENTE ANTERIOR Re...

Страница 5: ...OMPONENT AUDIO IN Estos enchufes AUDIO IN L R pueden ser utilizados para conectar un rango de equi pamientos incluyendo grabadores de video c maras de video receptores de sat lite reproductores DVD o...

Страница 6: ...de TV a su nivel m nimo Presione nuevamente para restaurar el volumen USB Accede al modo USB Menu Muestra el sistema de men VOL Aumenta y disminuye el volumen del aparato CH Recorre en orden crecient...

Страница 7: ...amente Nota Para algunos modelos encienda la Si la luz indicadora de corriente est encendida el aparato de TV est en modo de espera Pulse la tecla en el control remoto o en el aparato de TV para encen...

Страница 8: ...la tecla MENU Los canales encontrados ser n guardados 5 Los canales se colocan en un orden preconfigurado Vaya a las siguientes secciones si desea sintonizar o saltar un canal Sintonizaci n de canales...

Страница 9: ...ature Natural Light Dyanmic Contrast Tint Picture Nota Algunas opciones pueden no estar disponibles para ciertas fuentes de se al Funciones Avanzadas Cap tulo 3 Sound Sound Mode Balance Sound EQ MTS S...

Страница 10: ...CC Option Child Lock Parent Lock Watch Time Limit Password Modify Time Setting Restore to Default Off Default English Auto OFF CC1 Off CC On Los subt tulos siempre aparecen cuando est n disponibles C...

Страница 11: ...ogramaci n no es adecuado para los menores de 16 a os de edad CF_18 ans Adults La programaci n es s lo para adultos Bloqueo sin clasificaci n MPAA Unrated activa o desactiva el bloqueo para abrir la p...

Страница 12: ...confirmar Las teclas de acceso directo del USB incluyen tecla direccional hacia arriba abajo izquierda derecha OK y el bot n Zoom Turnon Time Hora Encendido presione las teclas direccionales izquierda...

Страница 13: ...los botones direccionales hacia arriba abajo izquierda o derecha para seleccionar el archivo de foto que desee y oprima OK para visualizar 3 Cuando est viendo las fotos presione la tecla Men para desp...

Страница 14: ...evitando as da ar el sistema o el dispositivo 3 Tome atenci n al suministro de corriente del dispositivo cuando est usando un disco duro externo o una c mara digital Si el suministro de corriente no e...

Страница 15: ...ir la interferencia Pantalla en blanco en el modo VGA Tal vez la TV no reconozca la resoluci n fijada por el PC Se sugiere cambiar a la mejor resoluci n o a otras resoluciones est ndar del sistema Win...

Страница 16: ...OPERATION MANUAL 19 LED TV TVJ LED 19 T3520...

Страница 17: ...wer Cord and Signal Cable Use Environment Cleaning Hanging the TV Set on the Wall Sockets Remote Control Functions Buttons on the TV Switching off Automatic Channel Set up Fine Tuning a Channel Skippi...

Страница 18: ...amaged Where the mains plug or an appliance coupler is used as disconnect device the disconnect device shall remain readily operable Where an all pole mains switch is used as the disconnect device the...

Страница 19: ...ls the button turns the TV on or off Note The location and names of the function buttons and power button on the TV may vary according to TV model 5 CHANNEL UP DOWN button Scans up down through the ch...

Страница 20: ...UDIO IN VGA COMPONENT These AUDIO IN L R sockets can be used to connect a range of equipment including video recorders camcorders satellite receivers DVD players or games consoles AUDIO IN sockets are...

Страница 21: ...s minimum level Press again to restore the volume USB Access the USB mode Menu Brings up the menu system VOL Increases or decreases the TV s volume CH Scans up or down through the current channel list...

Страница 22: ...will be turned on directly or be in standby Note For some models s If the power indicator lights up the TV set is in standby mode Press the button on the remote control or on the TV set to turn on th...

Страница 23: ...hannels you receive it may take several minutes for the channel search to finish If you want to interrupt the process press the Menu button The channels already found will be stored 5 right Fine Tunin...

Страница 24: ...al Off On Back Light Picture Mode Scale Brightness Contrast Saturation Sharpness Color Temperature Natural Light Dyanmic Contrast Tint Picture Note Some options may be not available for certain signal...

Страница 25: ...CC Mode CC Option Child Lock Parent Lock Watch Time Limit Password Modify Time Setting Restore to Default Off Default English Auto OFF CC1 Off CC On Captioning information always appears when availab...

Страница 26: ...hildren and baby CF_G General Audience This program is suitable for audiences of all ages CF_8 ans Viewers 8 and over Not recommended for young children CF_13 ans Viewers 13 and over Programming may n...

Страница 27: ...Show Photo Show Music Show and Auto Play then press the right direction or OK button to confirm The short keys of USB include the up down left right direction buttons OK and Zoom button USB Functions...

Страница 28: ...eft or right direction button to select an icon then press the OK button to confirm The play console includes Note If you want to capture a picture as open picture select the Capture icon press OK the...

Страница 29: ...aging the system or the device 3 Pay attention to the power supply of the device when you are using a mobile hard disk or a digital camera If the power supply is not sufficient or not stable you may e...

Страница 30: ...ognize the resolution set by the PC Suggest to change to the best resolution or other standard resolutions of the Windows system Snowy dots and interference If the antenna is located in the fringe are...

Страница 31: ...t a excluye nuestra responsabilidad por da os y perjuicios directos o indirectos que pudieren sufrir el adquirente usuarios o terceros En aquellos casos en que la unidad est destinada a usos no dom st...

Отзывы: