4
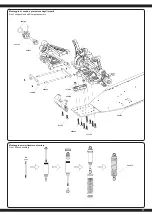
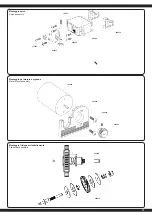
50 5080
50 5081
07 9996
50 5079
505080
505081
079996
505079
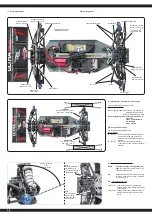
C
A
B
D
E
G
H
F
I
6
1
2
3
4
5
IT
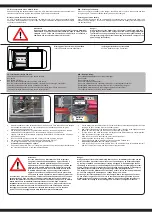
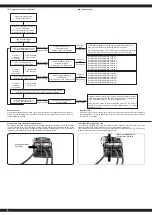
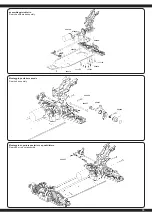
- Attenzione!
I dadi devono essere controllati prima del primo utilizzo e perio-
dicamente (3 -5 inserimenti) eventualmente riserrati. Altrimenti, i
dadi possono allentarsi a causa del alto rendimento del motore
al asse della ruota e la ruota potrebbe staccarsi dal veicolo.
Gravi danni púo provocare.
GB
- Attention!
The wheel nuts must be checked and, if necessary, tightened
before the fi rst use and at regular intervals (3-5 uses). Other-
wise, the wheel nuts can come loose by the high power output
of the motor to the wheel axles and the wheel can be detached
from the vehicle. Serious damage can result.
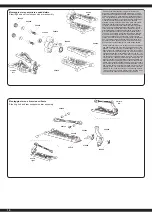
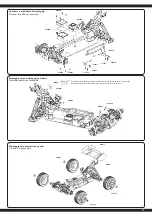
Attenzione!
Il veicolo è dotato di una Pivot sospensione anteriore. Questa
ha una serie di vantaggi. E ‚molto robusta e la manutenzione
e´molto facile. Questo è impostato in fabbrica in modo che la
carreggiata non permette agli cardani di saltare fuori. Come con
qualsiasi modello, dopo l´inizio dell’uso si rallentano di qualche
millimetro sia la sospensione sia i bulloni. Questo gioco minimo,
po’ abbastare sotto massimo sforzo per fare saltare fuori i car-
dani. Pertanto è necessario per assicurarsi prima di ogni uso
che tutte le viti, dadi, giochi ecc., sono fi ssate correttamente. La
vita esterna in plastica 505080 serva per fi ssare il fuso a snodo
sulla vite a sfera. Questo non deve essere serrata troppo forte.
In caso contrario, lo sterzo non si muove liberamente e la guida
può essere infl uenzata negativamente.
Attention!
Your vehicle has a pivot front suspension. This has a number of
advantages. It is very robust and easy to maintain. The set-up of
the car has been done so the drive shaft will not pop out. As with
any model, screws and bolts can losen during break-in of the
car. This can result in tolerance of the drive shaft. The drive shaft
can then pop out if high pressure is applied. The inner ball screw
(item No.: 505081) will enable you to adjust the tolerance resul-
ting in fi ne adjustments of the track width. For best results when
setting up the pivot ball for the fi rst time, please always adjust
the upper and lower pivot in the same way. Fasten as far as the
pivot can still be pulled up and down easyly but not as far that it
will pop out if you give full steering angle. The outer plastic socket
screw (item No.: 505080) is only used for securing of the steering
knuckle. This should not be too tight, otherwise the steering is
not smooth and the handling can be adversely affected.
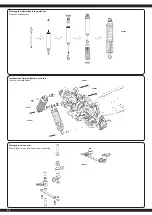
Attenzione!
Il giunto omocinetico anteriore e posteriore assorbe la maggi-
or parte dell’energia del motore e lo passa all’asse anteriore e
posteriore. Per questo, le vite a brugola che tengono il giunto
omocinetico sul asse di uscita prima del
primo utilizzo
e in in-
tervalli regolari (5-7 inserti) devono essere controllati e se ne-
cessario avvitare. Nel giunto omocinetico anteriore e posteriore
deve essere inserito un anello di gomma. Controllare il gioco del
albero motore. Il margine del gioco dovrebbe essere di ca. 1-2
mm. Potrebbe essere necessario spostare il giunto omocinetico
per adattare il gioco. Qui deve svitare le vite senza testa con un
cacciavite e regolare il giunto omocinetico.
Dopo di che avvitare le vite senza testa. In caso contrario
l’omocinetico si sposta sul albero di uscita e l’omocinetico e
l’albero centrale possono essere danneggiati.
Attention!
The front and rear bone pan absorbs most of the motor‘s energy
and directs it to the front and rear axles. Therefore, the hexagon
socket screws which hold the bone pans on the transmission
output shafts must be checked and, if necessary, tightened be-
fore the
fi rst use
and in regular intervals e.g 5-7 uses. Insert
a rubber ring to the front and the back connection cup. Please
check the tolerance of the drive shaft. The tolerance should be
approx. 1 – 2mm. You may have to move the connection cups
to adapt the tolerance. Therefore you need to loosen the grub
screws to adapt the connection cup.
Afterwards tighten the grub screws. If not, the connection cups
will move on the gear output shaft. That might cause the connec-
tion cup and the middle drive shaft to get damaged.
IT
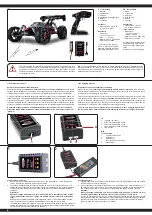
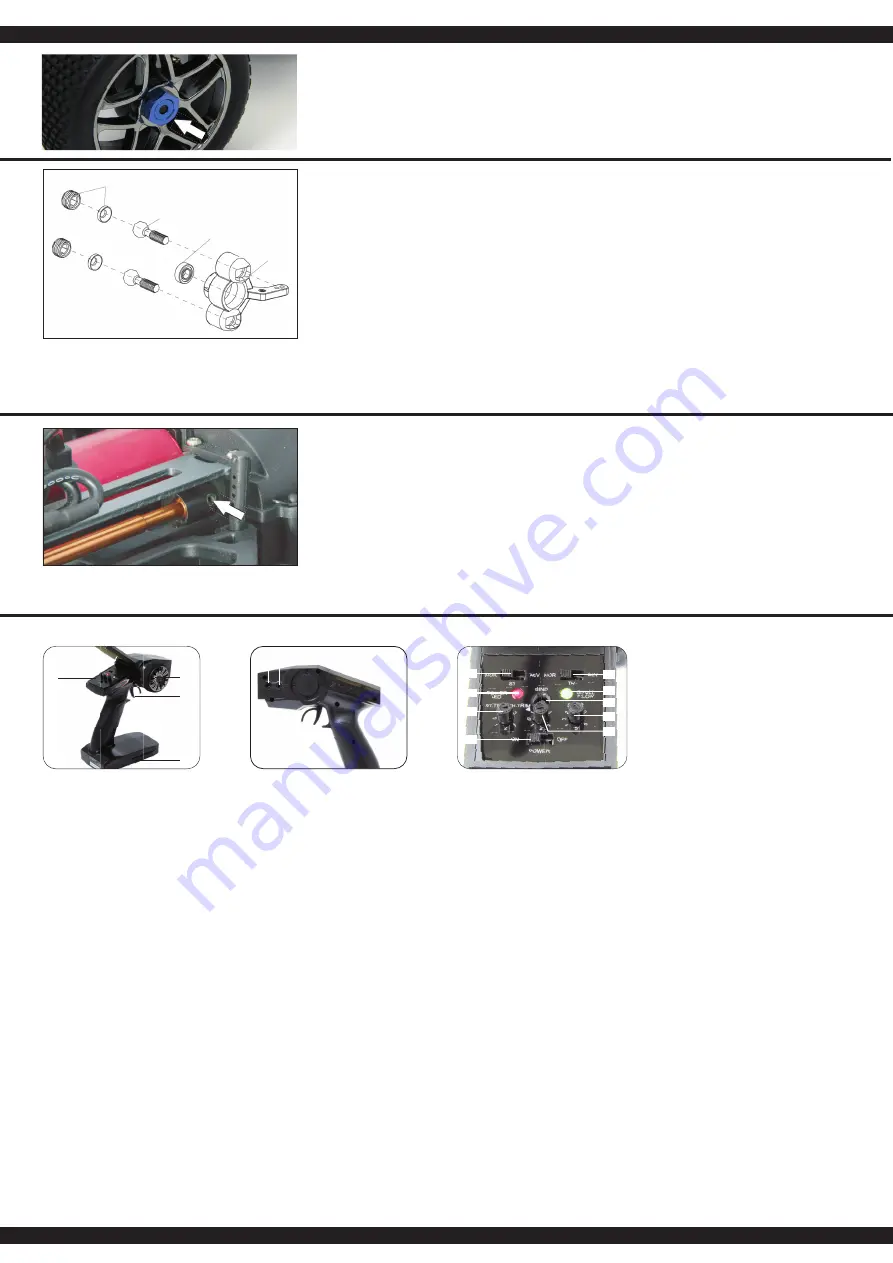
- Trasmittente 2,4 GHz 2CH
GB
- Transmitter 2,4 GHz 2CH
Vista laterale destra
1. Scatola di programmazione
2. Volante
3. Leva del gas
4. Vano Batterie
5. Presa di carica
6. Collegamentoper cavo Simulatore
Se si carica attraverso una presa, si prega di
aprire il coperchio della batteria. Viene usato
per il raffreddamento
Settore di programmzione
A. Direzione Reverse
B. Power LED
C. Direzione -Trim
D. Interruttore on /off
E. Gas Reverse
F. Power Check
G. Pulsante collegamen to Binde
H. Dual-Rate
I. Gas Trim
Trim
Se le ruote non puntano dritti in avanti, anche
se il volante della trasmettente è in posizione
neutrale, è possibile ottenere aiuto con il trim
della trasmittente nella posizione corretta.
Trim L/R = Sterzo
Se le ruote girano in avanti o indietro, anche se
nessun comando è stato dato attraverso il tras-
mettitore, poi anche l‘acceleratore deve essere
tagliato sul trasmettitore.
Trim V/R = Avanti / Indietro
Inserimento delle batterie
• Togliere il coperchio del scomparto batterie.
• Inserire 4 x AA batterie nella giusta
posizione, facendo attenzione ai poli.
• Rimettere il coperchio del scomparto
batterie
Controls
1. Programming Box
2. Steering Wheel
3. Throttle Lever
4. Battery Hatch
5. Charge Socket
6. Simulator Cable Socket
If charging the batteries via the charging sock-
et, the battery hatch cover should be removed
to ensure suffi cient cooling.
Programming Panel
A. Steering Reverse (changed)
B. Power LED
C. Steering Trim
D. ON/OFF Switch
E. Throttle Reverse (changed)
F. Power Check
G. Binding Button
H. Dual-Rate (maximum steering defl ection)
I. Throttle Trim
Trim
If the wheels do not point straight forward even
though the steering wheel on the transmitter is
in neutral, you can adjust it with the trim button
on the transmitter.
Trim L/R = steering
Should the wheels rotate forward or backward,
even though no command was given through
the transmitter, then also the throttle needs to
be trimmed on the transmitter.
Trim V/R = forward/backward
Insert the batteries
• Remove the battery compartment cover.
• Fit the 4 x AA batteries, observe the
correct polarity.
• Replace the battery hatch


