2
DE
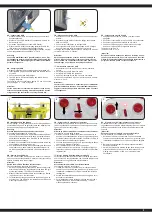
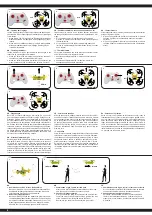
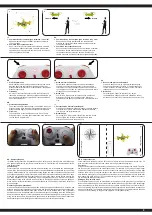
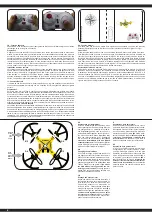
Achtung!
Vor dem Betrieb:
Erst das Modell und dann den Sender einschalten.
Bei Beendigung:
Erst das Modell und dann den Sender ausschalten.
●
Betreiben Sie Ihr Modell niemals in Distanzen die
außerhalb Ihrer Sichtweite liegen. Sowohl die max.
Sichtweite als auch die max. Reichweite Ihres Modells
hängen von vielen Faktoren wie Witterung, Einsatzort
und vorhandenen Störfrequenzen ab. Führen Sie deshalb
vor jedem Einsatz mit einer zweiten Person, die das
Modell während des Tests sicher fixiert hält, einen
Reichweitentest durch und prüfen Sie auch wie sich das
Modell während des Betriebs bei einem Signalausfall wie
z.B. bei leeren Senderbatterien oder ausgeschaltetem
bzw. ausgefallenem Sender verhält.
●
Überschreiten Sie im Betrieb auf keinen Fall die unter
Optimalbedingungen erreichbare Maximal-Reichweite von
35 Metern.
GB
Attention!
Before operating:
Switch the model on first then the transmitter.
When finished:
First switch off the model then the transmitter.
●
Never operate your model beyond sight. Both the
maximum visibility as well as the max. range of your
model will depend on many factors such as weather,
location and interfering frequencies. Therefore,
before each use perform a range test with a second person
securely holding the model and also check how the model
reacts if there is a signal failure e.g. when empty
transmitter batteries are installed.
●
During use, never exceed the maximum range under
optimal conditions of 35 meter .
FR
Attention!
Avant l’utilisation:
Allumez en premier modèle puis seulement votre l’émetteur.
Après utilisation:
Arrêtez le modèle en premier puis votre radiocommande.
●
N’utilisez jamais le modèle à une distance hors de votre
visibilité. La visibilité maximale ainsi que la ortée
maximale dépendent de plusieurs
facteurs tels
que le temps, le lieu d’utilisation et les présentes
fréquences perturbatrices. Pour cela, avant chaque
usage, veuillez effectuer un test de visibilité et de portée
avec une deuxième personne qui tient le modèle fixé et
vérifiez les réactions du modèle en usage en cas de pertes
de signal due par exemple à des piles usées ou à un
émetteur éteint.
●
La distance de vol optimale conseillée est de 35 mètres.
IT
Attenzione!
Prima dell‘uso:
Accendete prima il modello e poi la trasmittente.
Dopo l‘uso:
Spegnere prima il modello e poi la trasmittente.
●
Non utilizzare il suo modello fuori della distanzia di vista.
Sia la visibilità come la portata massima del vostro
modello dipendono da molti fattori, come il tempo,
disturbo di frequenza e il luogo di utilizzo. Eseguire un
test prima di ogni utilizzo del modello con una seconda
persona che tiene fissato il modello. Con questa
procedura potete testare come reagisce il modello
durante la perdita del segnale causato per esempio da una
batterie scarica oppure la radio spenta.
●
Non superare in nessun caso durante l´uso in condizioni
ottimali l´autonomia massima di 35 metri. .
ES
¡Atención!
Antes del uso:
Encender primero el modelo, y después la emisora.
Después del uso:
Apagar primero el modelo, y después la emisora.
●
No utilizar su modelo fuera de la distancias de visibilidad.
Tanto la visibilidad como la capacidad máxima de su
modelo depende de muchos factores, tales como el
tiempo, frecuencia de interferencia y el lugar de
utilización. Realice una prueba antes de cada uso del
modelo con una segunda persona que fija el modelo. Con
este procedimiento se puede comprobar cómo el modelo
reacciona durante la pérdida de señal causada por
ejemplo por una batería descargada o la emisora apagada.
●
No superar en ningún caso durante el uso en condiciones
óptimas la autonomía máxima de 35 metros.
DE
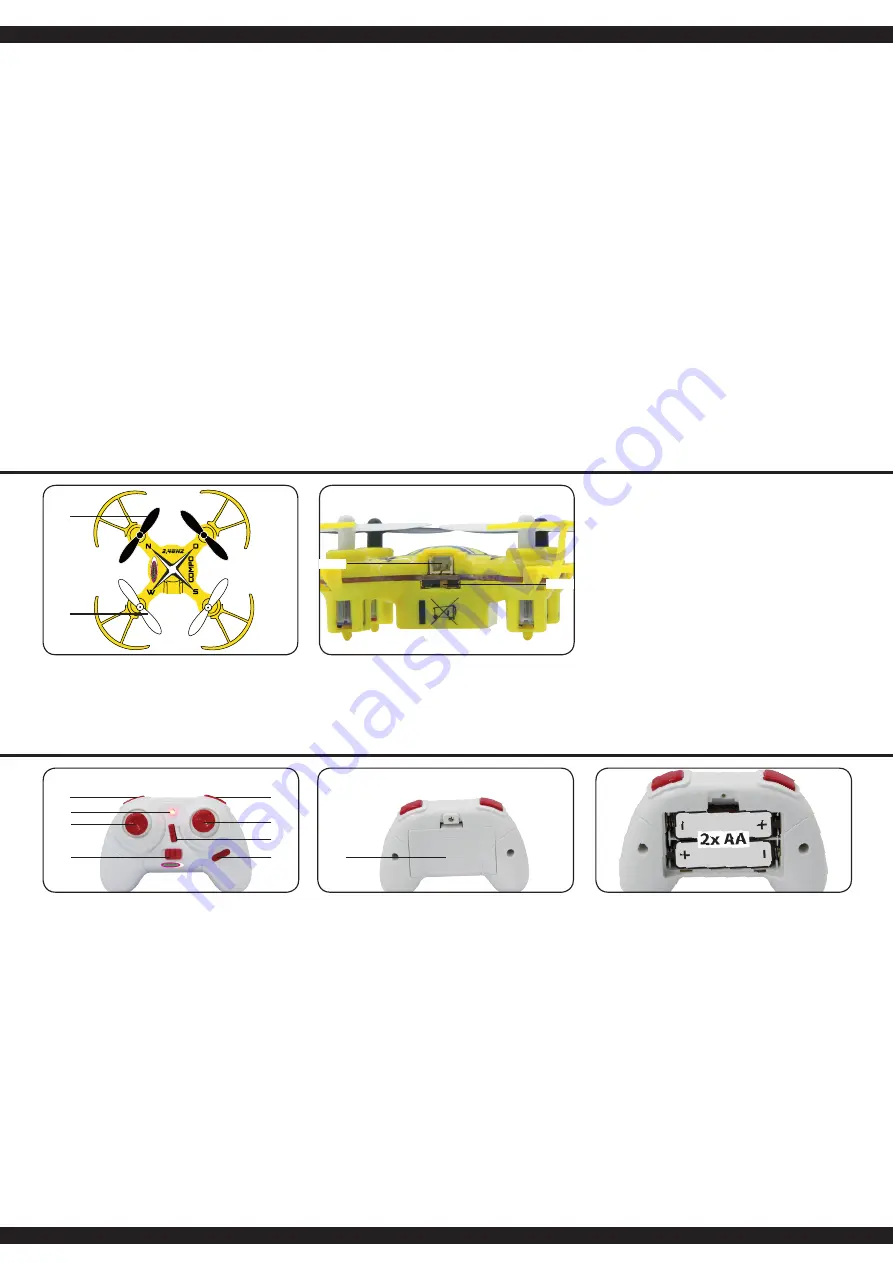
Bezeichnung der Komponenten
1. Rotorblätter vorne (schwarz)
2. Rotorblätter hinten (weiß)
3. Ladeanschluß
4. Ein-/Ausschalter
GB
Component Description
1. Front rotor blades (black)
2. Rear rotor blades (white)
3. Charging port
4. On-Off Switch
FR
Désignations des différentes
pièces
1. Pales du rotor avant (noir)
2. Pales du rotor arrière (blanc)
3. Port de charge
4. Interrupteur On/Off
IT
Denominazione dei componenti
1. Pale des rotore anteriore (nero)
2. Pale del rotore dietro (bianco)
3. Porta di ricarica
4. Interruttore ON/OFF
ES
Descripción de las diferentes
partes
1. Palas rotor delante (negro)
2. Palas rotor atrás (blanco)
3. Puerto de carga
4. Interruptor On/Off
3
4
1
2
DE
1. Einsteiger/Profi modus
2. Power LED
3. Gasknüppel/Gieren/Kompass
4. Ein-/Ausschalter
5. Flipmodus
6. Steuerhebel Nick/Roll/Kompass
(links/rechts,vorwärts/rückwärts)
7. Nicktrimmung (vor/zurück)
8. Rolltrimmung (links/rechts)
9. Batteriefach
Batterien einlegen
Auf Polarität achten.
GB
1. Beginner and expert mode
2. Power LED
3. Speed control stick/Rudder/
Compass
4. Power switch
5. Flip mode
6. Nick/Roll control stick/Compass (left/right, forward/backward)
7. Nick trim(forward/backward)
8. Roll trim (left/right)
9. Battery cover
Fitting the batteries
Observe the polarity.
FR
1. Mode début. et experts
2. Power LED
3. Gaz-/manche d’anti-couple/Compas
4. Interrupteur On/Off
5. Mode de Flip
6. Manche Roll-/Nick/Compas (droite/gauche, avant/arrière)
7. Trim Nick (avant/arrière)
8. Trim Roll (droite/gauche)
9. Compartiment pour piles
Mise en place des piles
Respectant la polarité.
IT
1. Modo principianti e esperti
2. Power LED
3. Leva Gas/Coda/Bussola
4. Interruttore ON/OFF
5. Flip mode
6. Leva Roll/Nick/Bussola (destra/sinistra, avanti/indietro)
7. Trim Nick (avanti/indietro)
8. Trim Roll (destra/sinistra)
9. Compartimento batteria
Montaggio delle pile
Rispettando la polarità.
ES
1. Modo principiantes y profesionales
2. Power LED
3. Gas/dirección palanqua/Brújula
4. Interuptor On/Off
5. Flip
6. Palanca de mando de dirección / Brújula
(izquierda/derecha, delante/atraz)
7. Equilibrio Nick (delante/atraz)
8. Equilibrio Roll (izquierda/derecha)
9. Compartimento de la batería
I
nstalación de las pilas
Preste atención a la polaridad
1
5
6
7
8
2
3
4
9


