12
Power Blade Battery Pack & Cart Controller
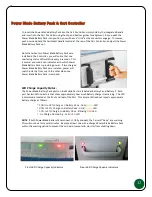
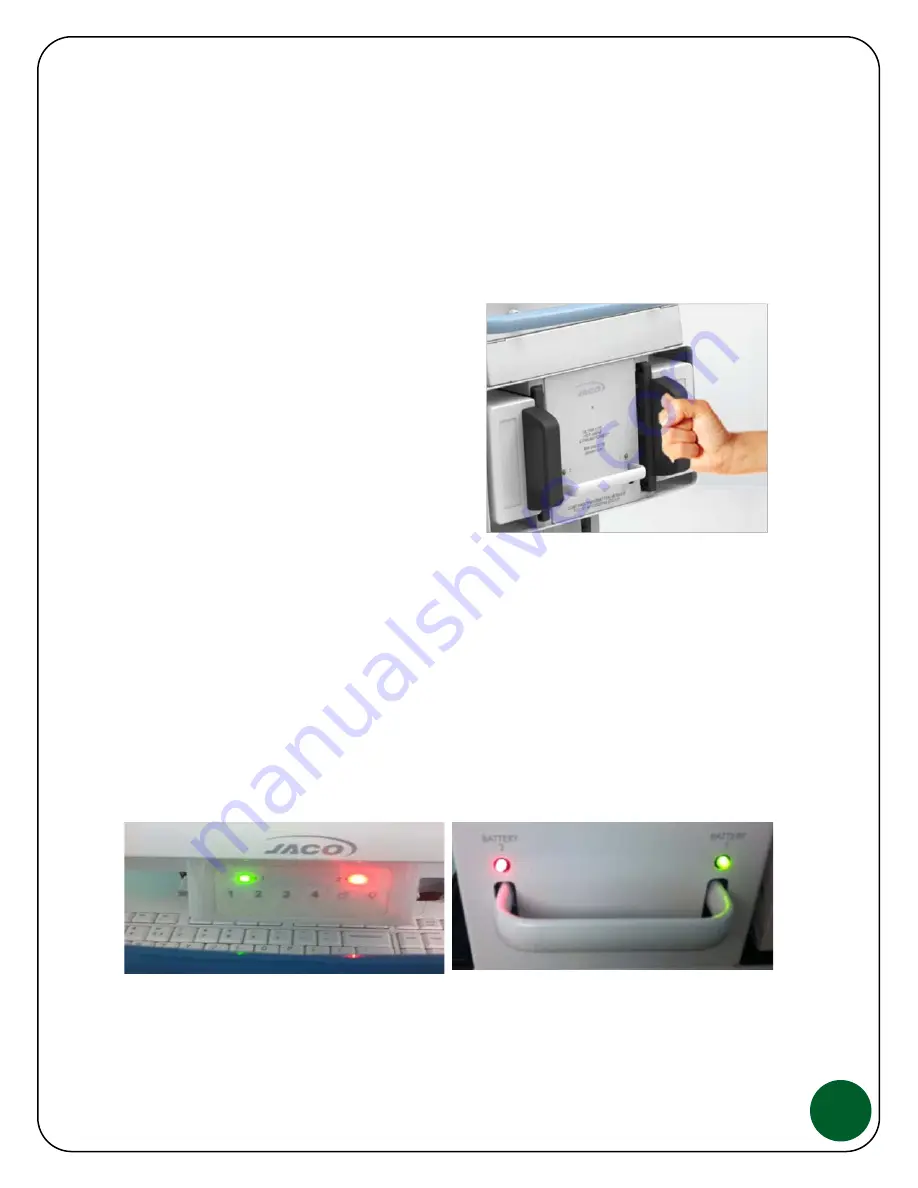
To insert the Power Blade Battery Pack into the Cart Controller, simply hold by the integrated handle
and insert into the Cart Controller using the top and bottom guides for alignment. As you push the
Power Blade Battery Pack into position, you will hear a "click" as the connectors engage. To remove,
push down and hold the horizontal handle located at the rear of the Cart Controller, and pull the Power
Blade Battery Pack out.
Note that when two Power Blade Battery Packs are
installed in the Controller, you will notice that one
rear facing status LED will blink every 6 seconds. This
is normal and used as an indicator as to which Power
Blade Battery Pack is providing power. If two charged
Power Blade Battery Packs are installed, power will
switch instantly from one to the other when one
Power Blade Battery Pack is removed.
LED Charge Capacity Status:
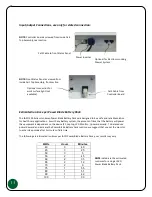
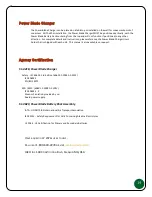
The Power Blade Battery Pack ports on the Mobile Cart are labeled as Battery 1 and Battery 2. Each
port has two LED indicators that show approximately how much battery charge is remaining. The LED
indicators are located at the front and rear of the Cart. This simple LED readout reports approximate
battery charge as follows...
* 100% to 21% Charge on Battery Pack - Solid
Green
LED
* 20% to 11% Charge on Battery Pack - Solid
Amber
LED
* 10% to 1% Charge on Battery Pack - Blinking
RED
LED
* No Charge Remaining - Solid
RED
LED
NOTE
: If both Power Blade Battery Packs show
RED
(fully drained), the Cart will "beep" as a warning.
This will continue for several minutes. Replace at least one with a charged Power Blade Battery Pack
within this warning period to prevent the on-board computer & monitor from shutting down.
Front LED Charge Capacity Indicators Rear LED Charge Capacity Indicators
Содержание Ultralite Power Blade Hot-Swap 300 Series
Страница 1: ...25 0163 Rev 02...


