


PRECAUTION SYMBOLS
PRECAUTION SYMBOLS
This machine is manufactured for use according to proper procedures by a qualified person and only
for the purposes described in this manual. The following conventions are used to indicate and classify
precautions depending on the level of danger, or seriousness of potential injury. Always heed the
information provided in this manual. Failure to heed precautions can result in personal injury or
property damage.
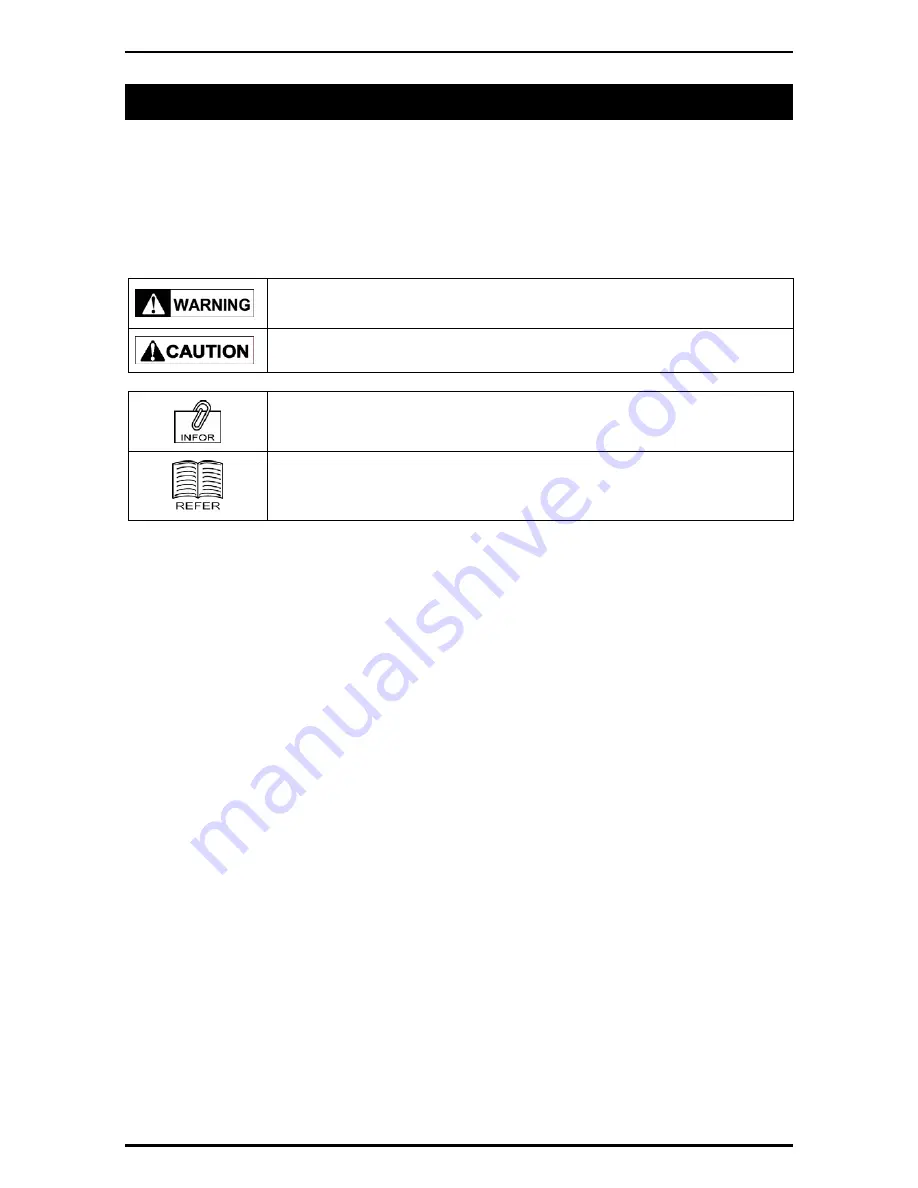
The following precaution symbols are used in this manual.
Indicates a potentially hazardous situation which, if not avoided, may result in
serious injury or death. Additionally, there may be significant property damage.
Indicates a potentially hazardous situation where, if not avoided, may result in
minor or moderate injury or in property damage.
Indicates reference information for operation.
Indicates the referred page for operation.
UNI-7 User’s Manual
v
Содержание UNI-7
Страница 56: ...Chapter 3 RECEIPT ISSUE 8 Press the PRINT key on the key sheet to issue the receipt Uni 7 User s Manual 3 9 ...
Страница 57: ...Chapter 3 RECEIPT ISSUE 9 The Subtotal screen appears for the settlement 3 10 Uni 7 User s Manual ...
Страница 70: ...Chapter 3 RECEIPT ISSUE 14 The Subtotal screen appears for the settlement Uni 7 User s Manual 3 23 ...
Страница 73: ...Chapter 3 RECEIPT ISSUE 7 The Subtotal screen appears for the settlement 3 26 Uni 7 User s Manual ...
Страница 83: ...Chapter 5 TEMPORARY CHANGE OPERATIONS Fixed Unit Price Products 5 2 Uni 7 User s Manual ...
Страница 85: ...Chapter 5 TEMPORARY CHANGE OPERATIONS Weighing Fixed Price Products 5 4 Uni 7 User s Manual ...
Страница 87: ...Chapter 5 TEMPORARY CHANGE OPERATIONS Fixed Unit Price Products 5 6 Uni 7 User s Manual ...
Страница 89: ...Chapter 5 TEMPORARY CHANGE OPERATIONS Fixed Unit Price Products 5 8 Uni 7 User s Manual ...
Страница 91: ...Chapter 5 TEMPORARY CHANGE OPERATIONS Weighing Fixed Price Products 5 10 Uni 7 User s Manual ...
Страница 93: ...Chapter 5 TEMPORARY CHANGE OPERATIONS Weighing Fixed Price Products 5 12 Uni 7 User s Manual ...
Страница 104: ...Chapter 7 ACCUMULATOR MODE 6 Remove the product from the weigh platter Uni 7 User s Manual 7 5 ...
Страница 107: ...Chapter 7 ACCUMULATOR MODE 6 The registration has been completed 7 8 Uni 7 User s Manual ...
Страница 110: ...Chapter 7 ACCUMULATOR MODE 6 Remove the product from the weigh platter Uni 7 User s Manual 7 11 ...
Страница 115: ...Chapter 8 TOTAL ADJUST MODE 6 Remove the product from the weigh platter Uni 7 User s Manual 8 5 ...
Страница 118: ...Chapter 8 TOTAL ADJUST MODE 6 The registration has been completed 8 8 Uni 7 User s Manual ...
Страница 121: ...Chapter 8 TOTAL ADJUST MODE 6 Remove the product from the weigh platter Uni 7 User s Manual 8 11 ...
Страница 126: ...Chapter 9 TOTAL MODE Uni 7 User s Manual 9 5 ...
Страница 134: ...Chapter 10 PROGRAM MODE 10 2 Uni 7 User s Manual ...
Страница 173: ...Chapter 10 PROGRAM MODE 8 The selected PLU has been assigned to the selected membrane key Uni 7 User s Manual 10 41 ...
Страница 253: ...Chapter 10 PROGRAM MODE 4 Press the STRAT button to print the labels Uni 7 User s Manual 10 121 ...
Страница 255: ...Chapter 11 SETUP MODE 11 2 Uni 7 User s Manual ...
Страница 260: ...Chapter 11 SETUP MODE Uni 7 User s Manual 11 7 ...
Страница 264: ...Chapter 11 SETUP MODE Uni 7 User s Manual 11 11 ...
Страница 265: ...Chapter 11 SETUP MODE 11 12 Uni 7 User s Manual ...
Страница 269: ...Chapter 11 SETUP MODE 3 Press the WEEKLY tab to display the Preset Report Weekly screen 11 16 Uni 7 User s Manual ...
Страница 283: ...Chapter 11 SETUP MODE 11 30 Uni 7 User s Manual ...
Страница 284: ...Chapter 11 SETUP MODE Uni 7 User s Manual 11 31 ...
Страница 290: ...Chapter 11 SETUP MODE 9 The edited logo image has been registered Uni 7 User s Manual 11 37 ...
Страница 295: ...Chapter 12 ADJUSTMENT MODE 5 Press the SET button to confirm calibration Uni 7 User s Manual 12 5 ...


