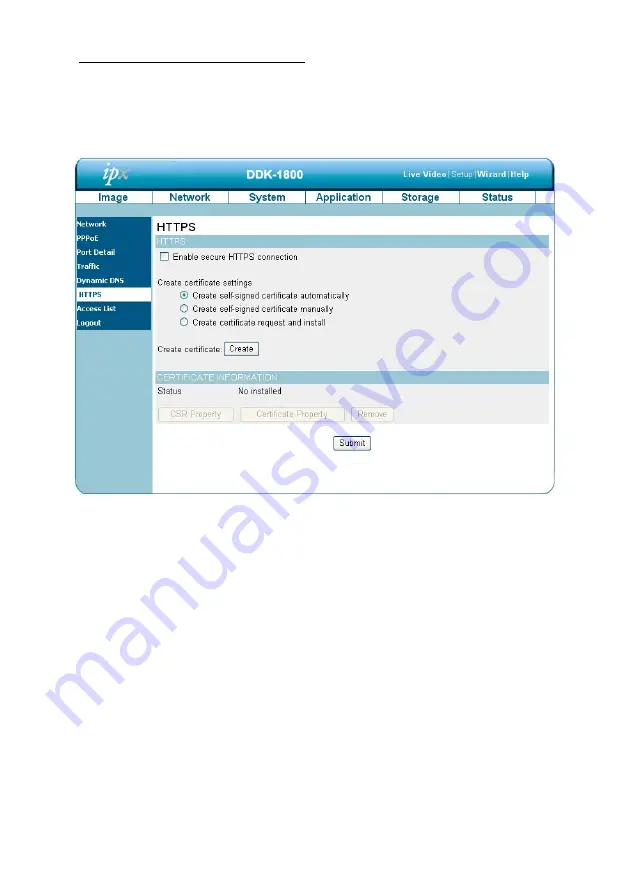
Changing the Network Settings — HTTPS.
Click the “HTTPS” icon at the upper left of the “Network” page. Follow the steps below to change the
HTTPS setting.
1.
Click on the
HTTPS
button on the upper left menu to enter the “HTTPS Setting” page.
2.
Select the “Enable HTTPS secure connection” to activate this function.
3.
Click to select the “Create certificate method” from “Create self-signed certificate automatically”,
“Create self-signed certificate manually” and “Create certificate request and install”.
4.
Click “Create” to save the create certificate settings.
5.
The Certification Information will show below.
6.
Click “CSR Property” to see the Certificate Signing Request information.
7.
Click “Certificate Property” to see the Certificate information.
8.
Click “Remove” to remove the created certificate.
9.
Click on the
Submit
button to submit the new setting.
NOTE: The certificate cannot be removed while the HTTPS is still enabled. To remove the
certificate you must first uncheck Enable HTTPS secure connection.
44


