ION LP2CD Скачать руководство пользователя страница 11


6.


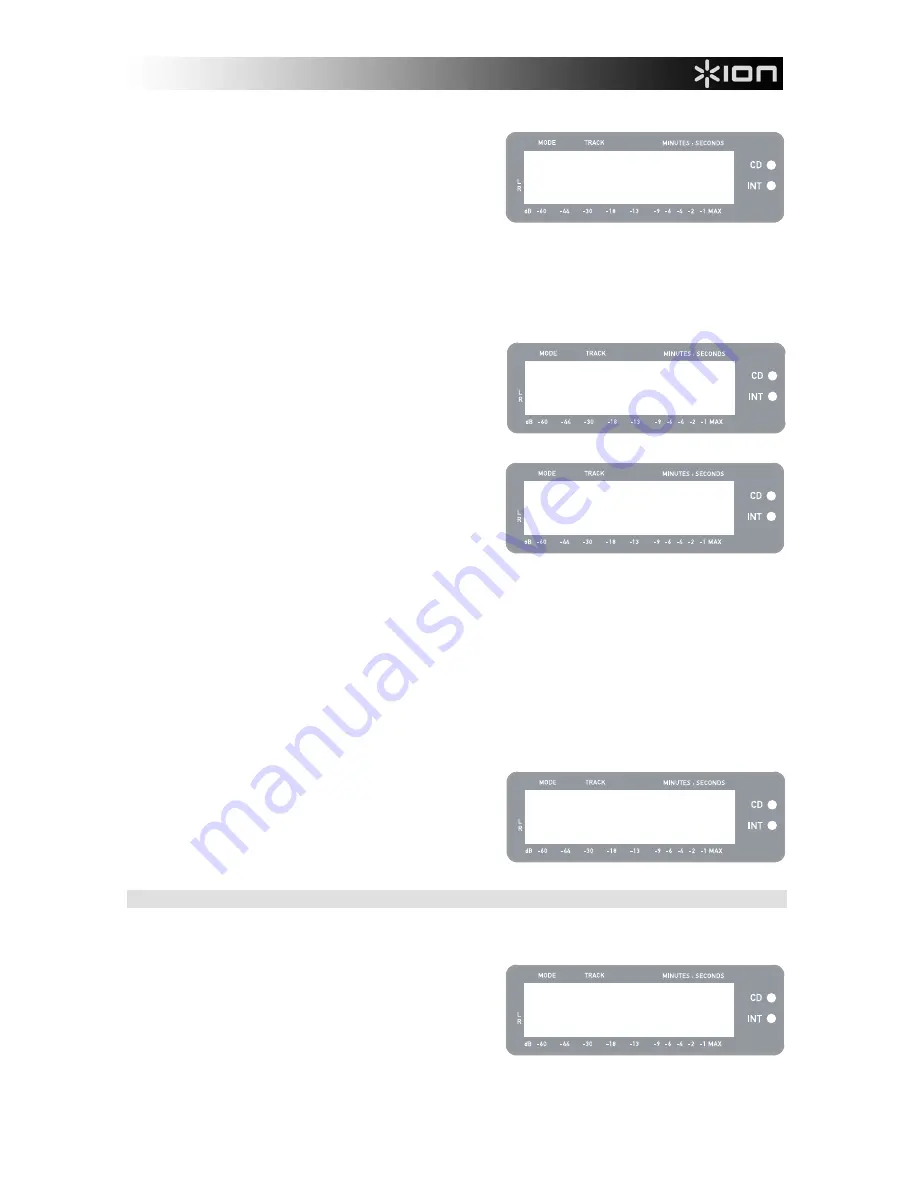
Use the RECORD LEVEL knob to adjust the level of 
the audio signal

.  The recording level will be 

displayed on the screen.  It is important to set your 
recording levels correctly during this step, otherwise 
you may end up with a recording that is too soft or is 
too loud and distorted.  Try to set the RECORD LEVEL 
knob such that the peaks hit the (-4) or (-2) mark but 
never reach MAX (“!” will be displayed if the recording 
level is too loud and clipping).  

7.


Once you have adjusted your recording level to its optimal setting, stop the music

.  If recording 

vinyl from the turntable, press the [START/STOP] button to stop the turntable platter. 

8.


Cue the section which you would like to record

.  If recording vinyl from the turntable, put the needle 

back to the beginning of the section you wish to record. 

9.


When you are ready to begin recording, 

press [PLAY] 

and then play the music you wish to record

.  If 

recording vinyl from the turntable, immediately press 
the [START/STOP] button to begin playing the record.  
The red LED will be lit continuously to let you know 
that recording is in progress.  On the right of the 
display, you will see a readout of the remaining 
recording time.  

10.


By default, the LP 2 CD will detect silence between 
songs and automatically split them into individual 
tracks (Auto Split).   

If you have not disabled Auto Split, then proceed to the 
next step.   

However, if you have disabled Auto Split, you will need to manually insert track markers in between 
songs. To insert a track marker,

 press the [SPLIT TRK] button between songs

.  The ‘INT’ number 

will increment to let you know that a new track was started.  Inserting track markers will allow you to 
burn songs as individual tracks when burning to CD. 

Note: Redbook CD specification requires a 4 second minimum track length.  The [SPLIT TRK] will 
become active again 4 seconds after it has been pressed. 

11.


If recording music from a vinyl record, you may wish to pause recording while you flip the record: 

a.


Press [PAUSE] to temporarily pause recording once you reach the end of Side A. 

b.


Flip your record to Side B. 

c.


Press [SPLIT TRK] to insert a marker for the first track on Side B. 

d.


Press [PLAY] to begin recording Side B. 

12.


Once you have finished recording, 

press the [STOP] 

button

.  The display will return to the default Internal 

Flash Player screen, as shown on the right. 

For information on burning the recordings onto a CD-
R, please refer to “Burning Internal Flash Player 
Contents to CD” section. 


PLAYING MUSIC FROM THE INTERNAL FLASH PLAYER 


Once you have recoded your music to the Internal Flash Player, press the [PLAY] button to hear the 
recordings.     


You can cycle through different time display options by 
pressing the [DISPLAY] button.  Options include 
‘Elapsed’, ‘Track Remain’ and ‘Total Remain’. 


Press [FF] or [REW] to skip to the next or previous 
track, respectively.  Press and hold either button while 
a track is playing to quickly scan backward or forward. 


Press [PAUSE] while a track is playing to pause 
playback.  Press again to resume. 


Press [STOP] to stop playback. 

INT:01 PressPLAY 


============ = 


INT:01    T70:13 


=========== = 


INT:02    T65:01 


   New Track! 


INT:13/13 T56:14 


Int Flash Player 


INT:01/13  00:15 


========== = 


Содержание LP2CD

Страница 1: ...ENGLISH 1 14 MANUAL DE INICIO R PIDO PARA EL USUARIO ESPA OL 15 28 GUIDE D UTILISATION RAPIDE FRAN AIS 29 42 KURZANLEITUNG DEUTSCH 43 57 MANUALE RAPIDO DI UTILIZZAZIONE ITALIANO 58 71 SNELSTARTGIDS N...

Страница 2: ......

Страница 3: ...ed several software applications to aid you in converting your records to digital music EZ Vinyl Tape Converter PC only is the quickest and easiest way to turn your recordings into digital media EZ Vi...

Страница 4: ...ndard stereo RCA cable to connect these outputs to the audio inputs of your home stereo system Please note you can still copy music to a CD or to your computer even if the audio outputs of the turntab...

Страница 5: ...access menu options and information relevant to the operation of the unit 7 MENU AND FUNCTION BUTTONS See Menu and Function Buttons section for a detailed description of these buttons 8 CD CONTROL BU...

Страница 6: ...ress again while the track is playing to pause the green LED will blink while paused Press again to resume playback This button also initiates recording while in Record Ready Mode 5 RECORD Press this...

Страница 7: ...g while nearing the center spindle try increasing the Anti Skate in the increments indicated on the dial Start by adding an increment of 1 test its performance then increase it more and so on IMPORTAN...

Страница 8: ...multiple tracks Burn Internal Flash Player contents to a blank CD R CD PLAYER MODE In this mode you can play or rip music from a non blank CD When you first insert your CD the screen will display the...

Страница 9: ...ayer Press YES to copy the entire CD If the Internal Flash Player already contains data you may see the screen displayed on the right Press YES if you would like to copy the contents of the CD anyway...

Страница 10: ...reen shown on the right to switch to Internal Flash Player Mode 2 Select which source you would like to record by flipping the PHONO LINE switch to the appropriate position Set the switch to PHONO if...

Страница 11: ...en songs To insert a track marker press the SPLIT TRK button between songs The INT number will increment to let you know that a new track was started Inserting track markers will allow you to burn son...

Страница 12: ...quickly scan forward or backward in the track Press STOP to stop the preview Press YES to keep or press NO to cancel the split ERASING MUSIC FROM THE INTERNAL FLASH PLAYER In situations where you migh...

Страница 13: ...ou have selected the desired destination press YES to move the track Auto Split Auto Split is a feature which automatically detects silence between songs and splits the recording into tracks in real t...

Страница 14: ...ng process will begin automatically You will see the screen displayed on the right Please allow this process to complete Note To cancel the burn process press STOP 5 Once the burning process has compl...

Страница 15: ...yer contents after each successful transfer to CD Question Can I listen to my music while recording it Answer Yes you can listen to your music while recording by connecting the unit s Line Out to a li...

Страница 16: ...ter each successful burn I get a Not enough space on blank CDR message Internal Flash Player contents exceed the maximum capacity of the CD R you are attempting to burn Try a higher capacity CD R If u...

Страница 17: ...z sample rate Line in recording to internal flash memory at unity gain SNR 96dB THD N 0 008 Line in recording to internal flash memory at max gain SNR 86dB A weighted THD N 0 01 USB interface Type USB...

Страница 18: ......

Страница 19: ......

Страница 20: ......

Страница 21: ...www ion audio com...

Отзывы: