Hydrosteel 6000 MANUAL
Ion Science Ltd
Page 21 of 39
Unrivalled Detection. www.ionscience.com
Data logging and computer interface
Connecting the IR Link Box
1
Connect the 6 V dc power supply (provided) to an ac supply.
2
Connect the output of the 6 V dc power supply to the back of the IR Link Box.
A red LED will blink regularly when the IR Link Box has power applied to it.
3
Connect the serial cable (provided) between the back of the IR Link Box and the serial connection
on your PC.
NB
A USB to Serial (RS232) adaptor may be used if your PC or laptop no longer has an RS232 port.
Installing the ISL data interface software
Copy the complete ISL directory (Ion Science Ltd) from the disk provided onto your computers C: drive.
When using the software for the first time you will be required to select the appropriate communications
(serial) port that your IR Link box is connected to. To select a port enter the ISLPC software program and
click on the Settings tab.
Downloading Data from your Hydrosteel
1
Remove the Hydrosteel analyser’s leather jacket. Turn the analyser on. To enter normal
operation either allow mode (90 s countdown) or press the on/off key twice to zero the
instrument. Now press the Spanner, then the Data key. The instrument will display
PC
connect.
2
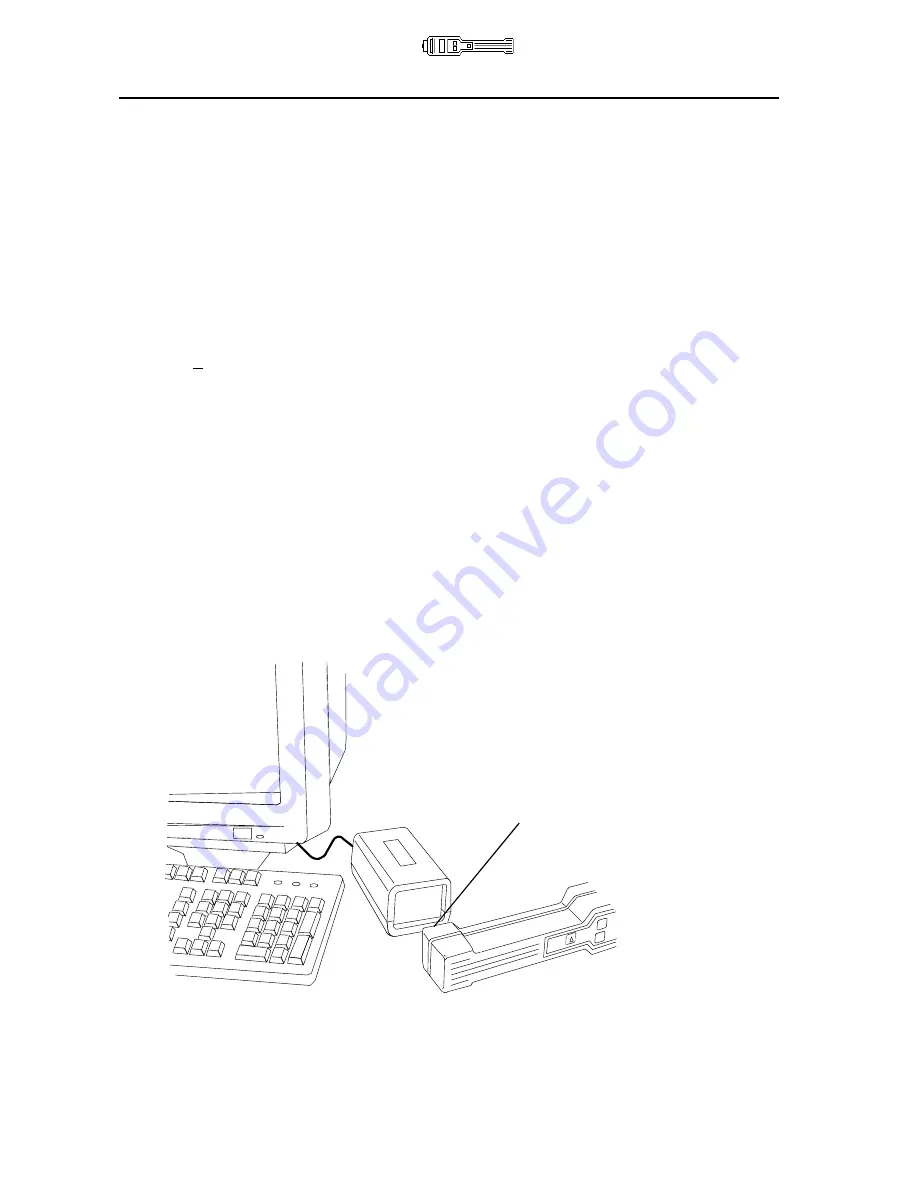
Locate the infrared port at the rear of the Hydrosteel and then position this port at about 5cm
(2”) away from the data-transfer window of the IR LINK Box,
ensuring that the IR port is
oriented downwards,
ie
, adjacent to the desk surface
as shown below.
3
Ensure that no other program on your PC is using the serial communications (IR) port.
4
Within the ISL Directory on your PC, double click on the
islpc.exe
icon.
Position the data trans-
fer port (at the rear of
the analyser) against
the window of the IR
Position the data transfer
port (at the rear of the
analyser) against the
window of the IR


