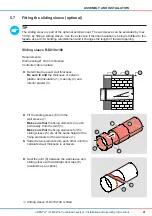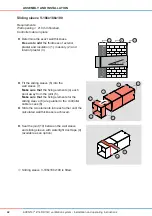
46
ASSEMBLY AND INSTALLATION
inVENTer
®
iV14R/iV14V ventilation system
•
Installation and operating instructions
Fitting weather protection hood 09
Requirements:
Exterior wall inished and level and the wall sleeve is itted.
Protective discs on the exterior wall side are removed from the wall sleeve.
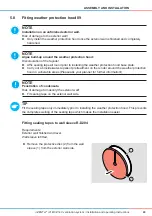
NOTE
Algae build-up around the weather protection hood:
Discolouration of the façade!
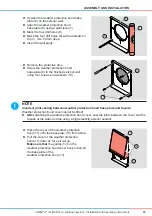
► Afix sealing tape all round prior to installing the weather protection hood base plate.
►
Carry out a biocide/water-repellent pretreatment on the render around the weather protection
hood in vulnerable areas (Please ask your planner for further information!).
TIP
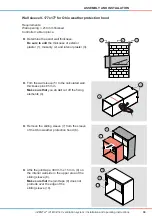
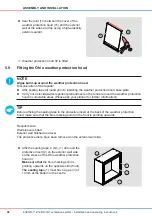
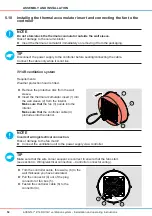
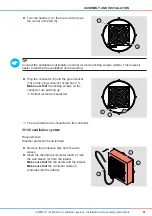
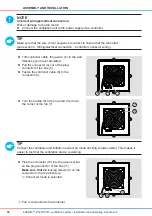
Remove the protective discs from the wall sleeve on the exterior wall side before installing the
weather protection hood base plate. This allows the fan and thermal accumulator to be installed
later.
TIP
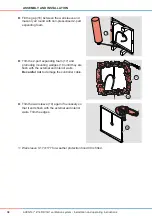
When itting the base plate for the weather protection hood 09 on exterior walls with thermal
insulation, use wall plugs for insulation for a secure hold. These are not part of the scope of
supply, but are available as an option.
►
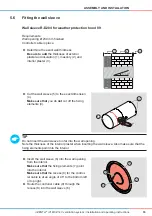
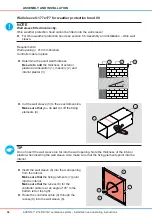
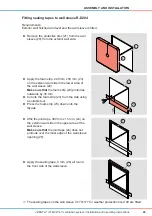
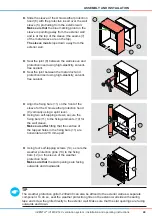
Make four pilot holes (5) using a suitable tool.
(see chapter 3.2: Preparations prior to
installation – Dimensiond drawings – weather
protection hood 09 base plate)
5
►
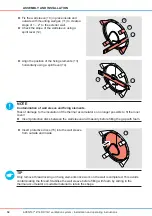
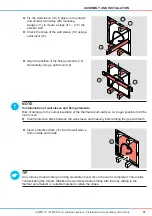
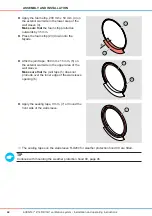
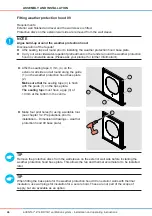
Afix the sealing tape, 9 mm, (4) on the
exterior wall side and all round along the guide
(1) on the weather protection hood base plate
(2).
Make sure that
the sealing tape (4) is lush
with the guide (1) on the base plate.
The sealing tap
e must have a gap (3) of
10 mm at the bottom in the centre.
2
3
4
1

