7
Installation of the Prodigy Mini Brain
Setup for 4.3” Screen Systems
1. Find a suitable place to mount the navigation brain.
2. Plug the RGB and Data cables coming from the UCI-11C into the RGB and Data plugs
located on the Prodigy Mini brain.
3. Locate the provided 4 pin Intraphex
TM
power harness and make all of your power
connections. Red – ACC, Black – GND, Yellow – CO12v. You will not
use the White wire, simply insulate it to avoid any accidental contact. These power
connections must be made at the cigarette lighter power wires. DO NOT make power
connections behind the radio or tap into the NAV-TV T-harness. The UCI-11C is very
sensitive to current draw and will shut down if you tap into a circuit it is using. On
most applications, the cigarette lighter wires are very easy to get to.
4. Run your antenna and speaker wires to your desired locations.
5. Once all connections are made, start the system and begin the startup process.
1. Start vehicle and wait for systems to load completely.
2. To access the settings screen, press and hold the “Settings” hard key in the upper right
corner of the monitor assembly until the menu appears (usually about 3-5 seconds).
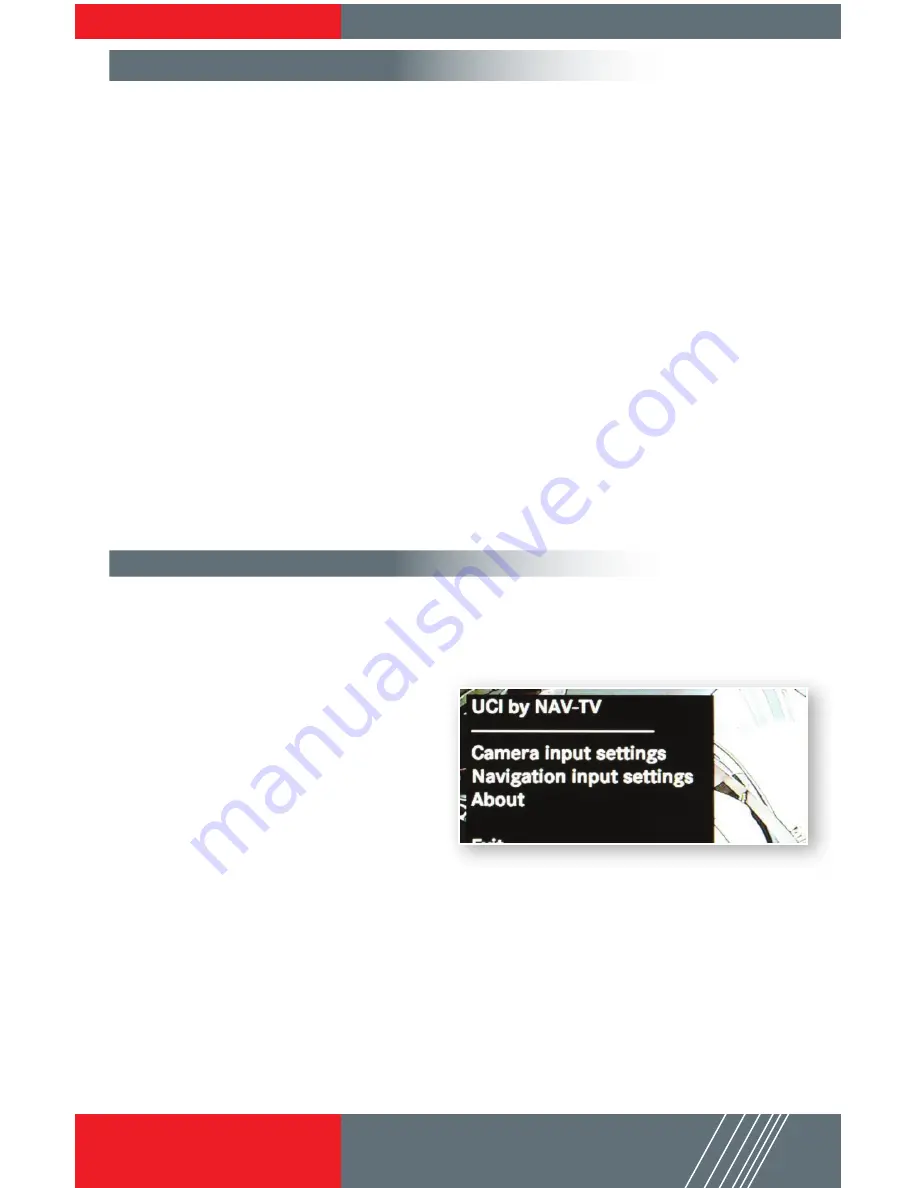
3. If you are adding an aftermarket camera,
first select “Camera Input Settings.” In this
menu, select “Video 2” (this is where you
should have connected your CVBS camera
input previously in the install. If the vehicle
came with a factory backup camera, select
“Head Unit,” and if you have no camera at
all, select “Off.” Once you have found your
desired setting click “Exit” to get back to
the main menu.
4. Enter the “Navigation Input Settings” menu. In this menu you will need to change the “Model”
setting to “WP.” Once you have made this selection, you can exit via the soft key.
5. From the main Settings menu you may also make adjustments to Brightness, Contrast, and
Saturation as you would like.
6. Once you are done, use the soft exit key to get out of the UCI-11C menu.
7. Turn vehicle off, shut all doors, windows, hood, and trunk. Lock vehicle and wait 3 minutes for
the vehicle’s CAN system to shut down. At this point all settings should have saved.
8. Make sure you test all functions before re-assembling vehicle.


