Setting Astro Zone and Time Zone Mode
The Astro Zone command enables users to set the geographical location (country, state or province, and section) of the time switch.
Follow this procedure to set the Astro Zone for the time switch.
1. Press MODE to scroll until ASTRO ZONE appears at top of the screen. The screen displays AL and C and a flashing US.
2. Press + or - to select the country (USA, Canada, or Mexico) and press ENTER/NEXT.
3. Take one of these actions.
If you selected...
Then...
USA or Canada,
Press + or - to select the desired state or province and press ENTER/
NEXT. Go to step 4.
Mexico,
Go to step 4.
4. Press + or - to select the applicable section and press ENTER/NEXT. The LAT (latitude) screen appears.
NOTE: Each state, province, and country are divided into geographical sections. Choose the section that is most applicable to
your location. The number of sections vary by state, province, and country.
5. Determine if the latitude for your location needs to be set.
NOTE: In most cases, the section provides an accurate location for your time switch. Certain states require a latitude and longi-
tude to be set in the time switch. If this is a requirement, follow the applicable steps to set a latitude and longitude.
6. Take one of these actions.
If...
Then...
Latitude needs to be set,
Press + or - to select the latitude and press ENTER/NEXT.
The longitude screen appears. Go to step 7.
Latitude does not need to be set,
Press ENTER/NEXT to scroll past the latitude and longitude
screens to the TZCENT screen. Go to step 8.
NOTE: If necessary, press + or - simultaneously to return to the region screen.
7. Press + or - to select the longitude and press ENTER/NEXT. The TZCENT screen appears.
8. Press + or - to scroll to select the required time zone and press ENTER/NEXT. See table for a description of the time zones.
Time Zone Options
Description
TZ HAI
Hawaiian time zone
TZ ALS
Alaskan time zone
TZPACI
Pacific time zone
TZMntN
Mountain time zone
TZCENT
Central time zone
TZEAST
Eastern time zone
TZATLN
Atlantic time zone
TZNFLD
Newfoundland time zone
9. Press MODE to save the settings.
Setting Sunup and Sunset Times
Multiple sunrise and sunset offsets can be configured for different areas in a facility. For example, a user can configure a sunrise offset for
the lights in a parking lot to turn off one hour after normal sunrise.
Follow this procedure to set sunup and sunset times.
1. Press MODE and scroll until SET SUNUP appears at the top of the screen. The default time for the LOAD appears.
2. Press + or - to adjust the time for the sunup or sunset and press ENTER/NEXT. The OFFSET screen appears, followed by the
offset time digit (in minutes).
3. Press + or - to adjust the offset and press ENTER/NEXT to save.
NOTE: Offsets can be set to a maximum of 2 hours (120 minutes) before or after a sunup or sunset time. A minus sign (-) appears
before the digit to indicate minutes before the sunup or sunset time.
4. If desired, press the next ON/OFF button for LOAD 2 to adjust the calculated time for this load.
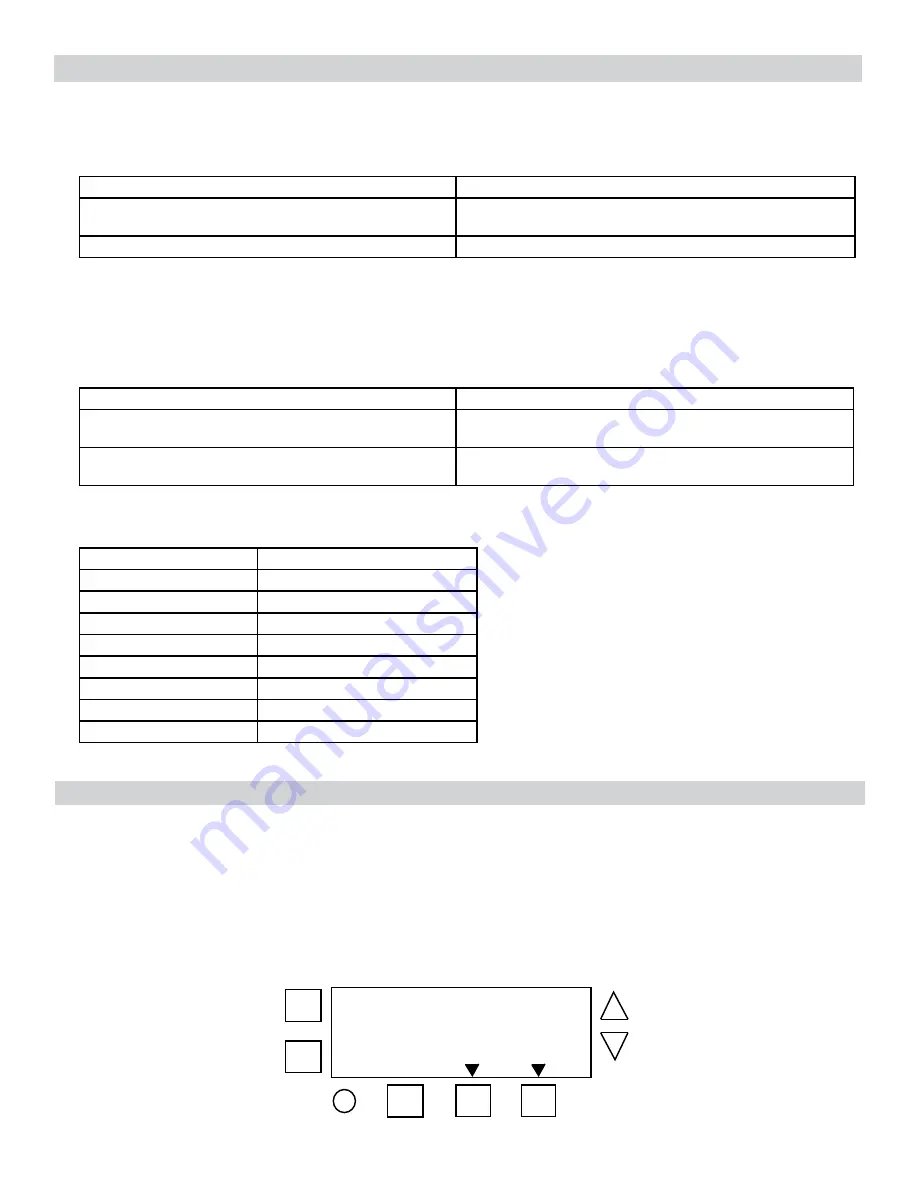
+
-
ENTER
NEXT
ON/
OFF
ON/
OFF
MODE
DAY
LOAD
LOAD


