background image


Page 8 of 24                                                                                                                                                                                                                           Rev: 6/19/2013 10:26 AM


Toggle 

On 

Turn scene Off 

Turn scene members off instantly  

Always On 

Either 

Turn scene On 

Turn scene members on instantly 

Always Off 

Either 

Turn scene Off 

Turn scene members off instantly 


Note: The connected light(s) will react just like the scene responders to button presses of MAIN On/Off (when in 8-
button configuration) and ON or OFF (when in 6-button configuration). 

1)  The LED will mimic the on/off status of a dimmer whose scene level is 100% bright. 

2)  The ON button on a 6-button Keypad is an “Always On” button while the OFF button is an “Always Off” button. 

Other buttons are toggle by default. 

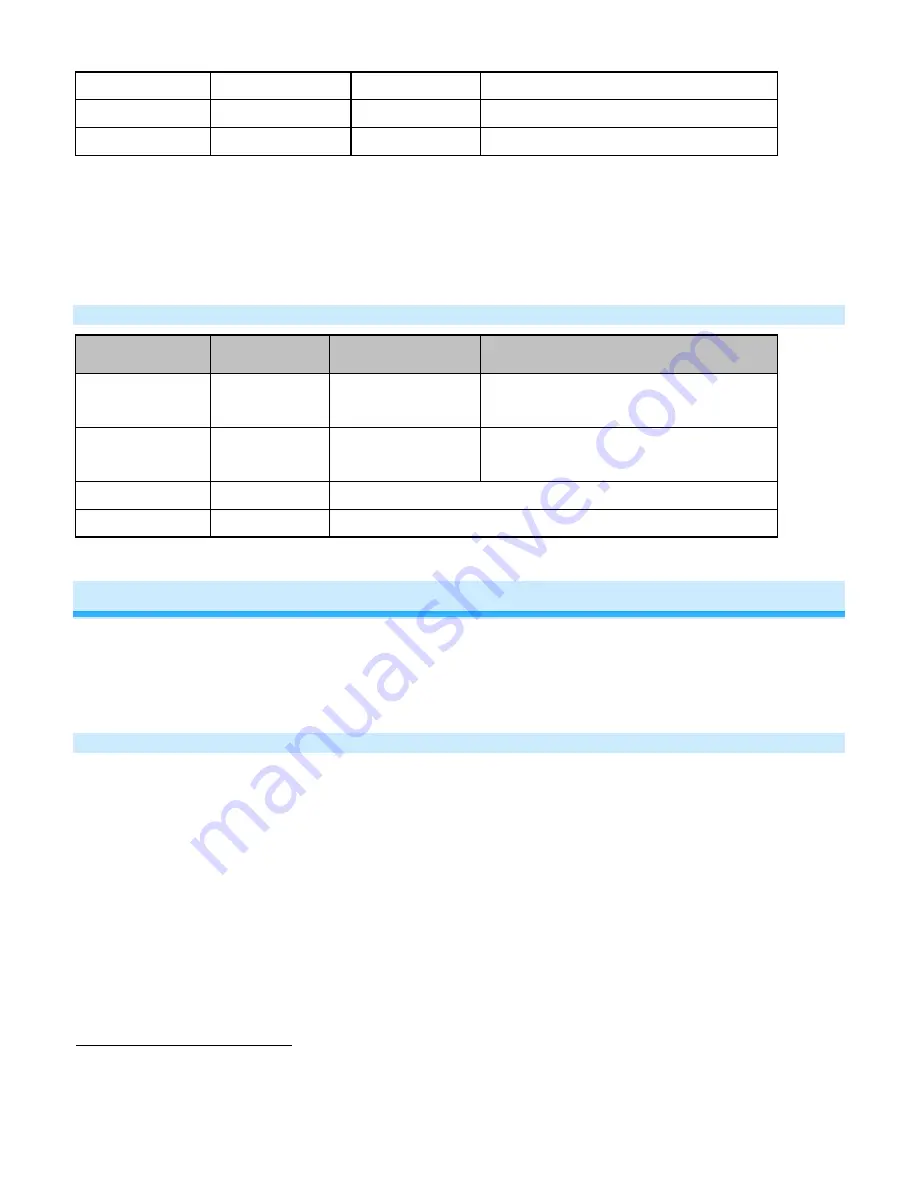
Button Press and Holds 

Button Type 

Button LED 

before Tap 

Effect of First 

Press and Hold 

Effect of Subsequent Press and Holds


Toggle 

Off 

Brighten scene until 

release 

Opposite of last Press and Hold 

(e.g. if last was brighten, it will dim) 

Toggle 

On 

Dim scene until 

release 

Opposite of last Press and Hold 

(e.g. if last was brighten, it will dim) 

Always On 

Either 

Brighten scene until release 

Always Off 

Either 

Dim scene until release 


INSTEON Setup 

A scene consists of 1 or more INSTEON devices that respond to 1 or more INSTEON controller(s). When the 
scene is activated (turned on), all scene members return to the states they were at when the scene was 
programmed. INSTEON scenes let you activate dramatic lighting moods at the touch of a button. For example, you 
can set all the lights in a scene to dim to 50% or turn certain lights on while turning others off, all with the tap of a 
button on any INSTEON controller. INSTEON scenes are easy to set up: just follow the directions below. 

Add Keypad Button to a Scene as a Controller  

Follow the steps below to control a scene (one or more INSTEON devices) from a Keypad button. 

1)  Tap the Keypad button of choice (use ON for 6-button Keypads for “main” scene) 

2)  Press and hold Keypad’s Set button until Keypad beeps 


Keypad’s scene button LED will blink and the Set button LED will blink green. 

3)  Adjust the scene responder to the state you want when the scene is activated from Keypad (e.g., 50%, 25%, 

off).

9


4)  Press and hold the responder’s Set button until it double-beeps (or until its LED/load flashes) 


Keypad will double-beep and its scene button and Set button LEDs will stop blinking.

10


Responder’s LED will stop blinking and it may double-beep.

11


5)  Confirm that scene addition was successful by tapping on/off on the Keypad scene button 


The responder will toggle between the scene’s on level and off


10

 If either the Keypad or responders LED continues to blink, the addition failed. Tap the device’s Set button until LED stops blinking and try again. 

11

 If either the Keypad or responders LED continues to blink, the addition failed. Tap the device’s Set button until LED stops blinking and try again. 

Содержание 2334-232

Страница 1: ...Page 1 of 24 Rev 6 19 2013 10 26 AM Keypad Dimmer Owner s Manual 2334 222...

Страница 2: ...e Multiple Scene Responders 10 Synchronized Scenes 11 Changing Button Modes Toggle Non Toggle Mode 12 Adjust LED Brightness 12 Turn Button Beep On or Off 13 X10 Setup 13 Add X10 Address to a Button 13...

Страница 3: ...non volatile memory even through power failures Beeper for easy setup assistance can also function as a chime module Local programming lockout available via software 2 year warranty Before Installatio...

Страница 4: ...mer installed For example 600 W load control becomes 400 W with another dimmer to the immediate right or left Use a triple gang box with a mechanical switch in the center to avoid de rating IMPORTANT...

Страница 5: ...Traveler wire to the black wire on Keypad A with a wire nut 8 Cap the other Traveler wire with a wire nut 9 Cap A s red wire 10 Connect neutral to A s white wire 11 Connect Ground to A s bare copper...

Страница 6: ...te wire 12 Connect Ground to the first Keypad s bare copper wire 13 On the other switch with 3 wires connected find the Load wire connects switch to lights commonly red and the only non traveler and c...

Страница 7: ...8 to cross link all keypads so that they all control the load 23 Reinstall the trim plates Local Control LEDs Button LED Meaning ON On All on OFF On All off MAIN On Off On All on MAIN On Off Off All...

Страница 8: ...rammed INSTEON scenes let you activate dramatic lighting moods at the touch of a button For example you can set all the lights in a scene to dim to 50 or turn certain lights on while turning others of...

Страница 9: ...apping the scene button on and off The responder will not respond 6 If you wish to remove multiple responders from Keypad repeat steps 1 5 for each additional responder or see Remove Multiple Responde...

Страница 10: ...nder you are adding Adjust the responder to the desired scene state for Keypads you must tap the button at least once to reach the desired state Press and hold responder s Set button until it beeps an...

Страница 11: ...controller button and Set button LED will flash A will double beep and its LEDs will stop blinking 4 Press and hold Switch B s Set button until it beeps B s scene controller LED will blink and Set but...

Страница 12: ...utton it beeps again The button LEDs will continue blinking and Set button LED will blink red 4 Press and hold Keypad s Set button until it beeps a third time The button LEDs will stop blinking The bu...

Страница 13: ...ou are no longer going to utilize an X10 address associated with Keypad it is very important that you remove its X10 address Otherwise Keypad will still listen for X10 commands somewhat hindering INST...

Страница 14: ...ces linked specifically to that button Dimmable responders may behave differently depending on whether you tap double tap or press and hold a button to activate deactivate a scene Non dimming responde...

Страница 15: ...d to Keypad will turn on The default local on level is 100 but can be set to any one of 33 settings 32 fixed brightness levels 3 to 100 or Resume Bright which will result in the light returning to the...

Страница 16: ...is attached See Configuring for 6 or 8 Button Operation Changing Buttons Keypad buttons can be swapped out with custom etched buttons to customize its appearance Using a small flat edged screwdriver o...

Страница 17: ...ly changed the Local On Level instead of the Local Ramp Rate note software allows you to set the on levels and ramp rates exactly as desired and consistently around the house Additional Resources Find...

Страница 18: ...mer 8 Button Gray 2334 232 813922013177 Keypad Dimmer 6 Button White 2334 233 813922013184 Keypad Dimmer 6 Button Ivory 2334 234 813922013191 Keypad Dimmer 6 Button Almond 2334 235 813922013207 Keypad...

Страница 19: ...White Neutral Red Load Bare Copper Ground Case Color Clear Set button 1 Plastic UV Stabilized Polycarbonate Beeper Yes LED 1 dual color greed red Unit Dimensions 4 1 H x 1 8 W x 1 4 D Box Dimensions 4...

Страница 20: ...n unlinked INSTEON devices that had been previously linked to Keypad Dimmer Dual Band will still respond to button presses even after a factory reset The reason is that the INSTEON devices themselves...

Страница 21: ...All INSTEON devices act as INSTEON network repeaters Make sure you are not experiencing interference with older X10 BoosterLinc technology Upgrade to INSTEON compatible BoosterLinc modules 4827 Keypad...

Страница 22: ...tch to a non dimming Keypad On Off relay Switch Keypad does not respond at all A surge or excessive noise on the power line may have caused the Keypad to unexpectedly stop responding Pull the Set butt...

Страница 23: ...ch can be verified by turning the device off and on the user is encouraged to eliminate the interference by one or more of the following measures Re orient or relocate the receiving antenna of the dev...

Страница 24: ...ling your home In no event shall Seller be liable for special incidental consequential or other damages resulting from possession or use of this device including without limitation damage to property...

Отзывы: