background image

13

-

EN

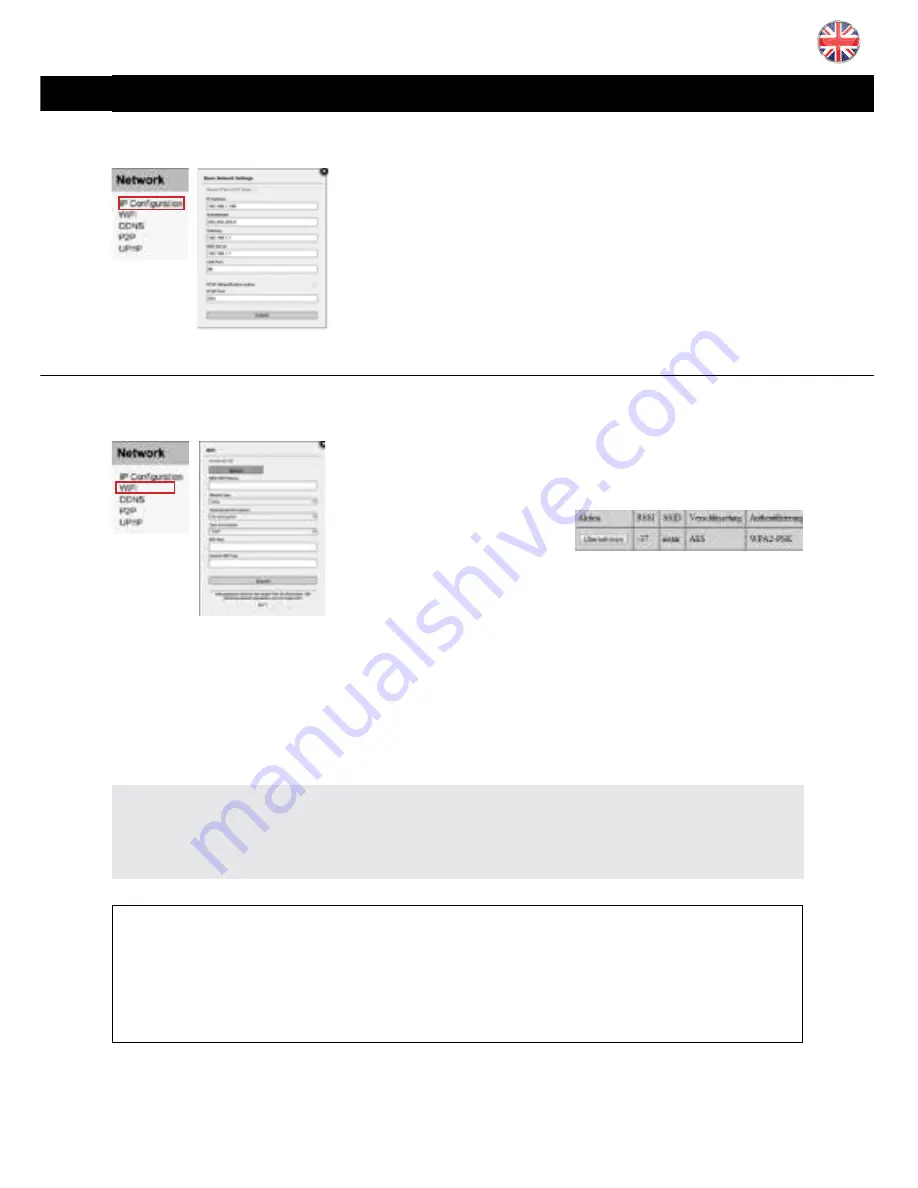
 5.2   NETWORK


l

If you cannot use the WPS service (

W

ireless 

P

ortected 

S

et-

up) to integrate the camera into you local WiFi network -


see included 

fl

yer Plug & Play for further information for the 

WPS  function

  -  click  search 

to  start  the  WLAN  scanner. 

Just choose your own network and click “Join”. Now you 

simply have to add the WiFi password (WLAN Key) and 

click 

submit

 to save the settings. A

ft

erwards you can use 

the 

Test

 function to verify your settings. Please disconnect the LAN cable and wait about 

30-60 seconds for the camera to connect to your WiFi network. 

Th

e camera will receive 

a new address from your router if you didn’t assign a static IP address to your camera 

previously (

Chapter. 5.2.1

), therefore you should use the INSTAR Camera Tool again to 

rediscover your camera (

Chapter 4

).

Attention:

Your WiFi modules MAC address is 

not identical

 with the LAN MAC address of your 

camera! If you are using a MAC 

fi

ltering rule for your WiFi network, please deactivate 

the 

fi

lter and add your camera to the list of trusted devices before reactivating it.

Additional Remark:

Your camera supports a range of encryption standards - we recommend for the safety 

and reliability of your connection - that you set your WiFi network to WPA2 (PSK) with 

AES (or CCMP). With older routers choose WPA (PSK) / AES. Avoid using a mixed 

mode like WPA&WPA2 - TKIP! If your WiFi stays unstable please choose a 

fi

xed WiFi 

channel for your router - we recommend the channels 1 - 6.

5.2.2 NETWORK/WiFi (not applicable for PoE Model)

5.2.1 NETWORK/IP CONFIGURATION

You  can  set  whether  the  camera  will  be  assigned  an  IP 

address by your router (DHCP) or you want to manually 

set a 

fi

xed address. Please check 

page 9 &10

 on how to 

set a 

fi

xed IP address. In general, we recommend that you 

deactivate

 the automatic service and set a manual IP to 

avoid further trouble with the remote access to your cam-

era. For the RTSP Port please refer to 

10. RTSP Streaming


for details on the use of the camera´s RTSP videostream.

Содержание IN-5905 HD

Страница 1: ...d FTP video upload Video recording on SDHC card up to 32 GB Easy camera configuration via the integrated WebUI Multi level user managment and access control Accessible over the internet via preinstalled DDNS address Smartphone App InstarVision iOS Android WinPhone Blackberry Kindle Scheduled motion detection via image analysis ...

Страница 2: ...he sensor is build on a 4 3 micron OmniPixel3 HS pixel enabling 720p HD at unparalleled low light sensitivity and a dynamic range in colour of 115dB compared to the 60 dB of a regular VGA IP camera Allowing you to capture detail rich colour video even in high contrast lighting conditions The 1280x720 pixel array provides 720p HD video at 25 frames per sec ond broadening the scope of your surveilla...

Страница 3: ...ON 13 EN 5 2 2 WiFi 13 EN 5 2 3 DDNS 14 EN 5 2 4 P2P Point to Point 15 EN 5 2 5 UPnP 15 EN 5 3 SYSTEM 16 EN 5 3 1 INFO 16 EN 5 3 2 DATE TIME 16 EN 5 3 3 USER 16 EN 5 3 4 IR LED 16 EN 5 3 5 ONVIF 17 EN 5 3 6 SYSTEM LOG 17 EN 5 4 MULTIMEDIA 17 EN 5 4 1 AUDIO 17 EN 5 4 2 VIDEO 17 EN 5 4 3 IMAGE 18 EN 5 5 ALARM 18 EN 5 5 1 AREAS 18 EN 5 5 2 ACTIONS 19 EN 5 5 3 SCHEDULE 20 EN 5 5 4 SMTP SERVER 20 EN Yo...

Страница 4: ...U BAR 23 EN 5 7 1 SD CARD 23 EN 5 7 2 SNAPSHOT 23 EN 5 7 3 RECORD only Internet Explorer 23 EN 5 7 4 PLAYER only Internet Explorer 23 EN 5 7 5 HELP 23 EN 5 7 6 MJPEG h 264 23 EN 5 7 7 ALARM 23 EN 5 8 VIDEO MENU BAR 24 EN 5 8 1 AUDIO only Internet Explorer 24 EN 5 8 2 MICROPHONE only Internet Explorer 24 EN 5 8 3 DIGITAL ZOOM only Internet Explorer 24 EN 5 8 4 RECORD PATH only Internet Explorer 24 ...

Страница 5: ... and the device Never do any repair by yourself By opening the device the warranty will automatical ly expire If any repair is needed please contact your INSTAR Service Center When cleaning please never place the device in water Make sure you only install the device in a 100V 240V power socket This device is suitable for indoor and outdoor use Only use this device to secure your home office and si...

Страница 6: ...MicroSD card is supported Video recording by alarm and FTP upload only with MicroSD card High grade audio compression G 711 QT G 726 ActiveX Motion detection alarm notification by email FTP snapshot upload continuous and alarm triggered Hardware Connectivity Software Power over Ethernet or PoE technology describes a system to pass electrical power safely through the unused lines 4 5 7 8 on the Eth...

Страница 7: ... For the power supply according to IEEE802 3af only in case of the IN 5907 HD PoE 7 Audio Out Earphone active speaker port 8 Audio In External microphone port 9 Reset Button Reset your camera settings to the factory defaults 10 Alarm I O For external motion detectors and house automation potential free alarm output max 60VDC 125VAC and 1A The input plug is marked by a and symbol 11 Power Connector...

Страница 8: ...efer to the included flyer Plug Play for a WPS integration You can skip this step in case of the PoE model Please take out the package content from the box the camera a CAT5e LAN cable a 5 dBi SMA WiFi antenna not for the PoE model mounting bracket and the software CD Connect the power adapter to the camera cable see 11 page 5 and plug it into a suitable power outlet Both network indi cator LEDs o...

Страница 9: ...etween computers equipped with suitable Additional accessories like the IN LAN Adapter can be found in the accessories of your camera model on www instar de adapters and other network components As a result any power outlet can be used as a network access point IN LAN is an intelligent and secure technology that lets you set up a home network easily via your household power grid without the need o...

Страница 10: ...please open the installation CD or simply go to http install instar de Please follow each step for an easy first setup of your camera To find the camera in your network we provide you with a free Windows MacOS and Linux tool that allows you to find update and open your camera on your computer As an alternative you can also use an IP scanner or check inside your rout er to find out the ip address o...

Страница 11: ...mera s IP will then open the IP Network configuration window see below allowing to manually assign an address Please set the following information according to your network IP Address for example 192 168 x x Subnet Mask for example 255 255 255 0 Gateway IP Address of your router for example 192 168 x 1 DNS Server IP Address of your router for example 192 168 x 1 Http Port TCP Port for example 80 I...

Страница 12: ...section on http faq instar de For the first installation of the camera please log in with the following username and password 4 3 1 After the login Internet Explorer you will be asked to install the ActiveX con trol element Please run it and confirm when your Internet Explorer is asking you to install the control element 4 2 LOGIN 4 3 PLUGIN INSTALLATION only Internet Explorer l l user admin passw...

Страница 13: ...your web browser 4 3 2 Accessing with other browsers Firefox Chrome Safari In order to access the live video stream through other web browsers please install the Quicktime Player Please follow the enclosed A5 Quick Installation manual Also check the FAQ section at the end of this user manual chapter 13 or visit the FAQ section on http wiki instar de for more detailed instructions ...

Страница 14: ...eck the corre sponding box and click submit and you will be asked for a file path and name The default is config_backup bin and the file path is the download folder of your browser To restore the settings check Load Backup Copy browse for the backup file and click submit 5 1 1 SOFTWARE LANGUAGE 5 1 2 SOFTWARE REBOOT RESET 5 1 3 SOFTWARE BACKUP 5 1 4 SOFTWARE UPDATE You can download regular softwar...

Страница 15: ...amera If you are using a MAC filtering rule for your WiFi network please deactivate the filter and add your camera to the list of trusted devices before reactivating it Additional Remark Your camera supports a range of encryption standards we recommend for the safety and reliability of your connection that you set your WiFi network to WPA2 PSK with AES or CCMP With older routers choose WPA PSK AES...

Страница 16: ... camera 1 and myaddresse dyndns org 86 to be forwarded to camera 2 more details please see FAQ EXAMPLE Portforwarding Netgear Please refer to our online help http faq instar de for detailed instructions for all com men routers Your camera comes with a personal DDNS address e g http xxxx77 ddns instar de Everything you need for a remote access to your camera is a port forward ing rule in your route...

Страница 17: ...et when you cannot set a port forwarding for the camera that is necessary for the DDNS service s 5 2 3 There are 3 ways to connect your camera with the INSTAR App Tap the Search button to find the p2p camera inside your local network Type in the UID from the camera s web UI or from the label on the camera case Click QR Scan and use your smartphone to scan the QR code on the webUI or on the label t...

Страница 18: ...ie Eingabe Um ein unbeabsichtigte Zurücksetzen zu verhindern wird ein Warnhinweis geladen und der Reset muss nach 10 Sekunden nochmals bestätigt werden Um die auf der Kamera gemachten Einstellungen zu speichern setzen Sie bitte den Haken bei Sicherheits kopie erstellen und bestätigen Sie die Eingabe Sie werden anschließend nach einem Dateinamen und ei nem Speicherort für die bin Datei gefragt Per ...

Страница 19: ... between products regardless of manufacturer allowing you to integrate your INSTAR camera as a generic ONVIF camera into existing secu rity systems Here you can adjust the volume of the cameras integrat ed microphone and speaker 5 4 1 MULTIMEDIA AUDIO 5 4 MULTIMEDIA l 5 4 2 MULTIMEDIA VIDEO The video settings allow you to adjust the quality of all 3 videostreams of your camera Please be adviced th...

Страница 20: ...eostreams of your camera Please be adviced that high quality settings come with high requirements for your computer hardware and network bandwidth Ad just the video quality to obtain a fluent video accord ingly Please refer to chapter 10 RTSP Streaming for accessing the cameras streams 2 and 3 5 5 ALARM l 5 4 3 MULTIMEDIA IMAGE Here you can adjust the image parameters brightness saturation contras...

Страница 21: ...ecords videos with a length of 15 seconds Since the camera also supports prerecording 2 3 seconds will be added to the recording This way you will be able to see 2 3 before the actual alarm event is happening The external output connects to a relay inside the camera that can be switched manually or automatically in case of an alarm event Please check Activate External Output to let the camera open...

Страница 22: ... email account Please check your email provider s homepage for the SMTP server address server port and encryption Gmail smtp googlemail com SSL Port 465 or 587 GMX mail gmx net SSL Port 25 587 or 465 T Online smtpmail t online de Port 587 or 25 bluewin ch smtpauth bluewin ch Port 587 Strato smtp strato de Port 25 The camera will use this email address to send you alarm notification You can set the...

Страница 23: ...FTP Password are the login credentials for your FTP account For the FTP Mode you can choose between a passive PASV and an active mode PORT The default is the active PORT mode If your server is installed behind a router with an active network address translation NAT or if a firewall is blocking the server s network from an external access by your camera you should choose the PASV mode The name of t...

Страница 24: ...hem from alarm recordings A and test im ages that start with a T 5 6 2 RECORDING VIDEO In this menu you can activate the continuous vid eo recording to SD card Here you can set the video lengths and video resolution The max time per file is 15 minutes For this function we recommend you to use a larger size MicroSD card max 32GB in order to prevent the card from being overwritten too soon 5 6 3 REC...

Страница 25: ...allow write access to your harddisk video will be saved in the subfolder Record under the record path that is set in 5 8 4 You will see the red indicator in the video menu when the camera is recording You might have to set the camera s address local IP or DDNS address as a trusted site inside the Internet Options of your Internet Explorer to be give write access to your hard disk 5 7 7 MENU BAR AL...

Страница 26: ...ng the Internet Explorer you can also click into the boundary areas of the video frame to move the camera into the respective direction and double clicking the center of the frame will get you into a full screen mode 5 9 1 PAN TILT CONTROL CONTROL PAD 5 8 4 VIDEO MENU BAR RECORD PATH only Internet Explorer Here you can set the record path for your videos and snap shots The set path is used by all ...

Страница 27: ...sired direction and clicking on one of the numbered slots after choosing Save Position Clicking on the slots 1 8 when Go to Position is activated will move the camera back to the saved position You can delete all positions by clicking on Reset all Po sitions Position 1 defines the startup position of your camera 6 RESET YOUR CAMERA l In order to reset your camera if you have lost your password ple...

Страница 28: ... case the object you want to observe lies outside of this area you will have to adjust the lense accordingly Simply open the camera from the front and turn the lense until you can see the area of your surveillance coming into focus in the web user interface Fig 1 First remove the top cover by gently pushing it to the back Hold the camera case and remove the front cover by turning it counter clockw...

Страница 29: ... the camera or the DDNS address see 5 2 3 Port Type in the HTTP Port which you assigned to your IP camera The standard Port is 80 Username The username with which you log in to your camera The admin account name is admin Password The password with which you log in to your camera As default the password is instar Model Please choose your INSTAR camera model Now please choose Save to save the settin...

Страница 30: ...ways of notification are available in case of an alarm by email FTP upload acoustic alarm or by 3rd party software triggering 3 Easy integration of the camera s audio video stream into websites present your live video to friends family or customers through your homepage 4 Support for multiple video output formats such as MP4 MOV FLV SWF WMV and AVI and video codecs like H 264 MPEG4 and WMV3 5 An a...

Страница 31: ...P address to prevent it from changing automatically by the DHCP server s 5 2 1 Afterwards please open the channel setup window and choose Search IP Camera to start the Camera Tool Click on search to discover all INSTAR cameras inside your local network and right click the cameras to assign it to a channel The number of available channels can be set in the channel setup window ...

Страница 32: ...tandard 80 for reference To use third party software you usually need the direct path for the live video in order to grab the video from your camera Then the program is able to grab the video stream from your camera to work with it You can find step by step instructions for several software on our help pages on www instar de Access over your local network Please use the following path to use your ...

Страница 33: ...nterface 10Base T 100Base TX Ethernet Port Supported Protokols TCP IP HTTP SMTP RTSP FTP DHCP DDNS UPNP NTP Wireless not in the PoE version 2 4 GHz 802 11b g n WPA 2 Encryption TKIP AES CCMP PoE Standard only in the PoE version IEEE 802 3af Power over Ethernet Hardware Infrared LED s 3 HP LED s 15 25m effective range SD Card Reader For microSDHC cards up to 32 GB SD Card 8 GB microSDHC included Po...

Страница 34: ...e Warranty INSTAR offers a 2 year warranty on its products During this period you can send in your camera for a free repair shipping the defective hardware to INSTAR will be paid by the buyer This excludes cameras installed with custom made or 3rd party Firmware and WebUIs which have not been approved by INSTAR The warranty is only for hard ware parts of the camera If you are contacting our servic...

Страница 35: ... choose All add ons the element WebClientControl has to be listed as active 2 The video doesn t start in Firefox Chrome or Safari You need the QuickTime plugin to play the video Please install the QuickTime Player from www apple com quicktime and allow the camera web user interface to use the pl ugin when asked In case the video doesn t start right away open the QuickTime Player and set the Transp...

Страница 36: ...alled port mapping or NAT by giving each camera a WAN port and a LAN port l 81 82 83 84 85 86 87 100 101 1000 192 168 0 51 192 168 0 86 WAN LAN 81 82 83 84 85 86 87 100 101 1000 Router WAN IP 173 12 196 18 Internet Remote user Router LAN IP 192 168 0 1 Router Firewall 4 How does port forwarding work As shown in below illustration map the router s internal IP is 192 168 0 1 The cam era gets an inte...

Страница 37: ...s its WAN IP address to the INSTAR DDNS server dur ing the first start up Usually it takes about 30 minutes but in some cases it can take up to 12 hours before you can reach your camera via the ddns instar address Please note that you first have to set up a port forwarding rule in your router s 5 2 3 above If you can still not access your camera please change the HTTP LAN port of your cam era defa...

Страница 38: ...www instar de ...

Отзывы: