background image

Magnification

10X

20X

40X

100X(Spring,Oil)

W.D.(mm)

8.8

8.6

3.73

0.33

N.A.

0.25

0.40

0.60

1.25

Type(no cover glass)

Plan achromatic

Technical Specifications

Trinocular:


Inclined 30°.

Objectives: 

Nosepiece:


Quadruple nosepiece ball-bearing reversed nosepiece with 


positive click stops and smooth operation.

Eyepieces:


10X wide field eyepiece, focal length 25mm, field

Ø

18mm

.

Stage:


Double layer mechanical, 

Size:

 180mmX150mm,

Moving range:

 15mmX15mm.

Filters: 

 Ground glass, blue filter, green filter and yellow filter.

Illumination: 

 6V/20W halogen lamp, adjustable brightness.

Power supply: 

 220V(50/60HZ) or 110V(50/60HZ).

Anti-fungus:

  Yes.

Setup Instructions

1.   Remove  all  parts  from  their  packing  materials  and  retain  the 


packaging


  in  the  event  you  need  to  transport  the  product.

2.   Connect  the  power  cord  to  a  suitable  power  supply.


Figure


2

Figure


3

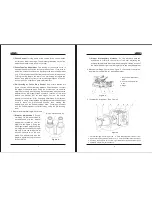
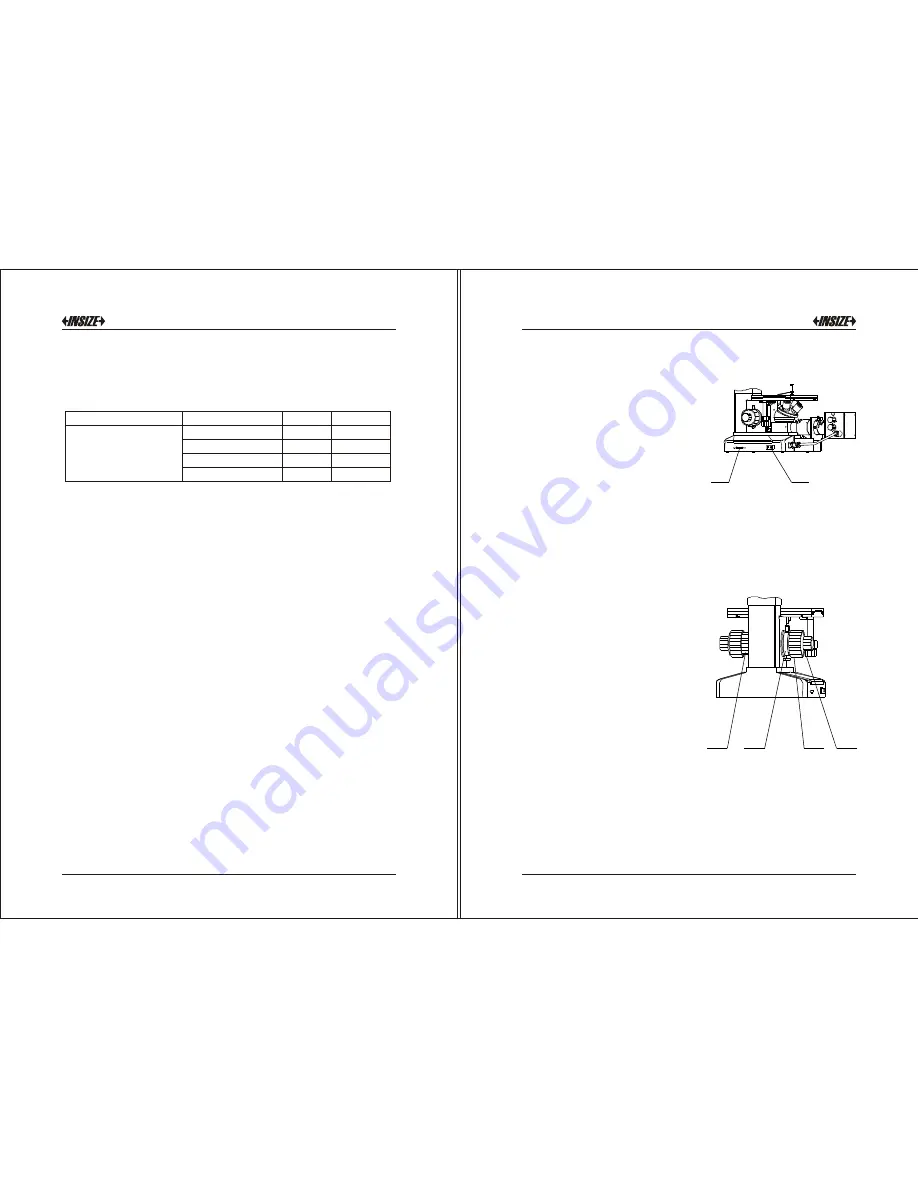
The  power  switch  to  the 
illuminator and the brightness 
control is located on the base. 
The  electrical  system  is  fuse 
protected and the fuse holder 
located on the socket.

Turn  on  the  light  with  the 
power switch, see figure 2. If 
the  light  does  not  appear  to 
be  ON,  check  the  brightness 
control  to  see  if  it's  on  a 
sufficiently low setting. Then 
adjust the brightness control 
until  image  can  be  observed 
comfortably.

Note:  Using  the  light  at 
brightest  setting  reduces 
life  span  of  lamp.

Focusing  adjustment 

is


accomplished  by  using  the 
l a r g e  c o a r s e  a d j u s t m e n t 
knobs  located  comfortably  on 
each  side  of  the  frame.  Fine 
adjustment  is  accomplished 
using  the  smaller  knobs 
located  on  the  same  focus 
shaft. This  coaxial arrangement 
allows  for  easy,  precise 
a d j u s t m e n t   w i t h o u t   d r i f t  
or  discomfort.

Basic Operation

1. Illumination controls

1)


2)


2. Focusing Controls

1. Brightness Control Knob 
2. Power Switch

1. Focus Tension Adjustment 


K nob  

2. Up Stop  
3. Coarse Focus Control Knob  
4. Fine Focus Control Knob

1)


5

6

1

2

1

2

3

4

Содержание ISM-M1000

Страница 1: ...OPERATION MANUAL ISM M1000 Metallurgical Microscope www insize com ...

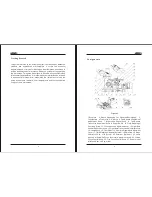
Страница 2: ... WITH A PROPERLY GROUNDED WALL OUTLET DO NOT EXPOSE THE INSTRUMENT TO HIGH TEMPERATURES OR HUMIDITY AVOID USING THE INSTRUMENT IN EXTREMELY DUSTY LOCATIONS OPERATING TEMPERATURE 5 C TO 35 C OPERATING HUMIDITY 20 TO 80 25 C WARNING WARNING 1 2 Contents This precision instrument has been designed to require a minimum of optical and mechanical maintenance Its excellent design assures years of high qu...

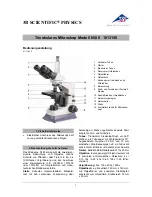
Страница 3: ...h all adjustments and functions before using your new microscope Components 3 4 Getting Started 1 Eyepiece 2 Switch Handspike For Observe Photograph 3 Thumbscrew 4 Trinocular 5 Up Stop 6 Table board Longitudinal Adjustment Knob 7 Brightness Control Knob 8 Table board Transverse Adjustment Knob 9 Power Switch 10 Field Diaphragm Centering Screw 11 Focusing Lens Adjustment Lever 12 Light Bulb Vertica...

Страница 4: ... Figure 3 The power switch to the illuminator and the brightness control is located on the base The electrical system is fuse protected and the fuse holder located on the socket Turn on the light with the power switch see figure 2 If the light does not appear to be ON check the brightness control to see if it s on a sufficiently low setting Then adjust the brightness control until image can be obs...

Страница 5: ... making fine adjustments with the fine adjustment knob Focusing movement with the fine adjustment isn t affected by using the pre focusing lever Diopter Adjustment Proper correction for individual vision is accomplished via the diopter adjustment located at the left eyepiece see figure 4 Using the 40X magnification objective bring An image into focus with your right eye only Once the image is well...

Страница 6: ... Figure 9 1 Set Screw 2 Cover Board 3 Lamp 4 Lamp House 5 Lamp Socket 1 2 3 4 5 a c b This paper will allow for focusing of the lamp filament on it If the filament image is not centered in the overpass hole reduce the aperture diaphragm adjust the light bulb transverse and vertical adjustment to obtain a uniform image Adjust the focusing lens lever until a sharp image of the lamp filament is attai...

Страница 7: ... instrument is dry before using Microscope eyepieces and objectives are coated They should not be wiped while dry as dirt or dust may scratch the coating It is best to remove parts from the frame prior to cleaning Always blow loose dust away first Use cotton swabs or lens tissue moistened with a lens cleaner or a small amount of alcohol then wipe the surface clean with a good quality lens tissue S...

Отзывы: