9
Installation Instructions
ELECTRICAL (cont.)
ELECTRICAL CONNECTIONS
NOTE:
Ensure that the power supply is appropriate
based on the control configuration ordered with the unit.
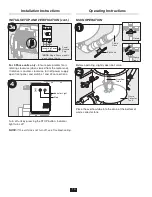
One electrical connection is required. To connect the
waste collection system to the electricity:
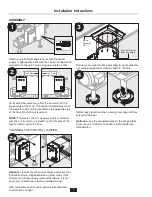
Remove top cover retainers by loosening screws and
open the front panel.
NOTE:
Electrical disconnect switch must be in OFF
position to open control panel (see Figure 12).
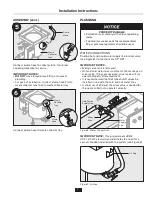
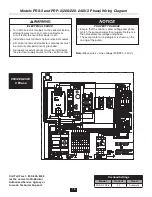
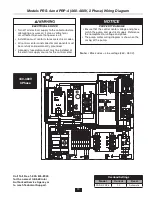
Run power from main power supply to the 1/2" knockout
on bottom of control and connect as shown.
NOTE:
Be sure to use liquid tight conduit and conduit
fittings.
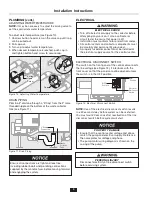
Close front panel and tighten screws on top cover
retainers to secure.
INITIAL SETUP AND VERIFICATION
PREPARE THE SYSTEM
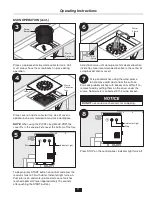
Turn electrical disconnect switch to the ON position.
Open shutoff valves in water lines, if installed.
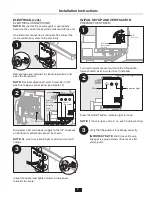
Press the START button. Indicator light turns on.
NOTE:
If the unit does not turn on, see Troubleshooting.
Verify that the pump is functioning correctly.
IMPORTANT NOTE:
Wait time until pump
engages is approximately 70 seconds after
starting unit.
2
1
1
1
2
3
Control
Incoming
Power
(1/2" Conduit)
Pump
(Pre-wired)
1/2" Knockout
Solenoid
(Pre-wired)
2
ON
Position
Electrical
Disconnect
Switch
1
Start
Indicator Light
2
3


