background image

7. Operation

• After connecting to the power supply, the product turns on automatically.

• When you first turn select using the cursor buttons .A. / T your desired menu language and

confirm your selection by pressing � 11.

• Press the<!> button on the device or on the remote control to turn the device on or off.

• The Hama logo will appear for a few seconds while the device is starting up. Then the main

menu will be displayed.

• Depending on configuration, image, audio or video playback will commence.

ill 

Note

• The files from the most recently selected storage medium will be selected automatically.

lf this storage medium is no longer plugged in, the files in the internal storage will be

displayed.

• Ensure that the desired storage medium is correctly connected to the device and contains

data in supported file formats. Otherwise the main menu will open for a new selection.

• After 30 minutes in the main menu without any input, the device will automatically begin to

display a slide show.

[D 

Hinweis

• Press 

-e 

or<!> on the remote control to exit all applications and go directly to the main

menu.

• Press � to return to the previous menu.

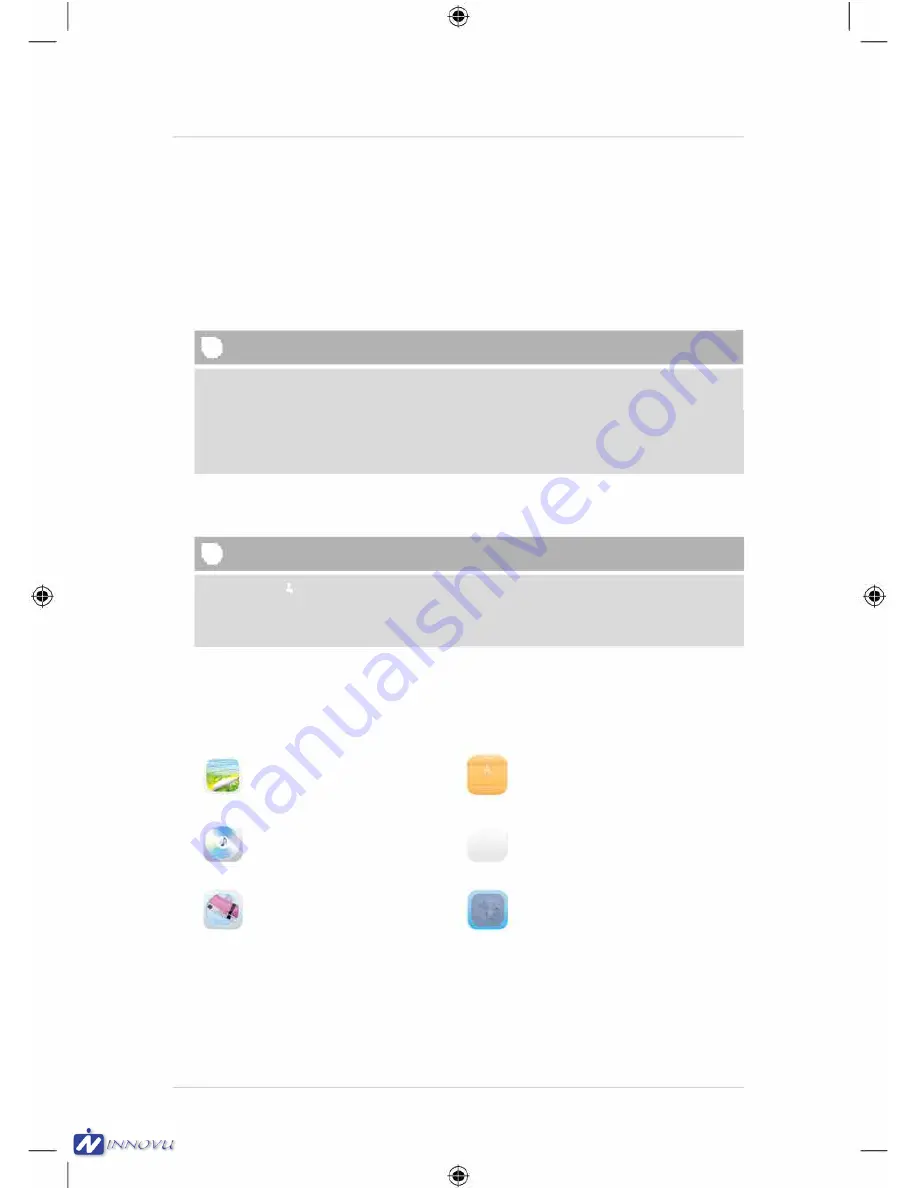
7 .1  Main menu 

The main menu offers the following options from left to right 

Image files (photo) 

Storage media (folders) 

Audio files (music) 

� 

Calendar 

10 

1·• ..

-:

• 

Video files (film) 

System settings

Innovu BV - Bouwerij 68 - 1185 XX Amstelveen - tel: +31 (0)20 4539590 - www.innovu.nl

Содержание Julia

Страница 1: ...Operating instructions Digital Photo Frame model Silvia Julia Olivia Innovu BV Bouwerij 68 1185 XX Amstelveen tel 31 0 20 4539590 www innovu nl ...

Страница 2: ... 0 j j 0 G Innovu BV Bouwerij 68 1185 XX Amstelveen tel 31 0 20 4539590 www innovu nl ...

Страница 3: ... brightness in video files files Cursor left in selection menus Cursor left in selection menus 5 Decrease volume Decrease volume Decrease brightness Decrease brightness Cursor right in selection Cursor right in selection menus 6 menus 6 lncrease volume lncrease volume 1ncrease brightness lncrease brightness Cursor down in selection Cursor down in selection menus menus T Next image audio file T Nex...

Страница 4: ...non commercial use only Protect the product from dirt moisture and overheating and only use it in a dry environment Do not drop the product and do not expose it to any major shocks Do not operate the product outside the power limits given in the specifications Only connect the product to a socket that has been approved tor the device The socket must be installed close to the product and easily acc...

Страница 5: ... product Do not continue to operate the product if it is damaged which may be indicated by smoke odour or loud noises lmmediately contact your dealer or our service department see item Service and Support Do not use the product if the adapter connection cable or power cable is damaged 4 Detective Pixels ill Note Pixel defects can occur due to the manufacturing process These manifest themselves as ...

Страница 6: ...ere it will not slip Do not place any other objects on top of the device DJ Note The device can be damaged if it tips over or falls Make sure that the device cannot tip over 6 2 Picture frames lnserting or changing the battery Open the battery compartment see illustration lnsert a type CR2032 button cell battery observing polarity Remove the contact breaker strip from the battery if present Close ...

Страница 7: ...e device The socket must be installed close to the product and easily accessible Do not continue to operate the device if it becomes visibly damaged This is mandatory tor all products with 220 V mains connections ill Note The power supply unit is suitable for mains voltages of 100 240 V and therefore can be used worldwide Please note that a country specific adapter may be necessary Connect the enc...

Страница 8: ...lf this storage medium is no longer plugged in the files in the internal storage will be displayed Ensure that the desired storage medium is correctly connected to the device and contains data in supported file formats Otherwise the main menu will open for a new selection After 30 minutes in the main menu without any input the device will automatically begin to display a slide show D Hinweis Press...

Страница 9: ...olders on the storage medium Save all files in a single directory In the main menu use the CURSOR buttons or _ to choose the option corresponding to the type of files image audio or video Then use the cursor buttons t u to select the storage medium USB internal or memory card storage A coloured background indicates the currently selected storage medium Press Il to confirm the selection Innovu BV B...

Страница 10: ...unction Previous image audio file Press and hold Rewind in audio files lncrease brightness in video files Previous image audio file Press and hold Fast forward in audio files Decrease brightness in video files Pause resume media playback Decrease volume Decrease brightness only in image file playback without music f Jlayback lncrease volume lncrease brightness only in image file playback without m...

Страница 11: ...ent image is displayed In the playback settings press à and then repeatedly press Il to enable or disable background music playback lf background music playback is enabled the audio files of the storage medium containing the current image files are played Press IJl or 4111 to switch between audio files ITj Note Background music To start or stop background music playback directly during playback th...

Страница 12: ...ngst various transitions between images in a slide show Time in seconds that each picture is displayed Rotate image 90 clockwise Magnify selection The window closes automatically after approx 10 seconds Alternatively press i Jor to return to playback Audio file playback Press ilor press and hold Il to open the quick selection menu The window doses automatically after approx 10 seconds Alternativel...

Страница 13: ... video file HH MM 55 The window closes automatically after approx 10 seconds Alternatively press ilor to return to playback 7 3 Storage media folders In the main menu use the cursor buttons 3 3 to select the Storage media folders option Press Il to confirm the selection This menu displays an overview of the files on the storage media FLASH SDI USB You can also start playback from here Il il Enter ...

Страница 14: ...er Press 1J l or press and hold IJJJ ll Use the cursor buttons À T to select Delete to copy the selected file or folder to the internal memory FLASH Confirm your selection by pressing IJJJ II Use the cursor buttons 1JJJ to select Confirm or Cancel Then press IJJJ Il to start or abort the copying operation 7 4 Calendar In the main menu use the cursor buttons to select the Calendar option 10 Press I...

Страница 15: ... column of the calendar default Monday Background Select the calendar background black background slide show Alarm status Activate deactivate the alarm Alarm time Setting the alarm time Alarm repeat Alarm repeat mode once daily weekdays only Monday to Sunday Alarm sound Select the alarm sound Alarm volume Select the volume of the alarm sound Status Activate deactivate automatic switch on or switch...

Страница 16: ...n alarm signal sounds for one minute While the alarm signal is sounding press any button twice to end the alarm DJ Note Snooze function While the alarm signal is sounding press any button once to activate the snooze function The alarm signal will be stopped for 5 minutes after which it will sound again Press any button once to stop the snooze function and the alarm Card reader Connect a compatible...

Страница 17: ...ce is switched off Switch on the device Power supply adapter not Ensurethatthe power supply adapter is plugged in and connected correctly connected to the device Display is blank No mains power Check your fuse box lnform our customer service Device is faulty department In case that the device shouldn t By statie electricity such as react on any commands or show occur during normal daily use a blac...

Страница 18: ...not Convert the video to a different play or playback Incorrect format format is not smooth 9 Care and Maintenance The display on your device is located behind protective glass Only clean the display with a dry soft cloth Do not apply pressure to the screen surface when you clean the device To keep from damaging the surface do not use solvents or alcohol based cleaners to clean the device ITl Note...

Страница 19: ...edia External connections Supported file formats Digital Picture Frame 100 240VAC 50 60Hz 0 13A 5V DC 1 0A s5W 195 x 140 x 52 mm Approx 410g 0 C 40 C 32 104 F humidity 10 115 10 80 20 32 cm 8 0 16 9 TFT 1280 x 768 RGB 250 cd m2 800 1 60 left right vertical 40 horizontal 1 x CR2032 SD SDHC USB 2 0 type Micro Host Device JPG JPEG BMP PNG MP3 H 264 MOV MJPEP DIVX AVI MKV MP4 Innovu BV Bouwerij 68 118...

Страница 20: ...s well as batteries at the end of their service lives to the public collecting points set up for this purpose or point of sale Details to this are defined by the national law of the respective country This symbol on the product the instruction manual or the package indicates that a product is subject to these regulations By recycling reusing the materials or other forms of utilising old devices Ba...

Отзывы: