- 14 -
6. Changing the gauge face of the XD-16
When you use the XD-16 to display different channels than AFR or Lambda, you very likely want to change the
gauge face. As the LM-1/MTS system can be programmed for any 0..5V sensor, the possibilities are endless.
Because not every possible use can be anticipated, the XD-16 is designed to allow user customization.
6.1. Installing the new gauge face
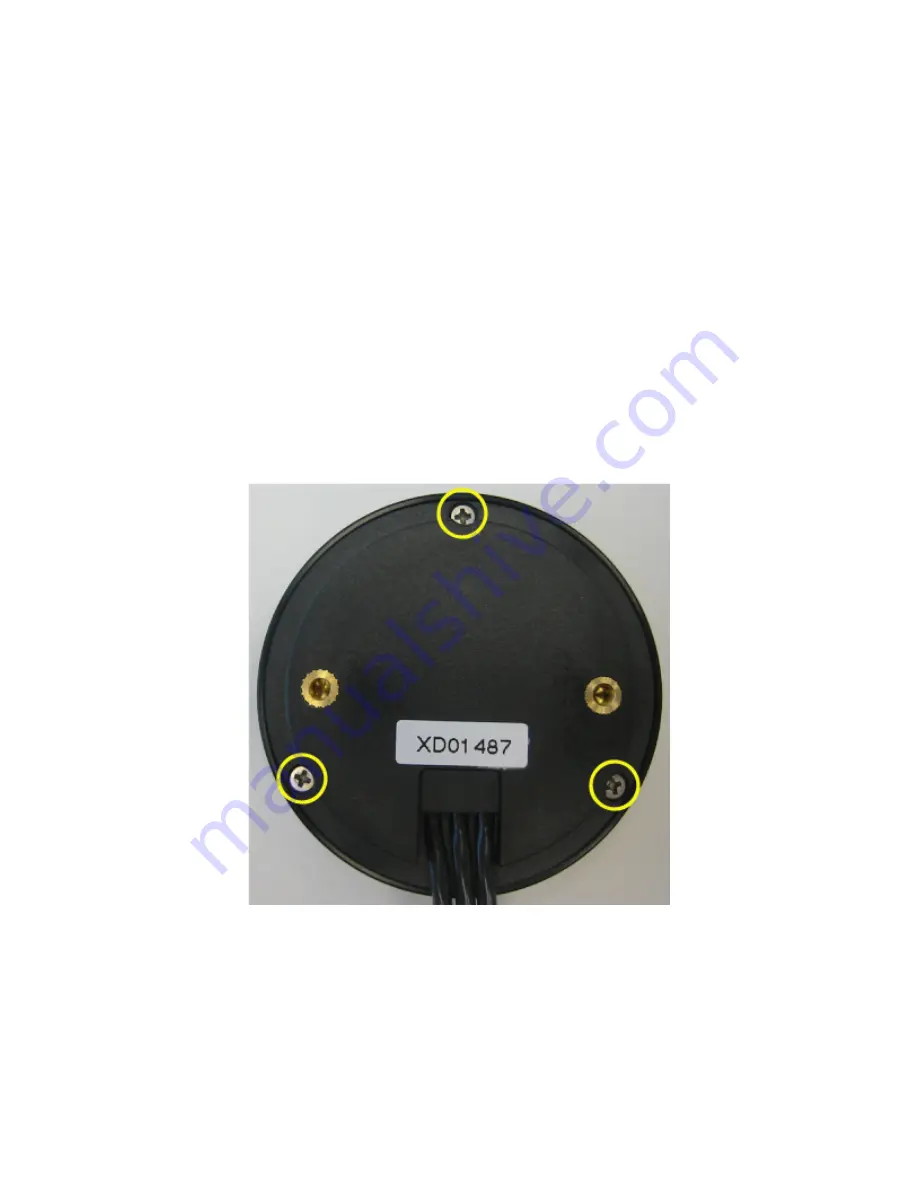
1. Lay the XD-16 face down on a table and remove the three Phillips screws from the outside rim of the
back plate.
2. Carefully lift out the back plate with the electronics package from the bezel.
3. Laying the electronics package on its back, first place the gauge face followed the glass and bezel.
*Be
sure to remove protective film from the gauge face. This can be done easily with a piece of scotch
tape.
Make sure every piece is positioned correctly on the button shaft.
4. Carefully flip the complete assembly and line up the screw hole of the bezel with the screw hole of the
back plate ensuring that everything slides into the bezel correctly.
5. Holding the assembly together with one hand, test the operation of the button and as necessary, adjust
by rotating bezel, glass, and gauge face.
6. Reinstall the 3 Phillips screws.


