


www.infocus.com
Memory Viewer
71
Memory Viewer
Select Memory Viewer function can project
images stored in USB memory, when you
insert the USB memory into the projector
.
Press < MENU > button on the remote control
to display the OSD menu. Press
button
to select the memory viewer menu, then press
<OK> or
button.
1. Press
button to select required item.
2. Press <OK> button.
3. Press
button to set options.
4. Press
<OK> button.
Set slide
Select this function to play slides.
1. Press
button to select a file.
2. Press
button to select [ Set slide ]
menu.
3. Press <OK> or
button.
• Full screen display.
• Press <OK> to return the thumbnail.
Slide transition effect
Select this function to set the slide's playback,
when switching slides.
1. Press
button to select [ Slide transition
effect ] menu.
2. Press <OK> or
button.
3. Press
button to switch required item.
Switch slides from the upper to
the lower.
Switch slides from left to the
right.
Slide down
Slide right
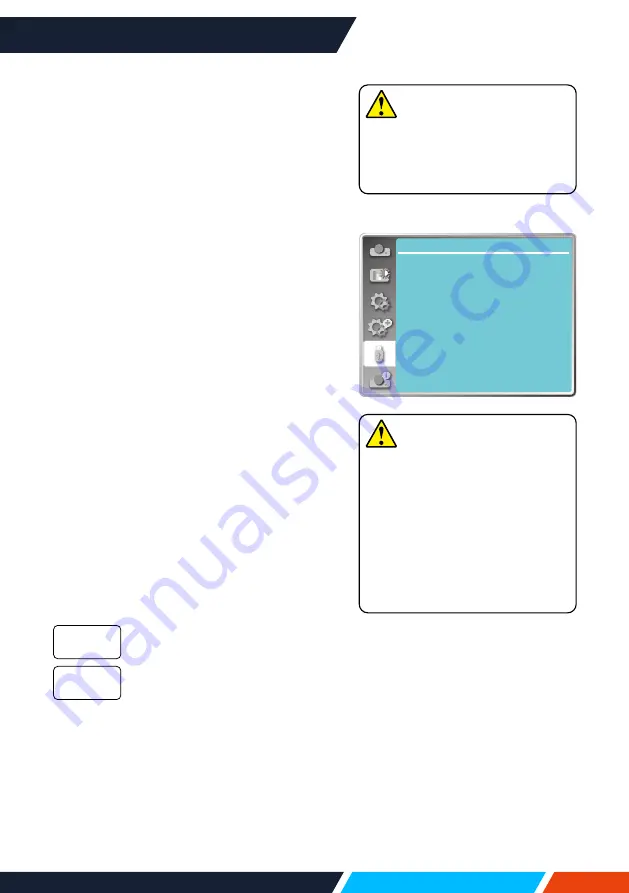
Memory Viewer
Set slide
Slide transition effect
Sort order
Rotate
Best fit
Repeat
Apply
Slide right
Name order
No rotate
Off
Off
Memory viewer menu
Note
• When selecting [ Memory
Viewer ] as input signal, the
"Memory Viewer" menu is
available.
• In addition to "Set slide" menu,
even change the settings, if you
do not implement the [ Appliy ],
the setting value of the change
is invalid.
Note
USB play back requires the
purchase of an optional USB
memory drive, it is not supplied
with the projector.