


9
Displaying an image
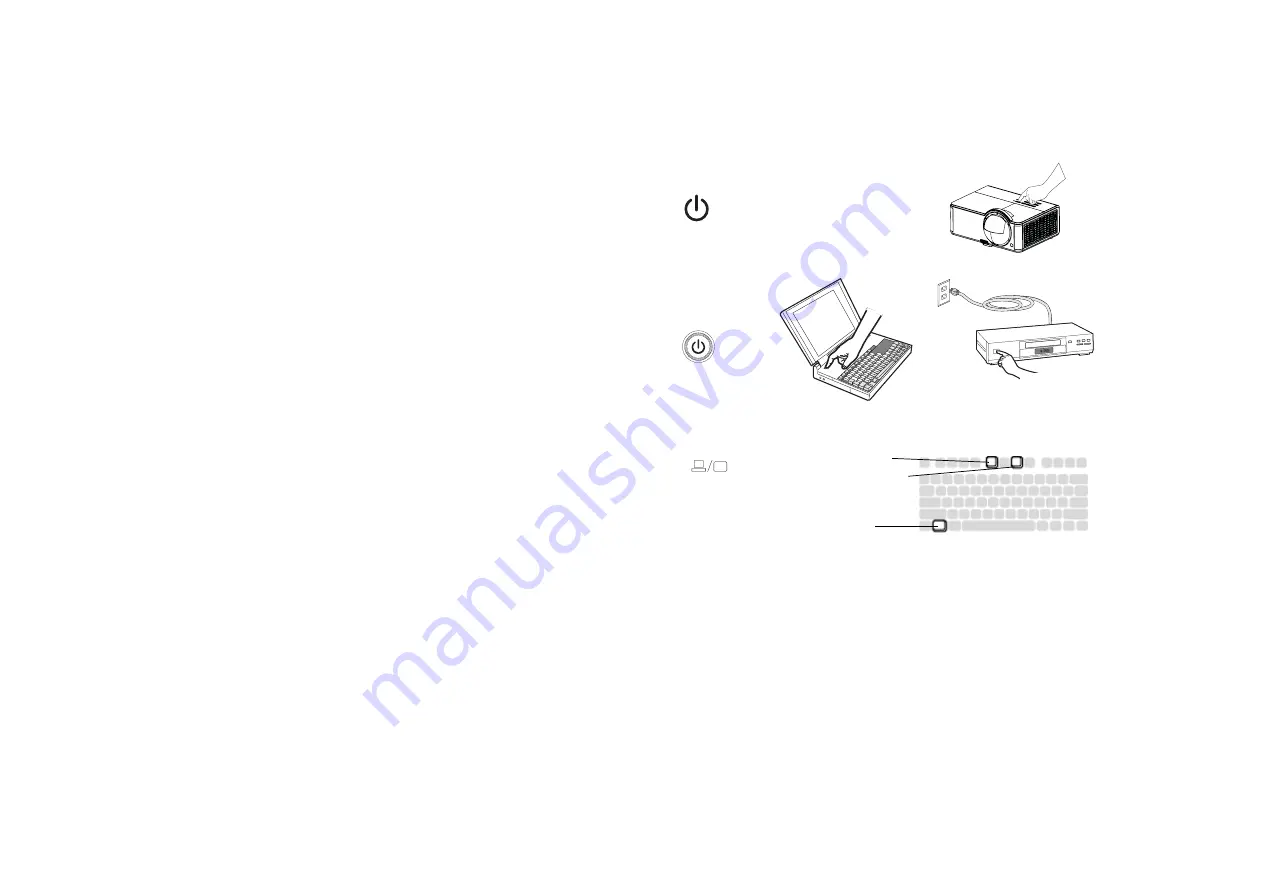
Press the P
Power button.
The Power LED lights orange, and the fans start to run. When the lamp comes on,
the start up screen displays. It can take up to a minute for the image to achieve full
brightness.
No start up screen? Get help on page 13.
Turn on your computer or video device.
The image should appear on the projection screen. If it doesn’t, press the S
Source
button on the projector’s keypad or remote.
If you are using a VGA cable to connect your computer to the projector:
If using a laptop, make sure its external video port is active.
Many laptops do not automatically turn on their external video port when a
projector is connected. Usually a key combination like FN + F8 or CRT/LCD key
turns the external display on and off. Locate a function key labeled CRT/LCD or a
function key with a monitor symbol. Press FN and the labeled function key
simultaneously.
Refer to your laptop's documentation for more information about your laptop's
key combination.
No laptop image? Try pressing the A
Auto button on the projector’s keypad or
Auto Image button on the remote. Get help on page 13.
turn on computer or
video device
activate laptop’s external port
monitor key or
LCD/CRT key
FN key
press Power button