2 - PM - Copy 1600T for iR1600 / iR2000
Installation
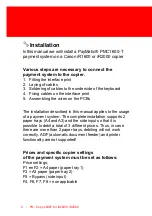
In this manual we will install a PayMatic® PMC1600-T
payment system on a Canon iR1600 or iR2000 copier
Various steps are necessary to connect the
payment system to the copier.
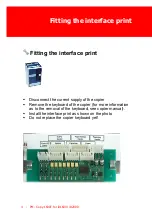
1. Fitting the interface print
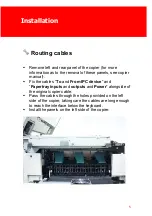
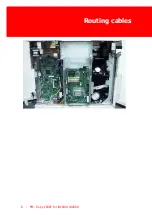
2. Laying of cables
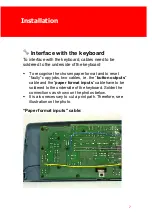
3. Soldering of cables to the underside of the keyboard
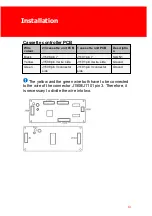
4. Fixing cables on the interface print
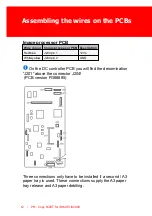
5. Assembling the wires on the PCBs
The installation described in this manual applies to the usage
of a payment system. The complete installation supports 2
paper trays (A4 and A3) and the side input so that it is
possible to debit a total of 3 different prices. Thus, in case
there are more than 2 paper trays, debiting will not work
correctly. ADF (automatic document feeder) and printer
functionality are not supported!
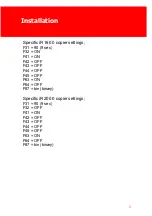
Prices and specific copier settings
of the payment system must be set as follows:
Price settings;
F1 en F2 = A4 paper (paper tray 1)
F3 = A3 paper (paper tray 2)
F5 = Bypass (side input)
F4, F6, F7, F8 = non applicable
Содержание PM - Copy 1600T for iR1600
Страница 2: ......
Страница 6: ......
Страница 8: ......
Страница 9: ...I Installation Part...
Страница 14: ...Routing cables 6 PM Copy 1600T for iR1600 iR2000...
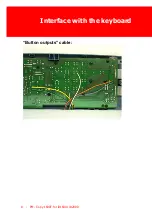
Страница 16: ...Interface with the keyboard 8 PM Copy 1600T for iR1600 iR2000 Button outputs cable...
Страница 22: ......
Страница 23: ...II Troubleshooting Part...
Страница 26: ...18 PM Copy 1600T for iR1600 iR2000 This page has intentionally been left blank...
Страница 27: ...Troubleshooting 19 This page has intentionally been left blank...
Страница 28: ......

