•
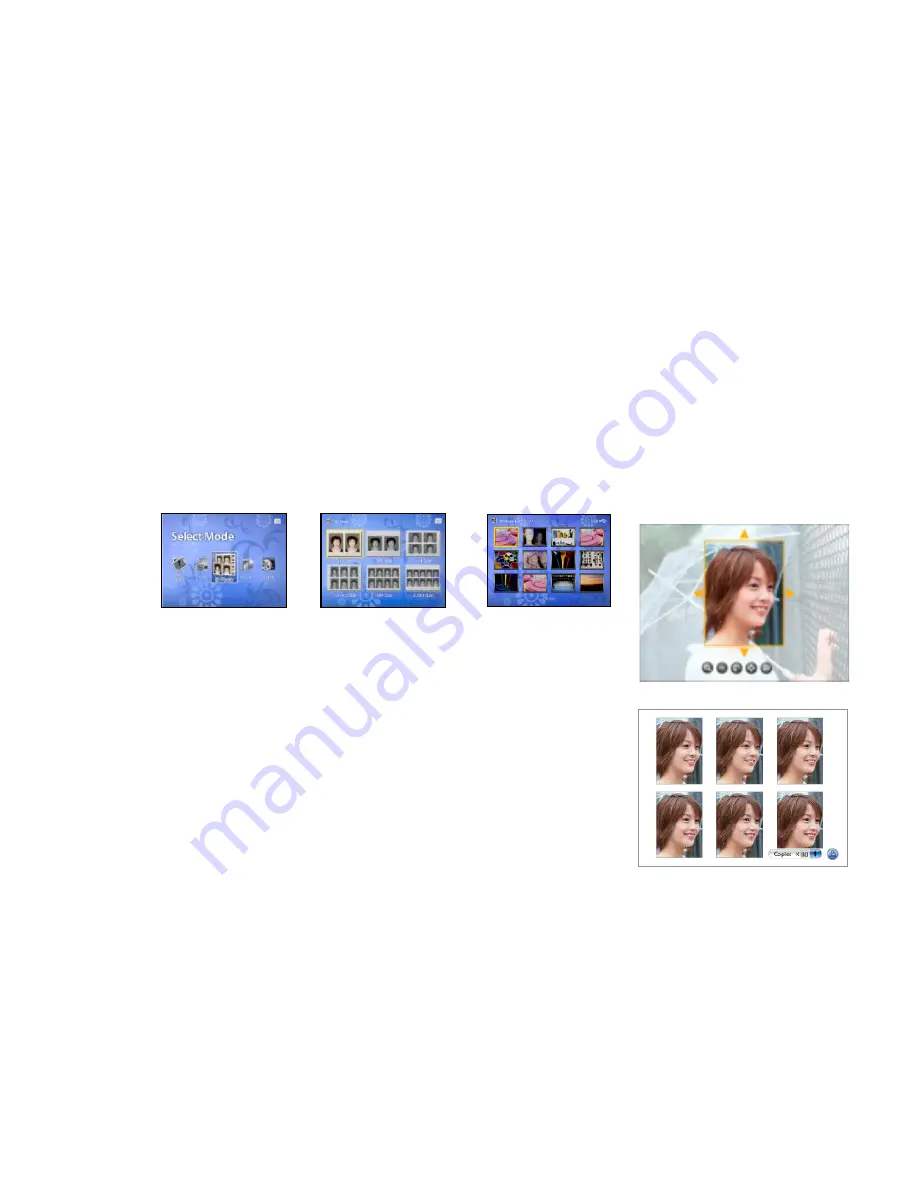
ID Photo Mode
Do you find it troublesome to go to the photocopy studio for printing ID photos? ID Photo mode helps you to remove this barrier!
Do
you
find
it
is
interesting
that
parts
of
some
photos
are
enjoyable?
ID
Photo
mode
help
you
realize
it!
Photo
Frame
Printer
series
su
pports
all
kinds
of
ID
photo
format.
You can enter ID Photo mode simply by pressing “ID Photo” on the remote control
when the system is ready, pressing the
◀
and
▶
on the remote control or swing the Left and Right on the Photo Frame Pr
inter to select ID Photo.
Select a size using the direction arrows on the remote control or swing the Left , Right, Up and Down
Press the “Enter” button on the Photo Frame Printer or on the remote control to confirm the photo you want to print.
Select Photo you want to make ID Photo
•
Press the “Enter” button to confirm.
•
Press “zoom in” and “zoom out” to zoom the image.
•
Press the Left and Right , Up and Down or the
▲
,
▼
,
◀
,and
▶
on the remote control to
catch the crop point
•
Press “Rotate” button to rotate the selected image.
•
Press the “Enter” button to see all the ID Photo to be printed
•
Press up and down
▲
,
▼
buttons on the remote control to set the number of copy.
•
Press “Print” button to start printing.
21
Содержание Foto Frame Printer
Страница 1: ...Photo Frame Printer User Manual 1...


