61
INS
TALLER
US
ER
MAINTEN
AN
CE TECHNI
CI
AN
21
2
1
1
P
2
P
f
f
E
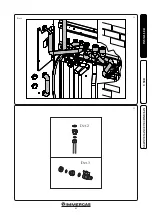
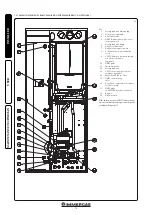
Make the connections in sequence, starting from
the pipes on the right, moving gradually to the
left side, remembering to interpose the specific
gaskets supplied.
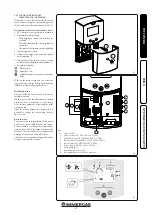
Assemble the DHW probe (
Fig. 23
) by inserting
it in the specific seat
Attention:
in this installation it is essential to fit
the cap on the storage tank unit return fitting of
the indoor unit.
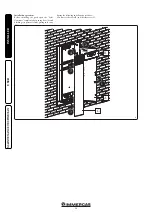
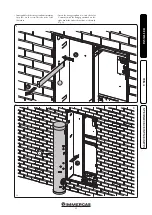
- Tighten the bracket (E) to the special upper
cross member with screws (f).
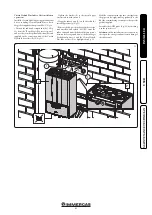
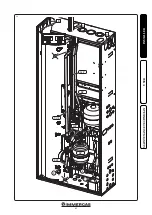
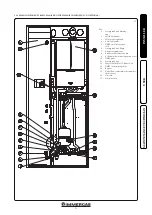
• Hang the indoor unit (P) on the bracket (E)
installed previously, (
Fig. 21
).
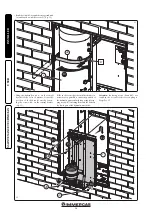
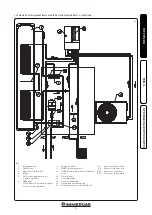
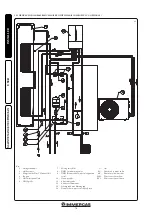
• Remove the by-pass pipe between the storage
tank unit flow and return (MU-RU) from the
indoor unit and make the hydraulic connections
between the Storage tank unit (a), the Basic Magis
Pro hydraulic unit (c) and the Victrix Hybrid
Plus Indoor Unit (P), as highlighted in
Fig. 23.
Victrix Hybrid Plus Indoor Unit installation
operations.
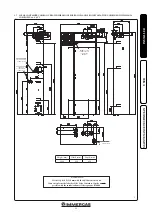
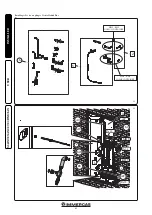
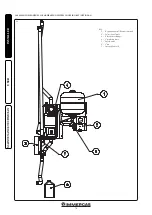
Install the Victrix Hybrid by using the additional
kit for coupling Victrix Hybrid Plus to Basic
Magis Pro supplied as an optional (
Ref. V Fig.22
).
• Discard the indicated components
(Ref. b Fig.
22)
from the “Basic Magis Pro accessory unit”
and use those in the optional additional Kit and
supplied in the connection unit of the Victrix
Hybrid Indoor Unit (
Ref. Z Fig. 22
).
Содержание BASIC MAGIS PRO
Страница 18: ...19 20 18 INSTALLATORE UTENTE MANUTENTORE Dett 1 Dett 2 ...
Страница 21: ...24 25 Dett 2 Dett 3 21 INSTALLATORE UTENTE MANUTENTORE Dett 1 ...
Страница 23: ...28 6 7 B B B 8 MP RP UCS EFS RP MP 9 23 INSTALLATORE UTENTE MANUTENTORE ...
Страница 44: ...IE ...
Страница 60: ...60 INSTALLER USER MAINTENANCE TECHNICIAN 19 20 Det 2 Det 1 ...
Страница 63: ...63 INSTALLER USER MAINTENANCE TECHNICIAN 24 25 Dett 2 Dett 3 Det 3 Det 2 Det 1 ...
Страница 65: ...65 INSTALLER USER MAINTENANCE TECHNICIAN 28 6 7 B B B 8 MP RP UCS EFS RP MP 9 ...
Страница 86: ...86 ...
Страница 87: ...87 ...

